

Maintaining a clean kitchen is essential for health and aesthetics. This guide teaches you how to effectively use a soft brush to tackle often-overlooked tight spots and vents. Learn the best techniques and brush types to ensure a truly spotless kitchen environment, from appliance nooks to ventilation grates.
Welcome to a deeper clean! Your kitchen is the heart of your home, a place where delicious meals are created and memories are made. But let’s be honest, keeping every nook and cranny spotless can feel like an impossible task. We often focus on the visible surfaces, leaving hidden areas to collect dust, grease, and grime. This is where the humble soft brush becomes your kitchen’s unsung hero!
In this comprehensive guide, you’ll discover the power of using a soft brush to conquer those often-forgotten tight spots and vents. We’ll walk you through selecting the right tools, mastering effective techniques, and transforming your kitchen into a truly pristine space. Get ready to tackle areas you might have been avoiding, and enjoy a cleaner, healthier kitchen environment.
- Understand the Importance of Soft Brushes: Soft brushes are ideal for cleaning delicate surfaces without scratching, making them perfect for kitchen crevices and vents where grime can accumulate.
- Choose the Right Soft Brush: Select brushes with soft bristles, like those made from natural fibers or soft synthetic materials, and consider different sizes and shapes for various tight spots.
- Target Kitchen Vents Effectively: Learn how to safely remove and clean vent covers, and use a soft brush with a cleaning solution to dislodge dust, grease, and debris from the vent louvers.
- Clean Appliance Crevices and Knobs: Utilize soft brushes to reach areas around appliance buttons, control panels, and tight gaps where food particles and grease tend to hide.
- Address Hard-to-Reach Corners: Employ soft brushes for cleaning inside drawers, around sink fixtures, and in the tiny spaces where countertops meet backsplashes.
- Regular Maintenance is Key: Incorporate soft brush cleaning into your regular kitchen upkeep routine to prevent stubborn build-up and maintain a hygienic environment.
Why a Soft Brush is Your Kitchen Cleaning Ally
You might wonder why a soft brush is specifically recommended. Kitchen environments, with their constant exposure to food particles, cooking oils, and moisture, are prime breeding grounds for bacteria and mold. While abrasive cleaners and stiff brushes might seem like they’d do a better job, they can actually cause damage.
Scratch-Free Cleaning: Many kitchen surfaces, from stainless steel appliances to delicate countertops and painted cabinets, can be easily scratched by rough cleaning tools. A soft brush, on the other hand, gently dislodges dirt and grime without leaving a mark. This is especially important for maintaining the aesthetic appeal of your kitchen.
Reaching the Inaccessible: The true magic of a soft brush lies in its ability to get into tiny spaces that larger cleaning tools, or even your hands, can’t reach. Think about the narrow gaps around appliance buttons, the intricate louvers of your kitchen vents, or the tight corners where cabinets meet walls. These are the places where dust and grease love to hide, and a soft brush is perfectly designed to sweep them out.
Gentle Yet Effective: Don’t mistake softness for weakness. A well-designed soft brush, when used with the appropriate cleaning solution, can be incredibly effective at lifting stubborn dirt and grease. The bristles can get into microscopic crevices, loosening debris that can then be wiped away.
Choosing the Right Soft Brush for the Job
Not all soft brushes are created equal. To get the best results, you need to select the right brush for the task. Here’s what to look for:
Types of Soft Brushes
- Detailing Brushes: These are often used in automotive detailing but are fantastic for kitchens. They come in various sizes, with fine, soft bristles that are perfect for intricate areas like around faucet bases, appliance dials, and drawer slides.
- Toothbrushes (Soft Bristle): Yes, a clean, soft-bristled toothbrush is a surprisingly effective tool for small, tight spots. Ensure it’s dedicated solely to cleaning tasks to avoid cross-contamination.
- Pastry Brushes: While primarily for cooking, a clean pastry brush with soft bristles can be used to sweep away dry dust from delicate surfaces or to apply cleaning solutions to small areas.
- Specialty Vent Brushes: You can find brushes specifically designed for cleaning air vents. These are often long and narrow, with flexible bristles that can navigate through vent louvers.
- Makeup Brushes (Clean and Unused): Similar to detailing brushes, clean, unused makeup brushes with soft bristles can be repurposed for cleaning intricate kitchen details.
Bristle Material
Look for brushes with bristles made from:
- Natural Fibers: Such as goat hair or horsehair, which are very gentle.
- Soft Synthetic Fibers: Like nylon or polyester, which are durable and effective. Avoid stiff synthetic bristles that can scratch.
Size and Shape
Consider the specific areas you need to clean. A variety of sizes and shapes will be most beneficial:
- Small and Pointed: For very narrow gaps and detailed work.
- Flat and Wide: For covering slightly larger areas with tight access, like the edges of appliance panels.
- Long and Thin: Essential for reaching deep into vents or behind appliances.
Step-by-Step Guide to Cleaning Tight Spots and Vents
Now that you have your tools, let’s get cleaning! Remember to always unplug appliances before cleaning electrical components.
Cleaning Kitchen Vents
Kitchen vents, whether they’re over your stovetop or part of your appliance ventilation systems, are notorious for collecting grease and dust. Regular cleaning is crucial for air quality and appliance efficiency.
Step 1: Safety First – Turn Off Power
Before you begin, make sure any appliance connected to the vent (like your range hood) is turned off and unplugged if possible. For wall vents or HVAC vents, ensure the system is off at the thermostat and breaker if necessary.
Step 2: Remove the Vent Cover
Most vent covers are designed to be removed.
Range Hood Filters: These are usually held in place by clips or latches. Consult your appliance manual if unsure.
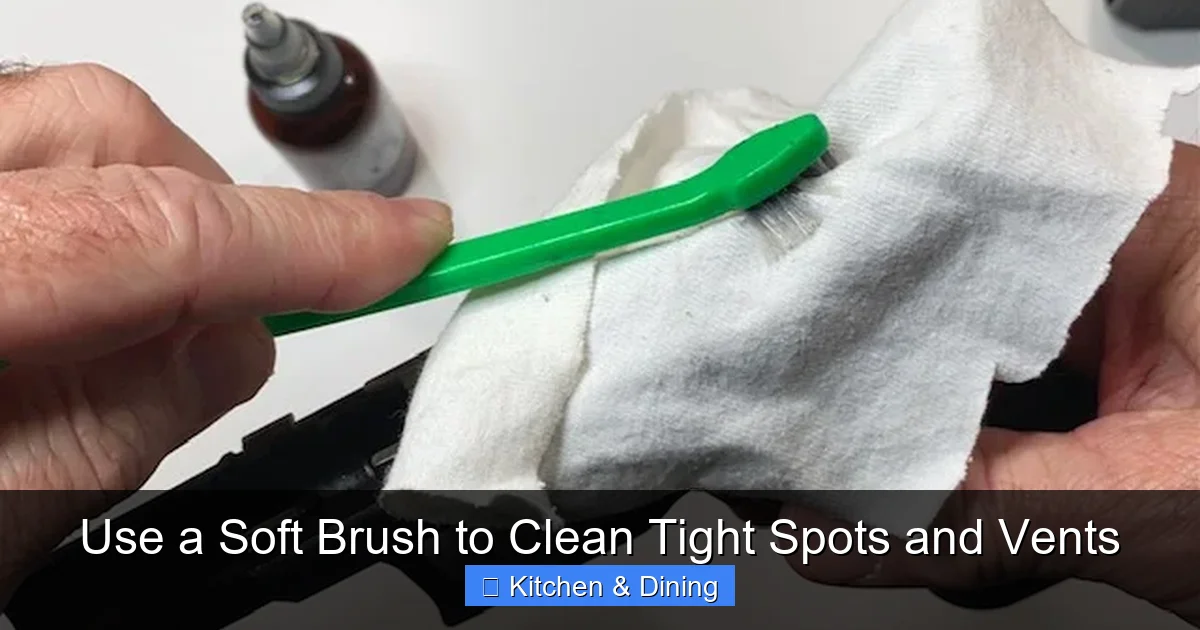
Visual guide about Use a Soft Brush to Clean Tight Spots and Vents
Image source: kydexowbholsters.com
Wall/Ceiling Vents: These might be screwed in or have a snap-fit mechanism. Carefully unscrew or gently pry them off.
Step 3: Clean the Vent Cover
Wash the removed vent cover thoroughly. For grease-laden filters, you might need a degreaser. For other covers, warm, soapy water is often sufficient. Allow them to dry completely.
Step 4: Tackle the Vent Interior with a Soft Brush
This is where your soft brush shines.
For Range Hood Vents: Use a long, flexible brush (or a dedicated vent brush) to reach into the ductwork as far as possible. Gently sweep away loose dust and debris. For tougher grease, you can lightly dampen the bristles of your brush with a degreasing solution. Be careful not to saturate the area.
For Wall/Ceiling Vents: Use a smaller, stiff-bristled brush (still soft overall!) or a detailing brush to dislodge dust from the louvers and the surrounding frame. Work the brush back and forth through the slats.
Tip: You can attach a vacuum cleaner hose with a brush attachment to help capture dust as you loosen it.
Step 5: Wipe Down and Reassemble
Once you’ve brushed out the interior, use a damp cloth to wipe away any remaining dust or loosened grime. Ensure the vent interior is dry before reattaching the cleaned vent cover.
Cleaning Appliance Crevices and Control Panels
Appliances are workhorses, but they also have many nooks and crannies that accumulate food splatters, fingerprints, and dust.
Step 1: Unplug Appliances
For any appliance with electrical components, always unplug it before cleaning to prevent electric shock. This includes toasters, blenders, coffee makers, microwaves, and more.
Step 2: Use a Soft Brush for Knobs and Buttons
Control panels and knobs are prime spots for grime.
Around Knobs: Use a detailing brush or a soft toothbrush to sweep away crumbs and grease from around appliance knobs and dials. Gently work the bristles into the gap between the knob and the appliance body.
Button Areas: For appliances with numerous buttons (like a microwave or coffee maker), use a fine-tipped soft brush to clean around each button. This prevents sticky residue from affecting their function.
Step 3: Clean Appliance Gaps and Edges
There are often small gaps where different parts of an appliance meet.
Door Seals: For ovens and refrigerators, use a soft brush to clean the crevices of the door seals. This area can trap food particles and mold. A damp brush with a mild soap solution can be effective here.
Toaster Slots: While you should always unplug your toaster, a soft brush can help dislodge crumbs from the edges of the toaster slots before you tip it over to empty it. Be gentle to avoid damaging the heating elements.
Blender Bases: The area where the blade assembly meets the blender jar can get tricky. A soft brush can help clean this without risking injury from the blades.
Step 4: Wipe Clean
After brushing, use a damp microfiber cloth to wipe down the cleaned areas. For stainless steel, use a cleaner specifically designed for the material.
Cleaning Hard-to-Reach Corners and Fixtures
Don’t forget about the less obvious places where dirt can gather.
Step 1: Around Sink Fixtures
The base of your faucet and the area where it meets the sink can collect mineral deposits and soap scum.
Faucet Base: Use a small, pointed soft brush to scrub gently around the base of the faucet where it meets the countertop or sink. This will loosen grime that a cloth can’t reach.
Sprayer Hose Attachment: If your faucet has a pull-out sprayer, the connection point can get dirty. A small brush can clean this area effectively.
Step 2: Inside Drawers and Cabinets
Even with regular cleaning, the corners of drawers and cabinets can accumulate dust and crumbs.
Drawer Slides: Dust and hair can get caught in the tracks of drawer slides. A soft brush can sweep these out, ensuring smoother operation. For stubborn grime, a slightly damp brush can be used.
Cabinet Corners: Use a soft brush to sweep out dust from the interior corners and edges of your kitchen cabinets. This is particularly useful for older cabinets or those with intricate moldings.
Step 3: Underneath and Behind Appliances
It’s often difficult to get a mop or vacuum underneath heavy appliances like refrigerators or stoves.
Using a Broom with a Soft Brush: For the area just under the front edge of an appliance, you can sometimes use a stiff broom with a soft brush attached to its bristles to sweep out dust bunnies. Alternatively, you can use a long, flexible soft brush to reach into these spaces.
Tip: If you can safely move your appliance (even just a few inches), it will make cleaning these areas much easier. When cleaning around refrigerators, pay attention to the coils at the back or bottom; while these often require a specialized brush or vacuum attachment, a soft brush can help clear away visible dust from the surrounding areas.
This is also a great time to consider deep cleaning other parts of your kitchen. For example, if you’re tackling areas around the oven, you might want to refer to our guide on the best way to clean the inside of a microwave oven to ensure all your appliances are sparkling.
Step 4: Between Countertop and Backsplash
This narrow gap is a magnet for crumbs and spills. A thin detailing brush or even a dedicated grout brush with soft bristles can help you clean this area effectively.
Tips for Enhanced Cleaning
Use Gentle Cleaning Solutions: For most tasks, a mild dish soap mixed with warm water is sufficient. For tougher grease, a dedicated kitchen degreaser can be used, but always test it on an inconspicuous area first.
Microfiber Cloths are Your Friend: Always have a supply of clean microfiber cloths on hand to wipe away loosened dirt and dust after brushing.
Regularity is Key: The best way to keep tight spots and vents clean is to address them regularly. A quick sweep with a soft brush once a week can prevent build-up and make deeper cleans much easier.
Ventilation is Important: When cleaning with solutions, ensure your kitchen is well-ventilated. Open windows or turn on your exhaust fan.
Troubleshooting Common Cleaning Challenges
Stubborn Grease on Vents: If grease is heavily caked on range hood filters or vents, you might need a stronger degreaser and a bit of soaking time. For vent interiors, consider a specialized vent cleaner spray, but always follow product instructions carefully.
Mold or Mildew: If you discover mold or mildew in vents or crevices, you’ll need a more potent solution like a diluted bleach mixture (use with extreme caution and good ventilation) or a specialized mold remover. Always wear gloves and eye protection.
Delicate Surfaces Damaged: If you accidentally use a brush that’s too stiff and notice a scratch, don’t panic. For minor scratches on stainless steel, a stainless steel polish might help buff them out. For painted surfaces, professional advice might be needed.
Conclusion
Transforming your kitchen from merely clean to truly spotless is achievable, and the secret often lies in the details. By incorporating a soft brush into your cleaning arsenal, you gain the power to reach those often-neglected tight spots and vents. Remember to choose the right brush for the job, be consistent with your cleaning, and enjoy the satisfaction of a sparkling, hygienic kitchen that you can be proud of. Happy cleaning!


