
Tackle those stubborn, hard-to-reach spots in your kitchen with the gentle yet effective power of a soft brush. This guide will walk you through selecting the right brush, preparing your cleaning solutions, and applying the techniques for a spotless finish. You’ll learn how to achieve a deeper clean without causing damage to delicate surfaces.
Welcome to your ultimate guide on using a soft brush to conquer those pesky, hard-to-reach spots in your kitchen! We all have them – those nooks and crannies where grime loves to hide, and regular sponges or cloths just can’t quite get to. From stubborn food splatters in appliance crevices to the persistent buildup in grout lines, these areas can make your entire kitchen feel less than perfectly clean. But fear not! With the right tools and techniques, you can achieve a sparkling finish even in the most challenging places.
In this guide, we’ll cover everything you need to know to effectively use a soft brush for cleaning. You’ll learn how to choose the perfect soft brush for different tasks, how to prepare safe and effective cleaning solutions, and the best methods for tackling those notoriously difficult spots. Get ready to transform your kitchen cleaning routine and enjoy a truly spotless home!
- Choose the Right Soft Brush: Selecting a brush with soft bristles is crucial to avoid scratching surfaces while effectively dislodging grime.
- Prepare Your Cleaning Solution: Mild dish soap, vinegar, or baking soda solutions are excellent for tackling different types of kitchen messes.
- Focus on Specific Areas: Identify common hard-to-reach spots like grout lines, appliance crevices, and sink drains.
- Gentle Scrubbing Technique: Apply consistent, gentle pressure in controlled strokes to clean effectively without damaging surfaces.
- Rinse and Dry Thoroughly: Always ensure all cleaning solution residue is removed and surfaces are dried to prevent water spots or mildew.
- Maintenance is Key: Regularly cleaning these areas prevents buildup and makes future cleaning easier.
Understanding the Power of a Soft Brush
Before we dive into the “how-to,” let’s talk about why a soft brush is such a game-changer for cleaning hard-to-reach spots. Unlike stiff brushes or abrasive scrub pads, soft brushes are designed to be gentle. This gentleness is key when dealing with delicate kitchen surfaces that could be scratched or damaged by harsher cleaning methods.
Why Soft Bristles Matter
Think about it: you wouldn’t use steel wool to clean your non-stick pans, right? Similarly, many kitchen surfaces, like stainless steel appliances, painted cabinets, or even certain types of countertops, can be easily scratched. Soft bristles, typically made from nylon, boar hair, or synthetic fibers, flex and contour to surfaces without causing damage. They can dislodge dirt and grime by getting into tiny spaces where larger cleaning tools can’t go.
Reaching the Unreachable
The shape and size of a soft brush are also critical. Many specialized soft brushes are designed with narrow heads, long handles, or angled bristles specifically to reach into tight gaps. This allows you to clean areas like:
- Around faucet bases and handles
- Inside appliance seams and vents
- Grout lines between tiles
- Around drain openings
- The edges of stovetops and control panels
- Inside coffee maker spouts or blender blades
Choosing the Right Soft Brush for the Job
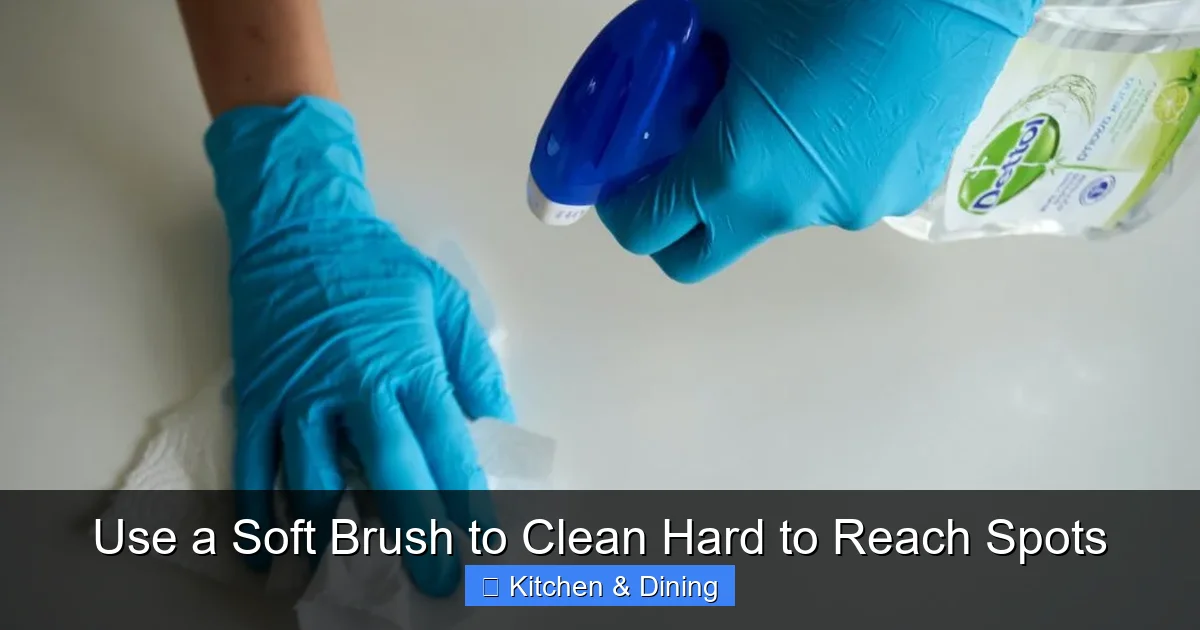
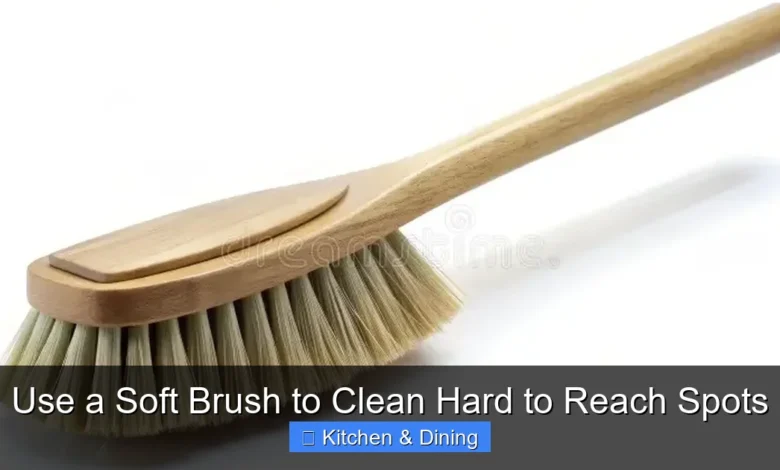
Visual guide about Use a Soft Brush to Clean Hard to Reach Spots
Image source: deepcleaning.ie
Not all soft brushes are created equal. The type of brush you choose will depend on the specific area you’re cleaning and the type of mess you’re dealing with.
General Purpose Soft Brushes
These are your workhorses. Look for brushes with a comfortable handle and a moderate head size with soft, densely packed bristles. They are great for general dusting and light scrubbing on a variety of surfaces.
Detailing Brushes
These brushes are typically smaller, with finer bristles and often a pointed tip or a narrow, flat head. They are perfect for intricate areas, such as the seams of appliances, around buttons, or cleaning the edges of sink strainers.
Grout Brushes
While some grout brushes have firmer bristles, you can find softer versions. These often have a curved or angled head to better fit the grout lines. They are excellent for scrubbing away mildew and soap scum.
Bottle Brushes and Straw Brushes
These long, slender brushes are designed to clean the insides of bottles, vases, and drinking straws. They can also be surprisingly useful for reaching into narrow pipes or appliance parts.
Toothbrushes (Yes, Really!)
An old, soft-bristled toothbrush is a fantastic and readily available tool for very small, detailed cleaning jobs. Just make sure it’s clean and designated for cleaning tasks!
Preparing Your Cleaning Solutions
The effectiveness of your soft brush can be greatly enhanced by pairing it with the right cleaning solution. For most kitchen tasks, gentle is best.
Mild Dish Soap and Water
This is your go-to for everyday grime and grease. Mix a few drops of mild dish soap into warm water. This solution is safe for most kitchen surfaces and effective at breaking down food particles and light grease.
Vinegar Solution
White vinegar is a natural disinfectant and degreaser. Mix equal parts white vinegar and water. This is excellent for tackling soap scum, hard water stains, and general sanitizing. Be cautious on natural stone surfaces like marble or granite, as the acidity can etch them over time.
Baking Soda Paste
For tougher stains or slightly more abrasive action (without being harsh), create a paste with baking soda and water. Apply the paste to the stained area and let it sit for a few minutes before gently scrubbing with your soft brush. Baking soda is a mild abrasive that can lift grime effectively.
Specialty Cleaners
For specific issues like mold or mildew, you might consider a commercial cleaner designed for that purpose. Always follow the product instructions and ensure it’s safe for the surface you’re cleaning. *Always test any cleaner in an inconspicuous spot first.*
Step-by-Step: Cleaning Hard to Reach Spots with a Soft Brush
Now that you’ve got your brush and your solution, let’s get cleaning!
Step 1: Identify the Problem Areas
Walk through your kitchen and pinpoint all those tricky spots. Take note of where grease splatters, food particles get stuck, or mildew starts to form. Common culprits include:
- The seals around refrigerator doors
- The controls and seams of the microwave
- The edges of your stovetop and around burners
- The faucet aerator and base
- The drain area of your sink
- Ventilation grates on appliances
- The tiny gaps in cabinet handles or knobs
Step 2: Gather Your Supplies
Make sure you have everything ready before you start:
- Your chosen soft brush(es)
- Your cleaning solution(s)
- A bowl or bucket for the solution
- Microfiber cloths for wiping and drying
- Gloves (optional, but recommended if using stronger solutions)
Step 3: Prepare Your Cleaning Solution
Mix your chosen cleaning solution in a bowl or bucket. If you’re using a paste, mix it in a separate small container.
Step 4: Apply the Cleaning Solution
Depending on the location, you can either dip your brush directly into the solution or apply the solution to the dirty area first. For vertical surfaces or intricate areas, it might be easier to dampen the brush and then use it. For grout lines or drain areas, you might pour a small amount of solution directly onto the spot.
Step 5: Gently Scrub the Hard-to-Reach Spot
This is where the magic happens!
H3: For Appliance Crevices and Seams
Dip your detailing brush or a clean, soft toothbrush into your mild dish soap solution. Gently work the bristles into the seams and around buttons. Use back-and-forth or circular motions. Avoid excessive force. Wipe away loosened grime with a damp microfiber cloth. For tougher buildup, you can try a baking soda paste.
H3: For Grout Lines
For grout, use a grout brush or a firm-bristled toothbrush with a vinegar solution or baking soda paste. Apply the solution to the grout line, let it sit for a few minutes to work on the grime, then gently scrub. Work in small sections.
H3: For Faucet Bases and Drains
Use a detailing brush or an old toothbrush with a vinegar solution to clean around the base of your faucet where water can accumulate and form spots. For sink drains, use a brush with a bottle brush to clean inside the drain opening and around the edges, removing any gunk. A toothbrush can also be great for scrubbing around the sink stopper.
H3: For Stovetop Edges and Control Panels
Dampen your soft brush with a mild dish soap solution. Carefully scrub around the edges of your stovetop, paying attention to where the stovetop meets the counter or backsplash. For control panels, use a brush that’s not too wet to avoid damaging electronics. Wipe with a damp cloth, then dry immediately.
H3: For Inside Appliance Parts (e.g., Microwave, Coffee Maker)**
When cleaning the inside of a microwave, a soft brush can be invaluable for scrubbing around the turntable edges, door seals, and the vent area. For coffee makers, use a dedicated bottle brush to clean inside the water reservoir or the spout. Always refer to your appliance’s manual for specific cleaning instructions, especially for parts that connect to electrical components. If you need to clean the entire interior of your microwave, check out our guide on the best way to clean the inside of a microwave oven.
Step 6: Rinse Thoroughly
After scrubbing, it’s crucial to rinse away all cleaning solution residue. Use a clean, damp microfiber cloth and wipe the area thoroughly. For grout or drain areas, you might need to rinse with fresh water to ensure no soap or baking soda is left behind, which can attract more dirt.
Step 7: Dry the Area Completely
Moisture left behind can lead to water spots, mildew, or even damage. Use a dry microfiber cloth to pat and wipe the cleaned areas completely dry. This is especially important for metal surfaces and around electrical components.
Practical Tips for Success
* Work in Sections: Don’t try to tackle too much at once. Clean one area at a time for better focus and results.
* Be Patient: Stubborn grime might require a bit of soaking or repeated gentle scrubbing.
* Rinse Your Brush: As you clean, rinse your brush frequently to avoid spreading loosened dirt around.
* Storage Matters: After cleaning, rinse your soft brush thoroughly and allow it to air dry completely before storing it. This prevents bacteria growth and keeps your brush in good condition.
* Regular Maintenance: The best way to deal with hard-to-reach spots is to clean them regularly. A quick wipe-down or scrub once a week can prevent buildup from becoming a major problem.
Troubleshooting Common Issues
* Problem: The grime isn’t budging with gentle scrubbing.
* Solution: Try letting the cleaning solution sit on the grime for a few extra minutes to soften it. You could also try a slightly more potent (but still safe for the surface) cleaner, like a diluted bleach solution for stubborn mold on grout, but always test first and rinse thoroughly. For tougher kitchen grease, sometimes a dedicated degreaser is necessary.
* Problem: I’m worried about scratching the surface.
* Solution: Always use a brush with the softest bristles you can find for the task. Test the brush and your cleaning solution on an inconspicuous area first. If you’re still concerned, try using an old, soft cloth wrapped around your finger or a soft sponge wedge for those ultra-delicate spots.
* Problem: My soft brush is getting clogged with debris.
* Solution: Rinse your brush frequently under running water while you clean. If it becomes heavily clogged, you might need to remove the larger debris with tweezers before rinsing and continuing.
Conclusion: A Spotless Kitchen is Within Reach!
Cleaning those awkward, hard-to-reach spots in your kitchen doesn’t have to be a frustrating ordeal. By understanding the benefits of using a soft brush, selecting the right tool for the job, and employing simple, effective cleaning solutions, you can achieve a level of cleanliness you might not have thought possible.
Remember, a little patience and the right approach can make all the difference. So, grab your soft brush, get to work, and enjoy the satisfaction of a truly spotless kitchen! Your efforts will not only make your kitchen look better but also contribute to a more hygienic environment. Happy cleaning!


