Illuminate your outdoor spaces with solar floodlights – an eco-friendly, cost-effective lighting solution. This guide offers step-by-step instructions on installing solar floodlights, complete with practical tips, examples, and troubleshooting solutions.
Key Takeaways
- Understanding Solar Floodlights: Learn the basics of solar floodlights, their benefits, and how they work.
- Choosing the Right Solar Floodlight: Get tips on how to select the best solar floodlight for your needs.
- Installation Site Selection: Understand the importance of choosing the right location for your solar floodlights.
- Step-by-step Installation: Follow a detailed guide on installing your solar floodlights.
- Troubleshooting Common Issues: Learn to identify and solve common problems with solar floodlights.
Introduction
If you’re weary of high electricity bills and want to light up your outdoor spaces efficiently, solar floodlights are your answer. In this guide, you will learn how to install these lights, along with tips and troubleshooting solutions to make the process smooth and efficient.
Understanding Solar Floodlights
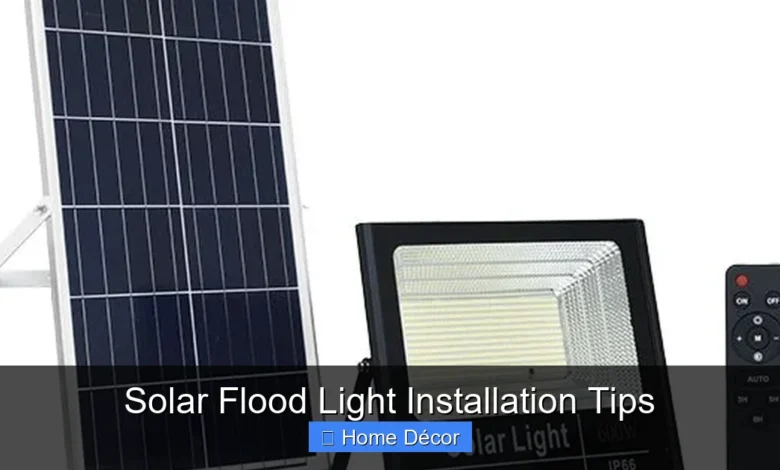
Solar floodlights are outdoor lighting fixtures that use solar panels to absorb sunlight and convert it into electricity. They are eco-friendly, energy-efficient, and cost-effective solutions for illuminating large areas.

Visual guide about Solar Flood Light Installation Tips
Image source: cdn.shopify.com
Choosing the Right Solar Floodlight
Before installation, you need to choose the right solar floodlight. Consider factors like brightness, coverage, and battery life. The higher the lumen rating, the brighter the light will be. Also, check the light’s IP rating for weather resistance.
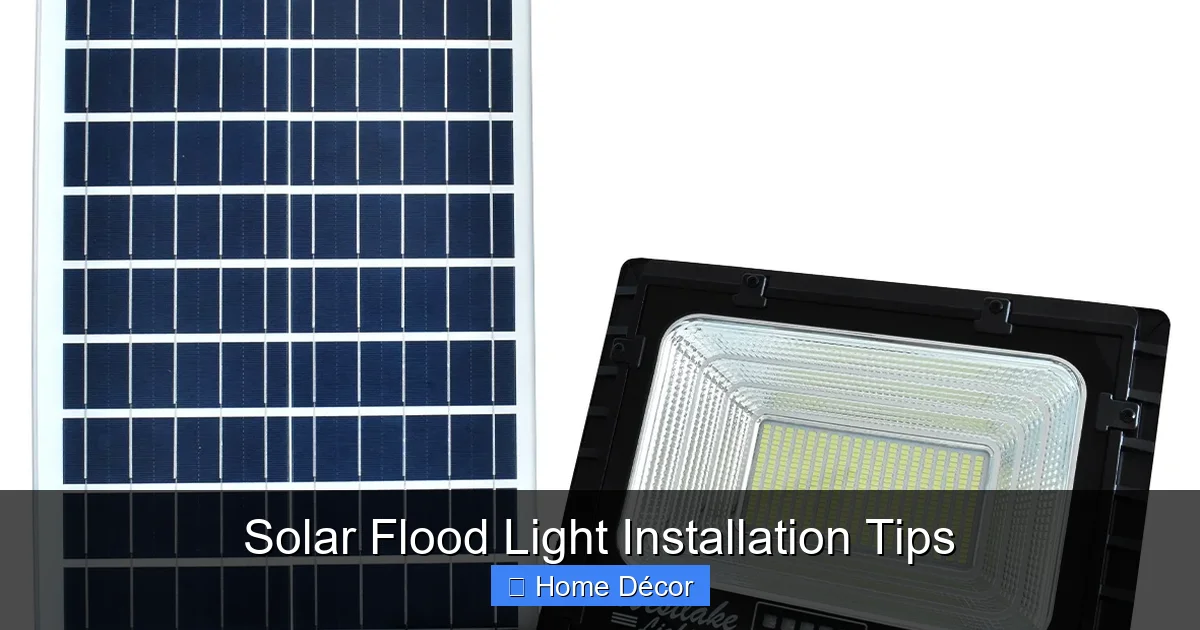
Visual guide about Solar Flood Light Installation Tips
Image source: kenyasolarinstallers.co.ke
Installation Site Selection
Choose a location that gets plenty of sunlight. The solar panels need at least 6-8 hours of sunlight for optimal performance. Try to place the lights high off the ground to cover a larger area.
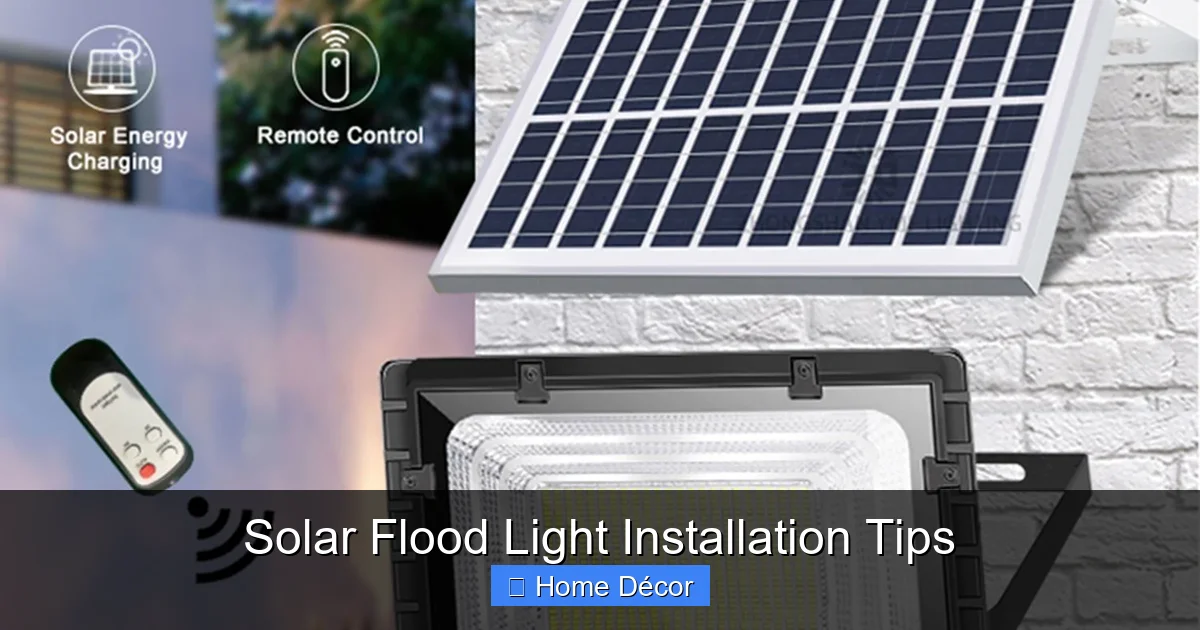
Visual guide about Solar Flood Light Installation Tips
Image source: damany.co.ke
Step-by-step Installation
Step 1: Unpacking and Preparing
Unpack your solar floodlight and read the manufacturer’s instructions carefully. Gather all necessary tools for the installation.
Step 2: Mounting the Solar Panel
Secure the solar panel in a sunny location using the provided screws. Ensure it’s tilted towards the sun for maximum solar absorption.
Step 3: Installing the Light
Mount the light fixture at your preferred location. Make sure it’s secure and facing the area you want to illuminate.
Step 4: Connecting the Components
Connect the solar panel to the light fixture using the provided cables. Ensure all connections are secure and waterproof.
Step 5: Testing
Turn the light on and let it charge for a day. Check the light after sunset to ensure it’s working correctly.
Troubleshooting Common Issues
If your solar floodlight isn’t working as expected, check the solar panel placement, connections, and whether the light is switched on. Sometimes, cleaning the solar panel can also improve performance.
Conclusion
With the right tools and instructions, installing solar floodlights can be a simple and rewarding DIY project. Not only will you brighten up your outdoor spaces, but you will also contribute to a greener planet.