Is your coffee maker refusing to turn on? Don’t despair! This comprehensive guide walks you through common issues and simple fixes to get your morning brew back on track. We’ll cover everything from checking the power source to more involved troubleshooting, so you can enjoy a hot cup of coffee without a fuss. Get your coffee maker working again with these easy steps!
Waking up to a silent coffee maker can be one of the most disappointing starts to a day. That morning ritual, the comforting aroma, the promise of a warm, energizing beverage – all gone when your beloved brewer decides not to cooperate. If your coffee maker will not turn on, you might feel a surge of panic, especially if you’re running on empty. But before you rush out to buy a new one, take a deep breath! Most of the time, a coffee maker that won’t turn on has a simple, fixable problem. This guide is designed to help you troubleshoot and repair your coffee maker, getting you back to enjoying delicious coffee in no time. We’ll cover everything from the most basic checks to more involved steps, empowering you to be your own coffee maker repair expert.
Key Takeaways
- Check the Power Source: Ensure the coffee maker is plugged in securely and the outlet is working.
- Inspect the Power Cord: Look for any visible damage to the cord that might be preventing power flow.
- Test the Outlet: Use another small appliance to verify if the electrical outlet is functional.
- Clean the Coffee Maker: Mineral buildup can cause internal blockages. Regular descaling is crucial.
- Check Safety Features: Some coffee makers have safety locks or mechanisms that might be engaged.
- Reset the Appliance: Unplugging for a few minutes can sometimes reset the internal electronics.
- Consult the Manual: Your coffee maker’s manual is an invaluable resource for specific troubleshooting.
The First Steps: Basic Checks
When your coffee maker is stubbornly refusing to power on, the first instinct is often to check the obvious. These initial steps are quick, easy, and often solve the problem without further ado.
Check the Power Connection
This might sound too simple, but it’s the most common reason a coffee maker won’t turn on.
- Is it plugged in? Make sure the power cord is fully and securely inserted into the wall outlet. Sometimes, a slight tug can dislodge it.
- Is the outlet working? The problem might not be with your coffee maker at all, but with the power source.
Test the Electrical Outlet
To confirm if the outlet is the issue, you can use another small appliance that you know works.
How to test the outlet:
- Find a small appliance like a lamp, a toaster, or even a phone charger.
- Plug it into the same outlet where your coffee maker was plugged in.
- If the other appliance also doesn’t turn on, the problem is likely with your home’s electrical system or that specific outlet. You might need to check your circuit breaker.
- If the other appliance *does* work, then the issue is definitely with your coffee maker.
Inspect the Power Cord
The power cord is the lifeline of your coffee maker, and damage can interrupt the flow of electricity.
- Carefully examine the entire length of the power cord.
- Look for any signs of fraying, cuts, kinks, or melted plastic.
- Pay close attention to the areas where the cord meets the plug and where it enters the coffee maker itself, as these are common stress points.
If you find any damage to the power cord, do not use the coffee maker. A damaged cord is a fire hazard and can also be a shock risk. In this case, you’ll likely need to replace the coffee maker.
Deeper Troubleshooting: Internal Components and Settings
If the basic checks haven’t resolved the issue, it’s time to dig a little deeper. These steps involve looking at the coffee maker’s internal workings and settings.
Check the On/Off Switch
Some coffee maker switches can become loose or faulty over time.
- Ensure the on/off switch is in the “on” position.
- Try toggling the switch back and forth a few times. Sometimes, a bit of dust or debris can get into the switch mechanism, and moving it can clear it.
- On some models, the switch might be a button. Press it firmly.
Examine the Water Reservoir
While it might seem odd, some coffee makers have a safety feature related to the water level.
- Ensure the water reservoir is filled to the appropriate level. Some models will not start if the reservoir is empty or extremely low.
- Make sure the reservoir is properly seated in its place. If it’s not correctly positioned, a sensor might prevent the machine from turning on.
Consider the Carafe Placement
Many coffee makers have a mechanism that detects if the carafe is correctly in place. This prevents coffee from spilling everywhere.
- Ensure the carafe is properly seated on the warming plate or drip tray.
- Some models have a small lever or button that is pressed by the carafe. Make sure this mechanism isn’t stuck or obstructed.
Clean the Coffee Maker (Descaling)
Mineral buildup from water (limescale) is a silent killer of coffee makers. It can clog internal components and prevent the machine from functioning correctly, including not turning on. This is especially true for coffee makers that have been used for a while without regular cleaning. If you haven’t descaled your coffee maker recently, this is a crucial step. You might be interested in learning the best way to clean the inside of a microwave oven, but your coffee maker needs its own specialized cleaning.
How to descale your coffee maker:
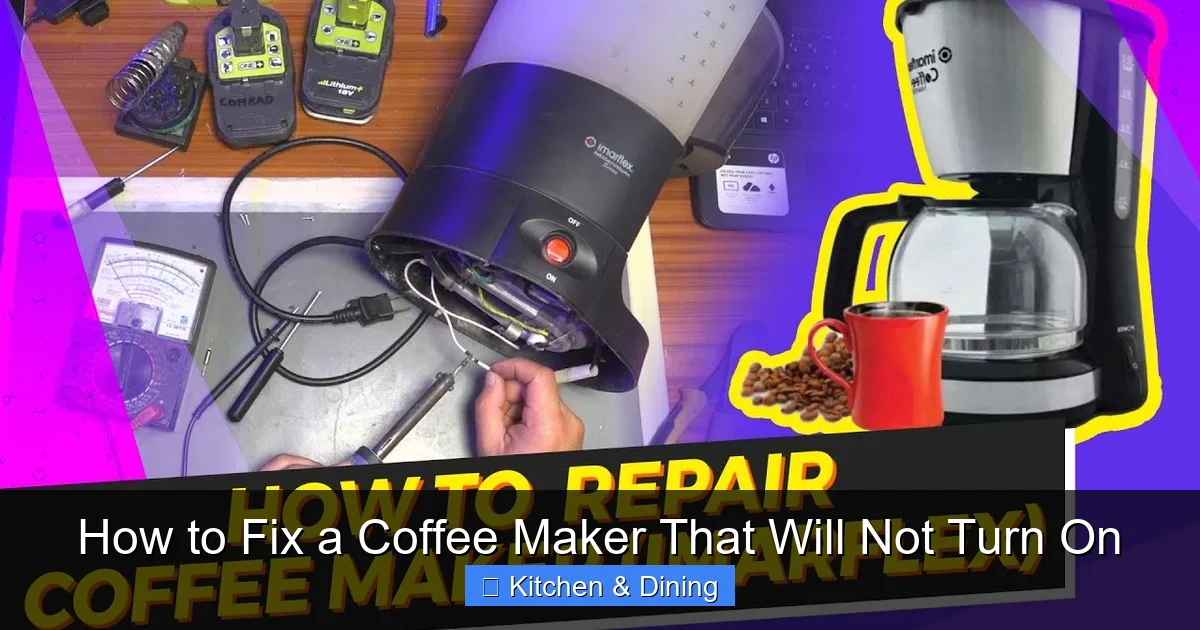
Visual guide about How to Fix a Coffee Maker That Will Not Turn On
Image source: i.ytimg.com
- Empty the coffee maker: Remove any old grounds or water.
- Prepare the descaling solution: You can use a commercial descaling solution or a mixture of equal parts white vinegar and water. For a standard 12-cup coffee maker, you might use about 4-6 cups of this solution.
- Fill the reservoir: Pour the descaling solution into the water reservoir.
- Run a brewing cycle: Place the empty carafe on the warming plate and turn the coffee maker on to run a full brew cycle with the descaling solution.
- Let it sit (optional): For heavily scaled machines, you can let the solution sit in the reservoir for about 30 minutes after the cycle is complete before proceeding.
- Discard the solution: Empty the carafe.
- Rinse cycles: Fill the reservoir with fresh water and run at least two or three full brew cycles with just water to rinse out any remaining vinegar taste or descaling solution.
A clean coffee maker often runs more efficiently and lasts longer. Regularly descaling can prevent many common issues, including a machine that won’t turn on.
Advanced Troubleshooting: When Simpler Solutions Fail
If your coffee maker still won’t turn on after performing the above steps, it might be time to look at slightly more involved troubleshooting.
Reset the Coffee Maker
Sometimes, an electronic device just needs a “hard reset” to clear any temporary glitches.
How to reset:
- Unplug the coffee maker from the wall outlet.
- Wait for at least 5-10 minutes. This allows any residual power in the capacitors to dissipate.
- Plug the coffee maker back into a working outlet.
- Try turning it on.
This simple step can resolve many minor electronic hiccups.
Check for Overheating Protection
Many modern coffee makers have built-in safety features to prevent overheating. If the machine was recently used and turned off, it might need time to cool down before it can be turned on again.
- If the coffee maker was just used, allow it to cool down completely for at least 15-20 minutes before attempting to turn it on again.
- Ensure the ventilation slots on the coffee maker are not blocked, as this can contribute to overheating.
Consult the User Manual
Your coffee maker’s user manual is your best friend when troubleshooting. It contains specific information about your model, including common problems and their solutions.
- Look for a troubleshooting section in the manual.
- It might have specific instructions for what to do if the coffee maker won’t power on.
- If you’ve lost your manual, you can usually find a digital copy on the manufacturer’s website by searching for your model number.
Inspect the Internal Fuse (Advanced Users Only)
This is a more advanced step and should only be attempted if you are comfortable working with electrical components. Many coffee makers have an internal fuse that can blow if there’s a power surge or a malfunction.
- Safety First: Ensure the coffee maker is unplugged from the wall outlet.
- Locate the fuse: You’ll need to open up the coffee maker’s housing. This usually involves removing screws from the base or back panel. Consult your manual or look for online videos specific to your model. The fuse is typically a small glass tube with metal caps at each end, often located near where the power cord enters the appliance.
- Check the fuse: If the fuse element inside the glass tube is broken or discolored, it has blown.
- Replace the fuse: If the fuse is blown, you’ll need to replace it with one of the exact same amperage and voltage rating. You can often find replacement fuses at electronics stores or online.
Disclaimer: Opening your coffee maker may void its warranty. If you are not comfortable with this process, it’s best to seek professional help or consider replacing the unit.
When to Consider Replacement
If you’ve tried all the troubleshooting steps and your coffee maker still won’t turn on, it might be time to accept that the appliance has reached the end of its lifespan. While it’s always disappointing to replace a beloved appliance, sometimes the cost and effort of repair outweigh the benefits.
- Age of the appliance: If your coffee maker is several years old, its components may simply be worn out.
- Cost of repair: If a specific part needs to be replaced, the cost might be close to or even exceed the price of a new, comparable coffee maker.
- Safety concerns: If you’ve identified significant damage to the power cord or internal wiring, it’s safer to replace the unit.
When it’s time for a new coffee maker, consider exploring options like a best coffee maker and espresso machine combo if you enjoy both types of beverages, or focus on models known for their durability and ease of use.
Conclusion
A coffee maker that refuses to turn on can be frustrating, but it’s often a solvable problem. By systematically working through these troubleshooting steps, you can identify the cause and hopefully revive your brewing companion. Remember to always prioritize safety, especially when dealing with electrical appliances. From checking the power cord to descaling the internal components, most issues can be resolved with a little patience and effort. If all else fails, don’t let it ruin your morning – it might just be time to explore the exciting world of new coffee makers! Enjoy your next delicious cup.