Discover the perfect cooking time for chicken breast in your air fryer! This guide will walk you through achieving juicy, tender, and perfectly cooked chicken breast with minimal effort. Learn key factors influencing cooking time and simple steps for delicious results.
How Long to Cook Chicken Breast in the Air Fryer
Are you looking for a fast, healthy, and delicious way to prepare chicken breast? The air fryer is your new best friend! It circulates hot air around your food, creating a crispy exterior while keeping the inside wonderfully moist and tender. But the big question on everyone’s mind is: “How long do I actually cook chicken breast in the air fryer?”
This comprehensive guide will answer that question and so much more. We’ll break down everything you need to know to achieve perfectly cooked air fryer chicken breast every single time. Forget dry, rubbery chicken; we’re diving into the secrets of juicy, flavorful results that will impress your taste buds and simplify your weeknight dinners.
You’ll learn about the ideal temperatures, the importance of chicken breast thickness, how to tell when it’s perfectly done, and essential tips to elevate your air frying game. Get ready to transform your chicken breast from ordinary to extraordinary!
- Perfect Temperature is Key: Most air fryer chicken breast recipes recommend cooking at 375°F (190°C) to ensure it cooks evenly and stays moist.
- Thickness Matters Most: The thickness of your chicken breast is the biggest factor determining cooking time. Thicker breasts need more time.
- Internal Temperature is the Golden Rule: Always cook chicken breast until it reaches an internal temperature of 165°F (74°C), measured with a meat thermometer.
- Preheating is Crucial: Always preheat your air fryer for at least 5 minutes. This ensures consistent cooking and helps achieve a nice sear.
- Resting is Essential: Letting your chicken breast rest for 5-10 minutes after cooking allows the juices to redistribute, resulting in a more tender and flavorful meal.
- Seasoning Enhances Flavor: Don’t forget to season your chicken breast generously. Simple salt, pepper, and garlic powder can make a big difference.
Understanding the Factors That Influence Cooking Time
Before we get to the step-by-step instructions, it’s crucial to understand what makes chicken breast cooking times vary. While we can provide general guidelines, a few key elements will affect how long your chicken spends in the air fryer.
Chicken Breast Thickness
This is, by far, the most important factor. A thin chicken cutlet will cook much faster than a thick, whole breast. If your chicken breasts are uneven, consider pounding them to a more uniform thickness. This ensures they cook at the same rate. For even more precision, you might consider using a tool like a good fillet knife to trim any particularly thick parts before cooking.
Air Fryer Model and Size
Different air fryers have varying heating element strengths and air circulation patterns. A 5-quart air fryer might cook slightly differently than a 7-quart model. Newer models, like the Instant Pot Vortex Plus 6Qt Clearcook, often have precise temperature controls and excellent circulation. Always consult your air fryer’s manual for specific recommendations if available.
Starting Temperature of the Chicken
Is your chicken straight from the refrigerator, or has it been sitting at room temperature for a bit? While we generally recommend cooking chicken directly from the fridge for food safety, a slightly warmer piece will cook a tiny bit faster.
Whether the Chicken is Marinated or Breaded
Marinades can add moisture and flavor, but they can also slightly alter cooking times, especially if they contain sugars that might caramelize. Breaded chicken will require a bit more time to ensure the coating gets nice and crispy without overcooking the interior.
The Golden Rule: Internal Temperature
The absolute best way to ensure your chicken breast is safely cooked and perfectly done is to use an instant-read meat thermometer. Chicken breast is considered safe to eat when it reaches an internal temperature of 165°F (74°C).
Don’t rely on color alone! While chicken should be white and opaque when cooked, visual cues can be deceiving. Always trust your thermometer. Insert it into the thickest part of the breast, avoiding any bones if present.
Step-by-Step Guide to Air Frying Chicken Breast
Now that you understand the variables, let’s get to the delicious part: cooking!
Step 1: Prepare Your Chicken Breast
This involves a few simple but important steps.
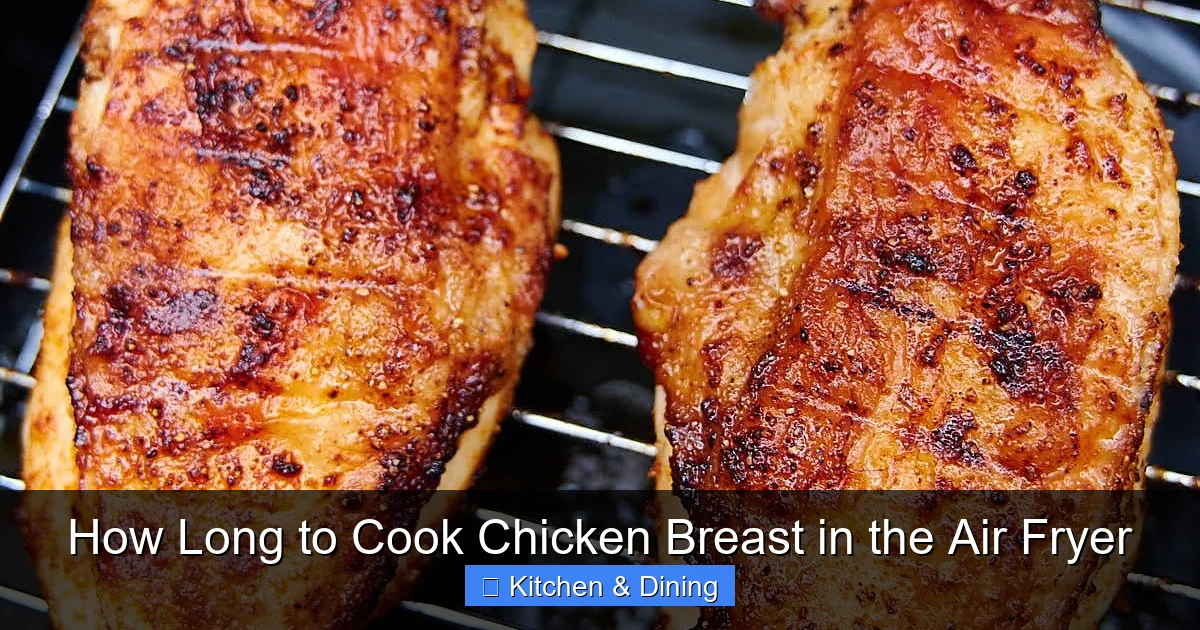
Visual guide about How Long to Cook Chicken Breast in the Air Fryer
Image source: cravingtasty.com
Trim and Pound (If Necessary)
If your chicken breasts are very thick or have uneven parts, consider trimming any excess fat. For more uniform cooking, place the chicken breast between two pieces of plastic wrap or parchment paper and gently pound it with a meat mallet or the flat side of a heavy pan until it’s about 3/4 to 1 inch thick all around. This ensures even cooking.
Season Generously
This is where you can get creative! Simple salt and pepper are a great start. Other popular seasonings include garlic powder, onion powder, paprika, dried herbs like rosemary or thyme, or even a pre-made chicken seasoning blend. For a spicier kick, add chili powder or cayenne pepper.
Example: For two chicken breasts, try 1 teaspoon of salt, 1/2 teaspoon of black pepper, 1 teaspoon of garlic powder, and 1/2 teaspoon of paprika. Mix these together and rub them all over the chicken, ensuring it’s well-coated.
Step 2: Preheat Your Air Fryer
This step is vital for achieving that perfect crispy texture and ensuring your chicken cooks evenly. Skipping this can lead to unevenly cooked chicken and a less desirable outcome.
Set your air fryer to 375°F (190°C). Let it preheat for at least 5 minutes. Most air fryers have an indicator light or beep when they’ve reached the desired temperature.
Step 3: Arrange Chicken in the Air Fryer Basket
Proper placement is key for good air circulation.
Don’t Overcrowd
Place your seasoned chicken breasts in a single layer in the air fryer basket. Make sure there’s space between each piece. If you overcrowd the basket, the air won’t be able to circulate properly, and your chicken will steam rather than air fry, leading to a less crispy exterior.
If you’re cooking more than two to three chicken breasts (depending on the size of your air fryer), you might need to cook them in batches. This is one of the advantages of having a versatile appliance like a good multi-function air fryer.
Step 4: Air Fry the Chicken Breast
Now for the main event!
Initial Cooking Time
For chicken breasts that are about 3/4 to 1 inch thick, start by air frying for 15-18 minutes at 375°F (190°C).
Flip Halfway Through
Around the halfway point of cooking (about 7-9 minutes in), carefully open the air fryer basket and flip each chicken breast using tongs. This helps ensure both sides get nicely browned and crispy.
Step 5: Check for Doneness
This is where your meat thermometer becomes indispensable.
Temperature Check
After the initial cooking time and flipping, insert your meat thermometer into the thickest part of the chicken breast. If it has reached 165°F (74°C), your chicken is done!
Adjust Cooking Time as Needed
If the chicken has not reached 165°F (74°C), continue air frying in 2-3 minute increments, checking the temperature after each interval. Factors like the exact thickness of your chicken and your specific air fryer model will dictate if more time is needed.
Example: If your chicken breasts are slightly thicker, you might need a total of 20-22 minutes. If they are thinner, 12-15 minutes might be sufficient.
Step 6: Rest Your Chicken
This is a crucial step that many people skip, but it makes a huge difference!
Why Resting is Important
Once the chicken reaches the correct internal temperature, remove it from the air fryer basket and place it on a clean cutting board or plate. Tent it loosely with aluminum foil. Let it rest for 5-10 minutes before slicing or serving.
During resting, the juices that have been driven to the center of the meat during cooking will redistribute throughout the chicken. If you cut into it immediately, all those delicious juices will run out, leaving you with dry chicken.
Tips for Perfectly Crispy and Juicy Air Fryer Chicken Breast
Beyond the basic steps, here are some pro tips to elevate your air fryer chicken breast game:
- Use a Little Oil: While air frying is designed to use less oil, a light spray or brush of cooking oil (like olive oil, avocado oil, or canola oil) on the chicken before cooking can help create an even crispier exterior and prevent sticking.
- Don’t Forget Marinades: Marinating your chicken breast for at least 30 minutes (or up to a few hours) can add incredible flavor and tenderness. Just be mindful of sugary marinades, which can burn quickly.
- Experiment with Spices: Don’t be afraid to explore different spice blends. Smoked paprika, Italian herbs, curry powder, or a simple lemon-pepper seasoning can completely change the flavor profile.
- Consider Breaded Chicken: For an extra crispy treat, you can bread your chicken breast in flour, egg wash, and panko breadcrumbs. You may need to slightly increase the cooking time to ensure the breading is golden brown and the chicken is cooked through.
- Clean Your Air Fryer Regularly: A clean air fryer functions better. For advice on keeping your kitchen appliances spotless, check out the best way to clean the inside of a microwave oven, which shares general principles for appliance maintenance.
Troubleshooting Common Air Fryer Chicken Breast Issues
Even with the best intentions, sometimes things don’t go as planned. Here are some common issues and how to fix them:
Problem: Chicken is Dry and Tough
Cause: Overcooked. This is the most common culprit.
Solution: Use a meat thermometer and remove the chicken as soon as it reaches 165°F (74°C). Make sure to let it rest for 5-10 minutes before slicing.
Problem: Chicken is Undercooked in the Middle
Cause: Not cooked long enough, or uneven thickness.
Solution: Extend the cooking time in short increments (2-3 minutes). If you didn’t pound the chicken to an even thickness, that’s likely the issue. Pound it next time for more consistent results.
Problem: The Outside is Burnt, but the Inside is Undercooked
Cause: Too high a temperature or too long a cooking time for the thickness. Sugar in marinades can also cause this.
Solution: Lower the air fryer temperature slightly (e.g., to 350°F or 175°C) and/or reduce the cooking time. If using a sugary marinade, consider adding it in the last few minutes of cooking or using less.
Problem: Chicken is Not Crispy Enough
Cause: Overcrowded basket, not enough oil, or not preheated properly.
Solution: Ensure you’re cooking in a single layer with space between pieces. Lightly oil the chicken. Make sure your air fryer is fully preheated before adding the chicken. You can also try increasing the temperature slightly for the last few minutes of cooking to enhance crispiness.
Conclusion
Mastering how long to cook chicken breast in the air fryer is a game-changer for quick, healthy, and delicious meals. By understanding the importance of chicken thickness, always preheating your air fryer, using a meat thermometer to check for an internal temperature of 165°F (74°C), and allowing your chicken to rest, you’re well on your way to air fryer perfection.
Experiment with different seasonings and marinades to discover your favorite flavor combinations. With this guide, you have all the tools you need to whip up consistently tender, juicy, and flavorful chicken breast that will become a staple in your kitchen rotation. Happy air frying!