

Craving a delicious homemade pie but don’t have a food processor? Fear not! This comprehensive guide will walk you through making a perfect pie crust using simple, everyday kitchen tools. You’ll learn how to achieve that wonderfully flaky and tender texture that makes any pie shine, all without the need for fancy gadgets.
Making a delicious pie from scratch is a rewarding culinary experience. The crust is the foundation of any great pie, providing that perfect balance of flakiness and tenderness. Many home bakers assume a food processor is essential for achieving a professional-quality pie crust. However, this couldn’t be further from the truth! You can absolutely make a fantastic pie crust without a food processor, using just a few common kitchen tools.
This guide will show you exactly how to create a perfect, flaky, and tender pie crust by hand. We’ll cover everything from selecting the right ingredients to the step-by-step process, along with helpful tips and troubleshooting advice. Get ready to impress yourself and your loved ones with your homemade pie-making skills!
- The Power of Cold Ingredients: Using ice-cold butter and water is crucial for creating flaky layers in your pie crust.
- Achieving the Right Texture: The key is to cut the butter into the flour until it resembles coarse crumbs with some pea-sized pieces.
- Gentle Handling is Key: Overworking the dough will develop gluten, resulting in a tough crust. Handle it as little as possible.
- The Importance of Resting: Letting the dough chill allows the gluten to relax and the fats to firm up, making it easier to roll.
- Blind Baking Basics: For pies with no-bake fillings or those that need a perfectly crisp bottom, blind baking is essential.
- Troubleshooting Common Issues: Learn how to fix common problems like a crumbly crust or a tough texture.
Why Make Pie Crust By Hand?
While food processors are convenient for many tasks, making pie crust by hand offers a unique connection to the baking process. It allows you to develop a feel for the dough and control the texture precisely. Plus, it’s a great way to hone your basic baking skills and demonstrate that you don’t need specialized equipment to bake beautifully. If you’re curious about other kitchen gadgets that can simplify baking, you might find our articles on the best baby food processor or the best bargain food processor interesting, though they are not needed for this particular recipe.
Ingredients You’ll Need
The beauty of a simple pie crust lies in its basic ingredients. For a standard 9-inch double pie crust, you will typically need:
- 2 ½ cups all-purpose flour
- 1 teaspoon salt
- 1 cup (2 sticks) unsalted butter, very cold and cut into ½-inch cubes
- ½ cup ice water, plus more if needed
It’s essential that your butter and water are ice-cold. This is the secret to a flaky crust. The cold fat creates steam pockets as it bakes, which lift the dough and create those delightful layers.
Tools You’ll Need
Don’t worry if you don’t have a food processor. These common kitchen tools will do the job perfectly:
- Large mixing bowl
- Pastry blender or two forks
- Measuring cups and spoons
- Plastic wrap
- Rolling pin
- Pie plate
Step-by-Step Guide to Making Pie Crust Without a Food Processor
Let’s get started on creating your perfect pie crust!
Step 1: Combine Dry Ingredients
In your large mixing bowl, whisk together the flour and salt. This ensures the salt is evenly distributed throughout the flour.
Step 2: Cut in the Cold Butter
This is a crucial step for texture. You want to cut the cold butter into the flour mixture until it resembles coarse crumbs, with some pieces about the size of peas.
Using a Pastry Blender
A pastry blender is ideal for this. Hold the pastry blender over the bowl and press down, “chopping” the butter into the flour. Move the blender around the bowl, rotating the butter as you go. Continue until you achieve the desired crumbly texture.
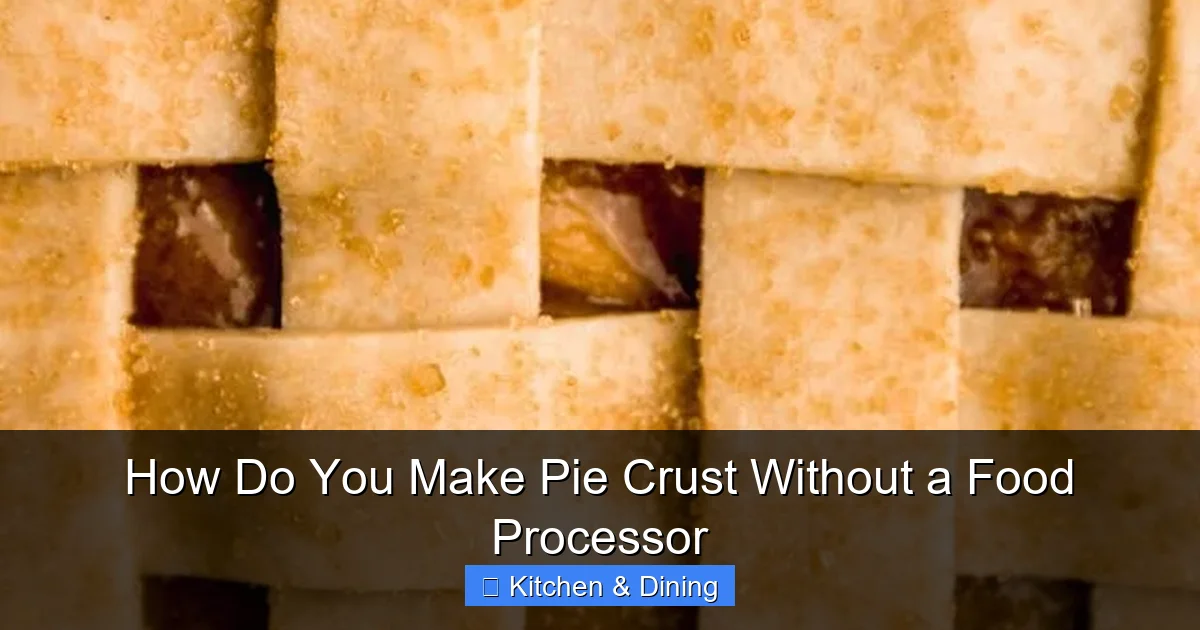
Visual guide about How Do You Make Pie Crust Without a Food Processor
Image source: cravingsjournal.com

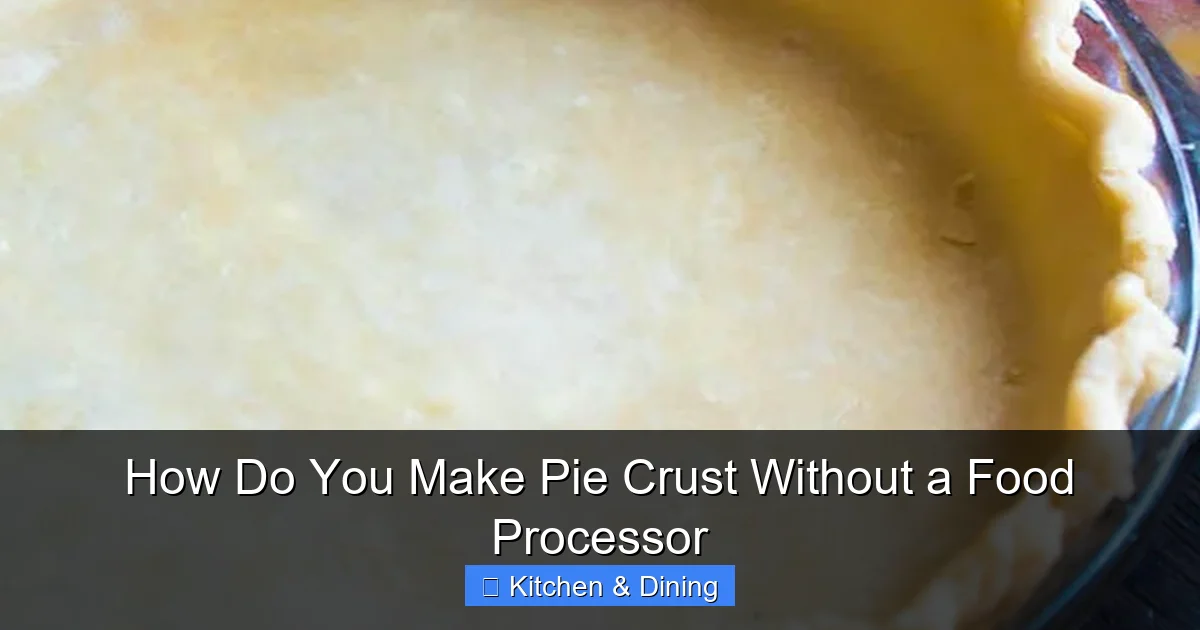
Visual guide about How Do You Make Pie Crust Without a Food Processor
Image source: nofrillskitchen.com
Visual guide about How Do You Make Pie Crust Without a Food Processor
Image source: queensleeappetit.com
Using Two Forks
If you don’t have a pastry blender, two forks work well. Use one fork to hold down the butter and the other to “chop” it into the flour. Scrape the butter off the forks as needed. This method takes a little more time and effort, but it’s very effective.
Using Your Fingertips (Quickly!)
Some bakers prefer to use their fingertips. This should be done very quickly to avoid warming the butter too much. Lightly rub the butter into the flour between your thumbs and fingertips, breaking it down into small pieces. Stop as soon as you reach the coarse crumb stage.
Tip: The goal is to have pieces of butter coated in flour, but still distinct. These butter pieces are what create the flaky layers.
Step 3: Add Ice Water
Gradually add the ice water, a tablespoon at a time, to the flour and butter mixture.
How to Add Water
As you add the water, gently toss the mixture with a fork. Continue adding water until the dough just starts to come together. You want it to be moist enough to hold its shape when squeezed, but not wet or sticky.
Important: Do not overmix! Overworking the dough will develop the gluten in the flour, leading to a tough crust. Stop mixing as soon as the dough clumps together. You might not need all of the water, or you might need a tiny bit more. The exact amount can vary depending on the humidity in your kitchen.
Step 4: Form the Dough into Discs
Turn the dough out onto a lightly floured surface. Gently bring the dough together with your hands. Do not knead it like bread.
Dividing the Dough
If you’re making a double crust pie, divide the dough into two equal portions. If you’re making a single crust, divide it into one portion.
Shaping the Discs
Gently flatten each portion into a disc about 1-inch thick. This shape makes it easier to roll out later. Wrap each disc tightly in plastic wrap.
Step 5: Chill the Dough
This is another critical step for a tender and easy-to-roll crust. Refrigerate the dough discs for at least 30 minutes, or up to 2 days.
Chilling the dough allows the gluten to relax, making it less likely to shrink during baking. It also solidifies the butter, which helps create those flaky layers when it melts in the oven.
Step 6: Roll Out the Dough
Once the dough is chilled and firm, it’s time to roll it out.
Preparing Your Surface
Lightly flour your work surface and your rolling pin. This prevents the dough from sticking.
Rolling Technique
Take one disc of dough out of the refrigerator. Let it sit at room temperature for about 5-10 minutes if it’s very stiff, just enough to make it pliable. Place the dough disc on the floured surface. Start rolling from the center of the dough outwards, applying gentle, even pressure. Rotate the dough slightly after each roll to ensure an even thickness and prevent sticking.
Tip: If the dough cracks around the edges, it might be too cold or dry. You can gently press the cracks together with your fingers or add a tiny bit more ice water if it seems too dry. If it gets too soft and sticky, pop it back in the fridge for 15-20 minutes.
Roll the dough into a circle about 12 inches in diameter for a 9-inch pie plate. The thickness should be about ⅛ inch.
Step 7: Transfer Dough to Pie Plate
Gently transfer the rolled-out dough to your pie plate.
Methods for Transferring
- Rolling Pin Method: Carefully roll the dough loosely around your rolling pin. Unroll it over the pie plate, centering it as you go.
- Folding Method: Gently fold the dough in half, then in quarters. Place the point in the center of the pie plate and unfold.
Gently press the dough into the bottom and up the sides of the pie plate, being careful not to stretch it.
Step 8: Trim and Crimp the Edges
Trim the excess dough hanging over the edge of the pie plate. Leave about a 1-inch overhang.
Trimming the Dough
You can use a knife or kitchen shears to trim the dough. For a double crust, you’ll have a second round of dough to place on top, so trim this first crust to allow for the top crust overhang.
Cimpling the Edges
Fold the overhang under to create a thicker rim. Then, crimp the edges decoratively using your fingers or a fork. This not only looks nice but also helps seal the crust.
Step 9: Chill the Prepared Crust (Optional but Recommended)
For an extra flaky and perfectly shaped crust, it’s a good idea to chill the prepared pie shell (with the crimped edges) in the refrigerator for at least 30 minutes before filling and baking. This helps prevent shrinkage and ensures crispier edges.
Step 10: Blind Baking (If Necessary)
If your pie recipe requires a pre-baked crust (like for a no-bake filling or a custard that bakes quickly), you’ll need to “blind bake” the crust.
What is Blind Baking?
Blind baking means baking the pie crust before adding the filling. This ensures the bottom crust is fully cooked and prevents it from becoming soggy.
How to Blind Bake
- Preheat your oven to the temperature specified in your recipe (usually around 375-400°F / 190-200°C).
- Prick the bottom of the pie crust all over with a fork. This prevents puffing.
- Line the crust with parchment paper or aluminum foil. Fill it with pie weights, dried beans, or uncooked rice. Make sure the weights go all the way up the sides of the crust.
- Bake for 15-20 minutes, or until the edges are lightly golden.
- Carefully remove the parchment paper and weights.
- If the recipe requires a fully baked crust, continue baking for another 5-10 minutes, or until the bottom is golden brown and cooked through. If it needs to be partially baked, you’ll fill it at this stage.
Tip: If the edges of your crust start to brown too quickly during blind baking, you can cover them loosely with strips of aluminum foil or use a pie shield.
Troubleshooting Your Pie Crust
Even with the best intentions, sometimes things don’t go as planned. Here are a few common issues and how to fix them:
My Crust is Tough and Chewy
This is usually due to overworking the dough. When you overwork the dough, you develop the gluten in the flour, which makes the crust tough. Next time, handle the dough as little as possible, especially when adding the water and bringing it together.
My Crust is Crumbly and Falls Apart
This can happen if there isn’t enough fat or liquid, or if the dough wasn’t brought together properly. Ensure you’re using the correct ratio of ingredients. If it’s still crumbly when you’re trying to roll it out, try gently pressing the pieces together on the floured surface, or adding a tiny bit more ice water (just a teaspoon at a time) to help it bind.
My Crust Shrank During Baking
This is often caused by not chilling the dough sufficiently, or by stretching the dough too much when fitting it into the pie plate. Make sure to chill the dough for at least 30 minutes before rolling, and press it gently into the plate without pulling or stretching.
My Crust is Soggy on the Bottom
This is a common problem, especially with fruit pies. Ensure you’re properly blind baking the crust if your recipe calls for it. Also, making sure your filling isn’t too watery can help. You can also try baking your pie on the lowest rack of the oven to ensure the bottom heats directly.
Tips for Success
* Use the Coldest Ingredients Possible: This cannot be stressed enough. Cold butter and ice water are your best friends for a flaky crust.
* Don’t Overwork the Dough: Handle the dough as little as possible at each step.
* Chill, Chill, Chill: Chilling the dough at various stages is key to a good crust.
* Measure Flour Correctly: Too much flour will result in a dry, tough crust. Spoon flour into your measuring cup and level it off with a straight edge.
* Practice Makes Perfect: Don’t get discouraged if your first few attempts aren’t perfect. You’ll get a feel for it with practice!
Conclusion
Making a flaky, tender pie crust without a food processor is entirely achievable with a little practice and the right technique. By focusing on using cold ingredients, gentle handling, and proper chilling, you can create a beautiful and delicious foundation for any pie. So, the next time you’re inspired to bake, don’t let the absence of a food processor deter you. Grab your pastry blender or forks, embrace the process, and enjoy the satisfaction of a perfectly homemade pie crust made entirely by hand. Happy baking!


