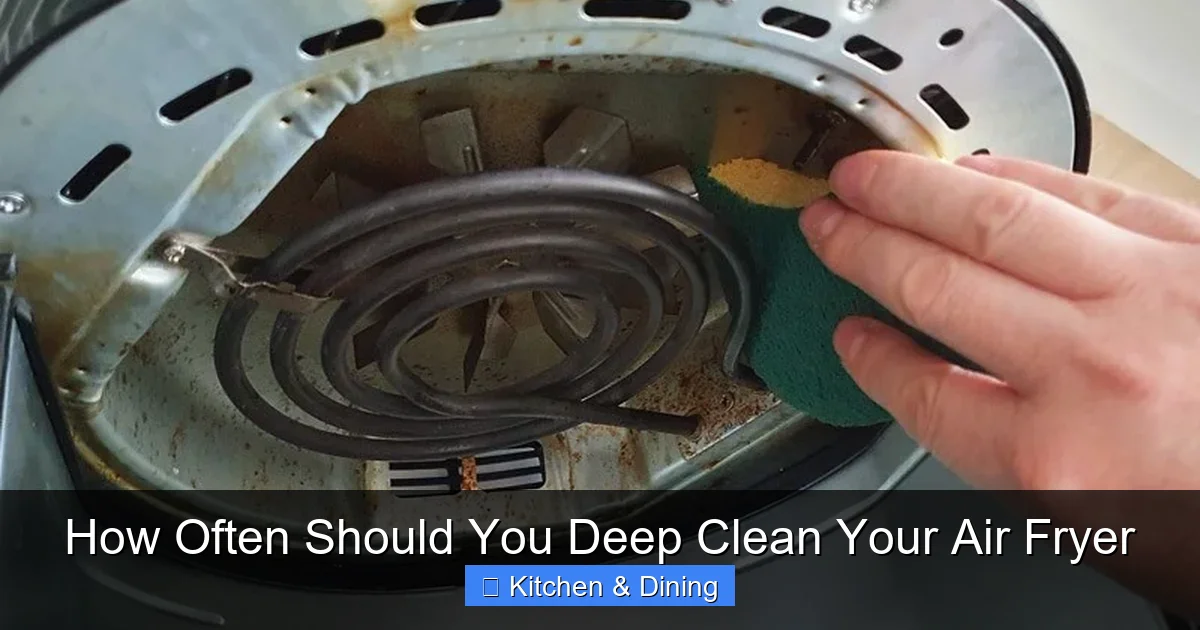
How Often Should You Deep Clean Your Air Fryer
Knowing how often to deep clean your air fryer is key to maintaining its performance and ensuring healthy cooking. This comprehensive guide details the ideal cleaning frequency, from daily wipe-downs to thorough deep cleans, ensuring your appliance stays in top condition. We’ll cover the signs that indicate a deep clean is needed and provide step-by-step instructions to make the process easy and effective.
## How Often Should You Deep Clean Your Air Fryer?
The air fryer has become a beloved kitchen appliance for its ability to deliver crispy, delicious food with less oil. But like any kitchen gadget, it needs regular care to keep it running efficiently and hygienically. One of the most common questions from air fryer owners is: how often should you deep clean your air fryer? The answer isn’t a one-size-fits-all, but understanding the factors involved will help you keep your appliance in pristine condition.
This guide will break down the ideal cleaning schedule for your air fryer, from daily maintenance to the crucial deep clean. We’ll cover what constitutes a deep clean, the signs that indicate it’s time for one, and provide step-by-step instructions to get your air fryer sparkling again.
### Understanding Air Fryer Cleaning: From Daily to Deep
Before we dive into the frequency, let’s clarify what we mean by different levels of cleaning:
* Daily Wipe-Down: This involves quickly cleaning the removable parts after each use. It’s about preventing immediate build-up.
* Weekly Light Cleaning: A more thorough wash of the basket and tray, often done in a sink with soap and water.
* Deep Cleaning: This is a more comprehensive process that tackles the entire appliance, including areas that aren’t easily accessible during regular cleaning. This is what we’ll focus on.
### Why Regular Deep Cleaning Matters
You might wonder why such a fuss about cleaning an air fryer. Isn’t it just cooking food? The reality is that air fryers work by circulating hot air at very high speeds. This process can cause grease, food particles, and moisture to splatter and accumulate inside the appliance. If left unaddressed, this build-up can lead to:
* Unpleasant Odors: Lingering food particles can become rancid, causing your air fryer to smell bad, which can transfer to your food.
* Reduced Performance: Grease build-up on heating elements or fans can hinder the efficient circulation of hot air, leading to uneven cooking or longer cooking times.
* Smoke Production: Accumulated grease can overheat and smoke, which is not only a fire hazard but also indicates a poorly maintained appliance.
* Hygiene Concerns: Food residue can harbor bacteria, posing a health risk.
* Shorter Lifespan: Neglecting your air fryer can lead to premature wear and tear, reducing its overall lifespan.
### How Often Should You Deep Clean Your Air Fryer? The Factors to Consider
The frequency of deep cleaning your air fryer depends on several key factors:
1. Frequency of Use:
* Daily Users: If you use your air fryer every day, or even multiple times a day, you’ll need to deep clean it more often. Think monthly.
* Weekly Users: If you use your air fryer a few times a week, quarterly deep cleans might suffice.
* Infrequent Users: If you only use it once or twice a month, an annual deep clean might be enough, provided you’re doing regular light cleaning.
2. Types of Food Cooked:
* Fatty Foods: Cooking greasy foods like bacon, chicken wings, or fatty cuts of meat will lead to more splatter and require more frequent deep cleaning.
* Breaded Foods: Foods with breading can leave behind crumbs that are harder to remove and can get lodged in crevices.
* Dry Foods: Cooking less greasy items like vegetables or fruits will result in less mess.
3. Manufacturer’s Recommendations:
* Always refer to your air fryer’s user manual. Manufacturers often provide specific cleaning guidelines tailored to their models. Some might recommend a deep clean every 3 months, while others might suggest more or less often. For example, if you own an Instant Pot Vortex Plus, checking its manual is the first step.
4. Visible Signs of Need:
* This is often the most practical indicator. If you notice any of the “signs you need a deep clean” listed below, it’s time for a thorough scrub, regardless of your usual schedule.
### General Guidelines for Deep Cleaning Frequency:
* Heavy Use (Daily/Multiple Times Daily): Aim for a deep clean **once a month**.
* Moderate Use (Several Times a Week): Aim for a deep clean **every 2-3 months**.
* Light Use (Once a Week or Less): Aim for a deep clean **every 3-6 months**, or as needed based on signs.
### Signs That Indicate It’s Time for a Deep Clean
Don’t wait for your scheduled deep clean if your air fryer is giving you signs it needs attention. Here are common indicators:
* Persistent Odors: If you notice a lingering smell of burnt food or grease even after a regular cleaning, it’s a sure sign that residue is deeply embedded.
* Visible Build-Up: Take a look inside. If you see charred food bits, greasy residue coating the walls, heating element, or fan blades, it’s time to clean.
* Smoke During Operation: A small amount of smoke might occur with very fatty foods, but consistent, excessive smoke is a major red flag indicating grease build-up is overheating.
* Reduced Cooking Efficiency: If your food isn’t cooking as evenly or as quickly as it used to, a dirty appliance might be the culprit.
* Changes in Food Taste/Texture: If your food starts to taste “off” or has an unpleasant greasiness, it’s likely due to accumulated grime.
* Sticky Surfaces: If the interior surfaces feel sticky or greasy to the touch, even after wiping, a deeper clean is required.
### How to Deep Clean Your Air Fryer: A Step-by-Step Guide
Deep cleaning your air fryer doesn’t have to be a daunting task. With the right approach, it’s manageable. Always ensure your air fryer is unplugged and completely cool before you begin.
#### Step 1: Preparation and Disassembly
* Unplug and Cool: Safety first! Make sure the appliance is turned off, unplugged, and fully cooled down.
* Remove Removable Parts: Take out the basket, crisper plate, and any other removable accessories. These are usually dishwasher-safe, but handwashing is often gentler and recommended for maintaining their non-stick coatings.
#### Step 2: Cleaning the Removable Parts
* Soak if Necessary: For stubborn, caked-on grease, soak the basket and crisper plate in hot, soapy water for about 15-30 minutes. You can add a little baking soda to the water to help break down grease.
* Scrub Gently: Use a non-abrasive sponge or brush to scrub away food residue and grease. Avoid steel wool or harsh scrubbers, as they can damage the non-stick coating.
* Rinse Thoroughly: Ensure all soap residue is washed off.
* Dry Completely: Thoroughly dry all parts with a clean cloth before reassembling. Moisture can lead to rust or affect performance.
#### Step 3: Cleaning the Interior of the Air Fryer
This is where the “deep clean” aspect comes into play, as you’ll be cleaning parts not typically reached during weekly washes.
* Wipe Down Surfaces:
* Use a damp, soft cloth or sponge to wipe down the interior walls, base, and door (if applicable).
* For tougher spots, you can use a mild dish soap solution on the cloth. **Do not spray cleaning solutions directly into the air fryer.**
* Clean the Heating Element:
* The heating element is usually located at the top of the air fryer. It might be visible or behind a protective grate.
* With the air fryer cool and unplugged, gently wipe the heating element with a damp cloth. For any stuck-on bits, you can use a soft brush or even a slightly damp cotton swab, being very careful not to damage the element.
* Ensure the heating element is completely dry afterward.
* Clean the Fan (If Accessible):
* Some air fryers allow access to the fan blades, often by removing a cover at the back or top. Consult your manual for specific instructions.
* If accessible, gently wipe the fan blades with a damp cloth to remove any grease or dust accumulation.
* Clean the Drip Tray/Base:
* If your air fryer has a removable drip tray or a base that collects grease, clean this thoroughly with hot, soapy water, just like the basket.
#### Step 4: Cleaning the Exterior
* Wipe Down the Casing: Use a damp cloth with a mild soap solution to clean the outside of the air fryer.
* Dry and Polish: Dry with a clean cloth. For stainless steel exteriors, you can use a stainless steel polish to make it shine.
#### Step 5: Reassembly and Final Check
* Reassemble: Once all parts are clean and completely dry, reassemble your air fryer.
* Air Out: It’s a good idea to let the air fryer sit with its basket open for a while to ensure any lingering moisture evaporates completely and any cleaning smells dissipate. You can also run it empty on a low setting for a few minutes if you want to be extra sure.
### Tips for Easier Air Fryer Cleaning
* Use Parchment Paper or Air Fryer Liners: These can significantly reduce the amount of grease and food particles that stick to the basket, making daily and weekly cleaning much easier. Just be sure to use liners that are appropriate for air frying and don’t obstruct airflow.
* Clean Up Spills Immediately: If you notice a spill or splatter while cooking, wipe it up (carefully, as it will be hot!) as soon as it’s safe to do so.
* Don’t Let Grease Build Up: The key to less intensive deep cleaning is consistent daily and weekly maintenance.
* Invest in the Right Tools: A good set of non-abrasive brushes, sponges, and microfiber cloths will make cleaning much more effective and less likely to damage your appliance.
* Baking Soda Paste: For really tough grease stains on the removable parts, a paste of baking soda and water can work wonders. Apply it, let it sit for 15-20 minutes, then scrub gently.
### Troubleshooting Common Air Fryer Cleaning Issues
* Stubborn Grease on Heating Element: Ensure the air fryer is unplugged and completely cool. You can try a slightly damp microfiber cloth or a soft brush. If it’s still stuck, a cotton swab dipped in a tiny amount of vinegar or lemon juice (very sparingly!) can help break it down, but be extremely careful not to oversaturate or damage the element. Always ensure it’s bone dry afterward.
* Non-Stick Coating Peeling: If the non-stick coating on your basket or crisper plate is peeling, it’s likely due to abrasive cleaning methods or excessive heat. While you can try to clean around it, the part might need replacing if it’s severely compromised. This is why gentle cleaning is so important.
* Smell Persists After Deep Cleaning: If the smell is still there after a thorough deep clean, check for any hidden nooks or crannies you might have missed, especially around the fan or ventilation areas. Sometimes, the smell can be coming from the fan motor itself if it’s very old or has accumulated significant internal grease, which might indicate a need for professional servicing or replacement.
### Conclusion
So, how often should you deep clean your air fryer? While there’s no single answer, understanding your usage habits, the types of food you cook, and paying attention to the visible signs will guide you to the perfect schedule. Aim for a routine of daily wipe-downs, weekly washes, and a thorough deep clean typically ranging from monthly to quarterly. By investing a little time in regular maintenance, you’ll ensure your air fryer continues to be a healthy, efficient, and reliable workhorse in your kitchen, delivering delicious, crispy results for years to come. Treat your air fryer well, and it will treat your taste buds even better!
Key Takeaways
- Daily Wipe-Downs are Essential: After each use, wipe down the basket and any accessible interior surfaces to remove crumbs and grease.
- Weekly Light Cleaning is Recommended: For most users, a more thorough clean of the basket and tray once a week is sufficient.
- Deep Cleaning Frequency Varies: How often you deep clean depends on usage, the types of food cooked, and manufacturer recommendations, but typically ranges from monthly to quarterly.
- Signs You Need a Deep Clean: Persistent odors, visible build-up of burnt food, reduced cooking efficiency, or smoke are indicators that a deep clean is necessary.
- Proper Deep Cleaning Preserves Performance: Regular deep cleaning prevents grease build-up that can affect heating elements and cooking results, extending the life of your air fryer.
- Follow Manufacturer Guidelines: Always check your air fryer’s manual for specific cleaning instructions and recommended frequencies.