How Long to Cook Chicken Breast in Air Fryer
Cooking chicken breast in an air fryer is a quick and easy way to achieve perfectly cooked, juicy, and tender results. This guide will walk you through everything you need to know about air fryer chicken breast, from prep to perfect doneness. You’ll learn the ideal cooking times and temperatures, and discover tips for foolproof success. Get ready to enjoy delicious, healthy chicken in minutes!
Key Takeaways
- The exact cooking time for air fryer chicken breast depends on thickness, temperature, and your specific air fryer model. Aim for an internal temperature of 165°F (74°C).
- Preheating your air fryer is crucial for even cooking and crispy results. Most models require about 3-5 minutes of preheating.
- Patting the chicken breast dry before seasoning is a key step. This helps create a crispier exterior.
- Don’t overcrowd the air fryer basket. This prevents proper air circulation, leading to unevenly cooked chicken.
- Flipping or shaking the basket halfway through the cooking time ensures even browning and cooking on all sides.
- Resting the chicken breast after cooking allows the juices to redistribute, resulting in a more tender and flavorful final product.
- Factors like bone-in vs. boneless, marinated vs. plain, and different thicknesses will affect cooking time. Always use a meat thermometer to verify doneness.
How Long to Cook Chicken Breast in Air Fryer
Welcome to your ultimate guide on cooking chicken breast in an air fryer! If you’re looking for a fast, healthy, and incredibly delicious way to prepare chicken, the air fryer is your new best friend. Forget dry, bland chicken. With the right technique, you can achieve perfectly cooked, juicy, and tender chicken breast every single time.
This guide will cover everything you need to know. We’ll break down the step-by-step process, explore the factors that influence cooking time, offer practical tips, and even touch on some troubleshooting. By the end, you’ll be an air fryer chicken breast pro, confident in your ability to whip up this versatile protein for any meal. Whether you’re a beginner or have dabbled with your air fryer before, this guide is designed to make your chicken breast cooking experience a success.
Understanding Air Fryer Chicken Breast
Before we dive into the how-to, let’s quickly chat about why air fryers are so great for chicken breast. Air fryers work by circulating hot air around your food at high speed. This process creates a crispy, golden-brown exterior while keeping the inside moist and tender. It’s like a mini convection oven, but much faster and more efficient for smaller portions. Chicken breast, being a lean cut, can easily become dry if overcooked. The air fryer’s precise temperature control and quick cooking time are perfect for preventing this.
Factors Affecting Cooking Time
It’s important to understand that there isn’t one single answer to “how long to cook chicken breast in an air fryer.” Several factors play a role:
- Thickness of the Chicken Breast: This is the most significant factor. Thicker breasts will naturally take longer to cook through than thinner ones.
- Air Fryer Model and Wattage: Different air fryers have varying heating elements and efficiencies. Some run hotter than others.
- Starting Temperature of the Chicken: Chicken straight from the refrigerator will take slightly longer than chicken that has rested at room temperature for a few minutes.
- Marination: If your chicken is marinated, especially in acidic ingredients like lemon juice or vinegar, it might cook slightly faster.
- Bone-in vs. Boneless: Bone-in chicken breast will take longer to cook than boneless.
The Golden Rule: Internal Temperature
While time is a guideline, the ultimate indicator of perfectly cooked chicken breast is its internal temperature. For poultry, the safe and recommended internal temperature is 165°F (74°C). Always use a meat thermometer to check for doneness. Insert the thermometer into the thickest part of the breast, avoiding any bone.
Step-by-Step Guide to Air Fryer Chicken Breast
Now, let’s get to the good stuff – how to actually cook your chicken breast in the air fryer!
Step 1: Prepare Your Chicken Breast
This initial step sets the stage for success.
Trim Excess Fat
If there’s any large, thick pieces of fat on your chicken breast, trim them away. This isn’t strictly necessary for air frying but can lead to a cleaner cooking process.
Pat Dry Thoroughly
This is a critical step for achieving a crispy exterior. Use paper towels to pat your chicken breasts completely dry. Moisture is the enemy of crispiness!
Season Generously
This is where you can get creative. You can use simple salt and pepper, or go for a rub with paprika, garlic powder, onion powder, chili powder, or any of your favorite spices. For a fantastic flavor boost, consider a marinade. If you’re marinating, ensure the chicken is well-coated and let it sit for at least 30 minutes (or up to a few hours in the refrigerator). For a simple preparation, you can also brush the chicken with a little olive oil or melted butter before applying your dry seasonings.
Step 2: Preheat Your Air Fryer
Just like preheating a regular oven, preheating your air fryer ensures even cooking and a better texture.
Set the Temperature
Most recipes call for a temperature between 375°F (190°C) and 400°F (200°C). For most boneless, skinless chicken breasts, 380°F (190°C) is a great starting point.
Preheat Time
Let your air fryer preheat for about 3-5 minutes. You’ll usually hear it reach temperature, or some models have a light indicator.
Step 3: Arrange Chicken in the Air Fryer Basket
Proper placement is key to ensuring the hot air can circulate around the chicken.
Single Layer
Place your seasoned chicken breasts in a single layer in the air fryer basket. Do not overlap them.
Avoid Overcrowding
If you have more chicken than can fit in a single layer without touching, cook them in batches. Overcrowding prevents air circulation, leading to uneven cooking and less crispy results. You want the air to be able to reach all sides of the chicken.
Step 4: Air Fry the Chicken Breast
This is where the magic happens!
Initial Cooking Time
For an average-sized (about 6-8 ounce) boneless, skinless chicken breast, start with a cooking time of approximately 15-20 minutes at 380°F (190°C).
Flip Halfway Through
Around the halfway mark (about 8-10 minutes into cooking), carefully open the air fryer basket and flip the chicken breasts over. This ensures even browning and cooking on both sides.
Check for Doneness
After the initial cooking time, use your meat thermometer to check the internal temperature.
- Insert the thermometer into the thickest part of the chicken breast.
- If it reads 165°F (74°C), your chicken is perfectly cooked!
- If it’s not quite there, close the basket and continue cooking in 2-3 minute increments, checking the temperature each time.
For thicker breasts, it might take a few minutes longer. For thinner breasts, it might be a few minutes less.
Step 5: Rest the Chicken
This is another crucial step that many people skip, but it makes a world of difference.
Tent with Foil
Once the chicken reaches 165°F (74°C), remove it from the air fryer basket and place it on a clean cutting board or plate. Tent it loosely with aluminum foil.
Resting Time
Let the chicken rest for 5-10 minutes. During this time, the juices within the chicken will redistribute throughout the meat, making it incredibly moist and tender. If you cut into it immediately, all those delicious juices will run out onto the plate.
Step 6: Slice and Serve
After resting, your perfectly cooked air fryer chicken breast is ready to be enjoyed.
Slicing Technique
You can slice it against the grain for maximum tenderness. If you’re looking for a guide on the best tools for this, check out our article on the best knife to fillet chicken breast.
Serving Suggestions
Enjoy your chicken breast whole, sliced for salads, diced for tacos, or shredded for sandwiches. It’s incredibly versatile!
Tips for Perfect Air Fryer Chicken Breast Every Time
Beyond the basic steps, here are some extra tips to elevate your air fryer chicken breast game:
- Use a Meat Thermometer: I cannot stress this enough! It’s the only foolproof way to ensure your chicken is cooked through and not overcooked.
- Experiment with Seasonings and Marinades: Don’t be afraid to try different flavor profiles. Lemon-herb, BBQ, Italian-inspired, or spicy chili are all fantastic options.
- Consider Boneless, Skinless vs. Bone-in, Skin-on: While this guide focuses on boneless, skinless breasts, bone-in, skin-on breasts will take longer and often yield a richer flavor and crispier skin. Adjust your time accordingly, and aim for an internal temperature of 165°F (74°C) in the thickest part, making sure not to touch the bone.
- Adjust for Different Sizes: If you have very thin chicken breasts, they might cook in as little as 12-15 minutes. If you have exceptionally thick ones, they could take up to 25 minutes or more. Always rely on temperature.
- Clean Your Air Fryer Regularly: A clean air fryer works more efficiently and prevents any residual odors or flavors from affecting your food. For cleaning tips, refer to guides on maintaining your appliances.
- Don’t Forget the Marinade Time: If you marinate, give it sufficient time. For example, if you have a particularly tricky marinade or are using a cut that might benefit from tenderizing, consider the advice found in guides about preparing meats, much like how you might handle other cuts or preparations.
Troubleshooting Common Air Fryer Chicken Breast Issues
Even with the best intentions, things can sometimes go awry. Here are a few common issues and how to fix them:
Issue: Chicken is dry and overcooked.
Cause: Overcooked. This is usually due to cooking for too long or not using a meat thermometer.
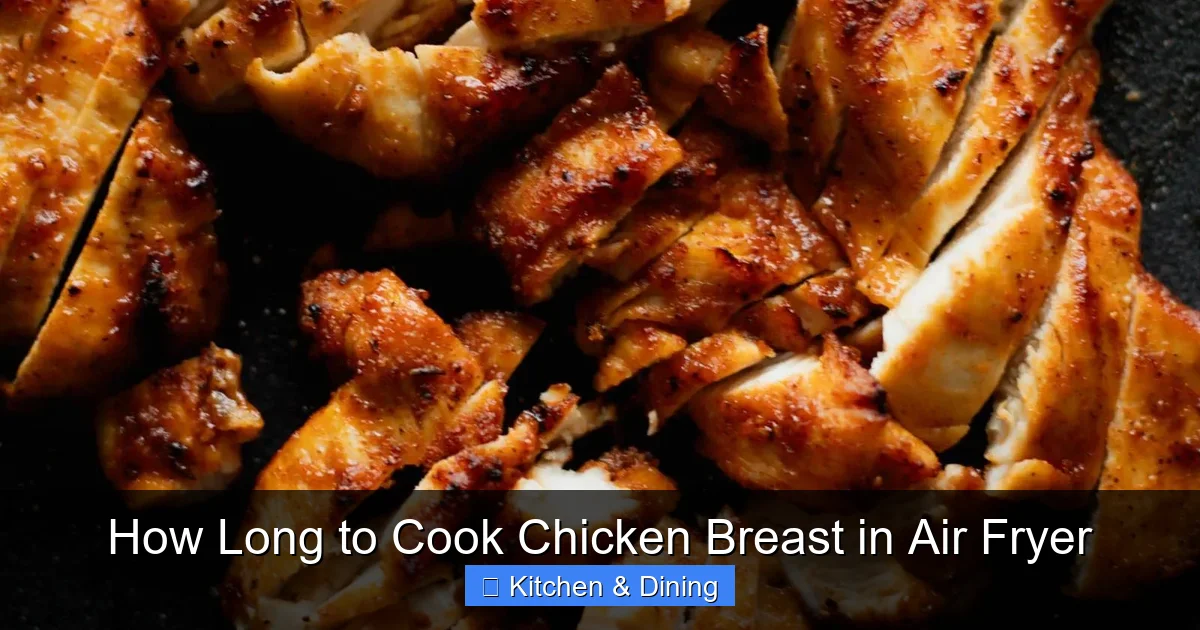
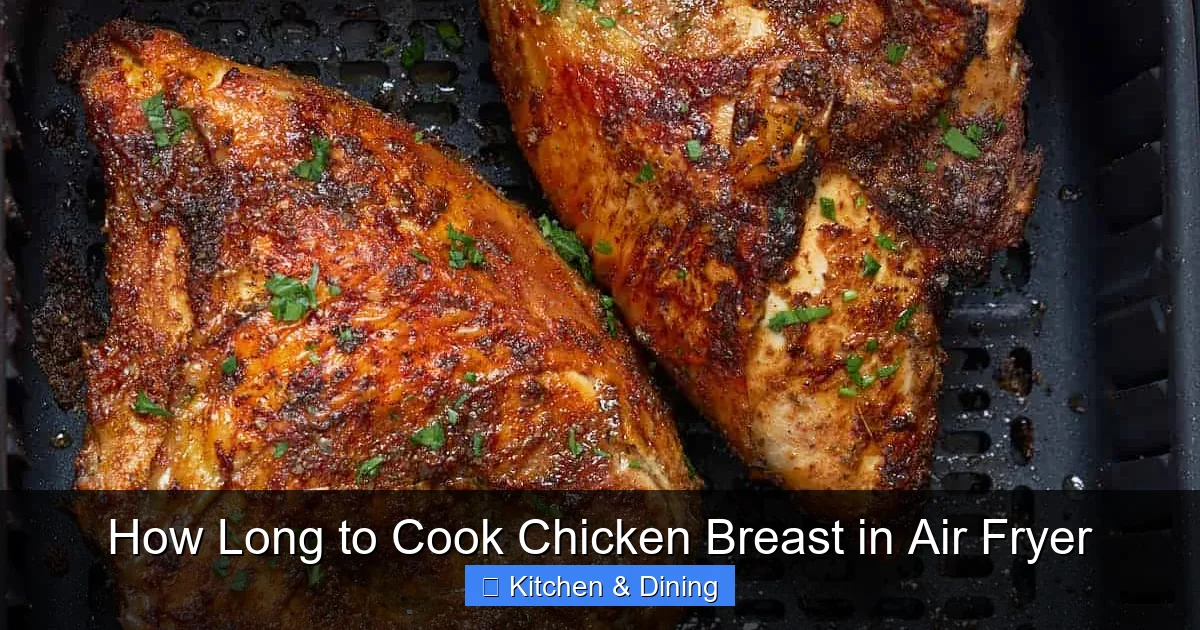
Visual guide about How Long to Cook Chicken Breast in Air Fryer
Image source: thereciperebel.com
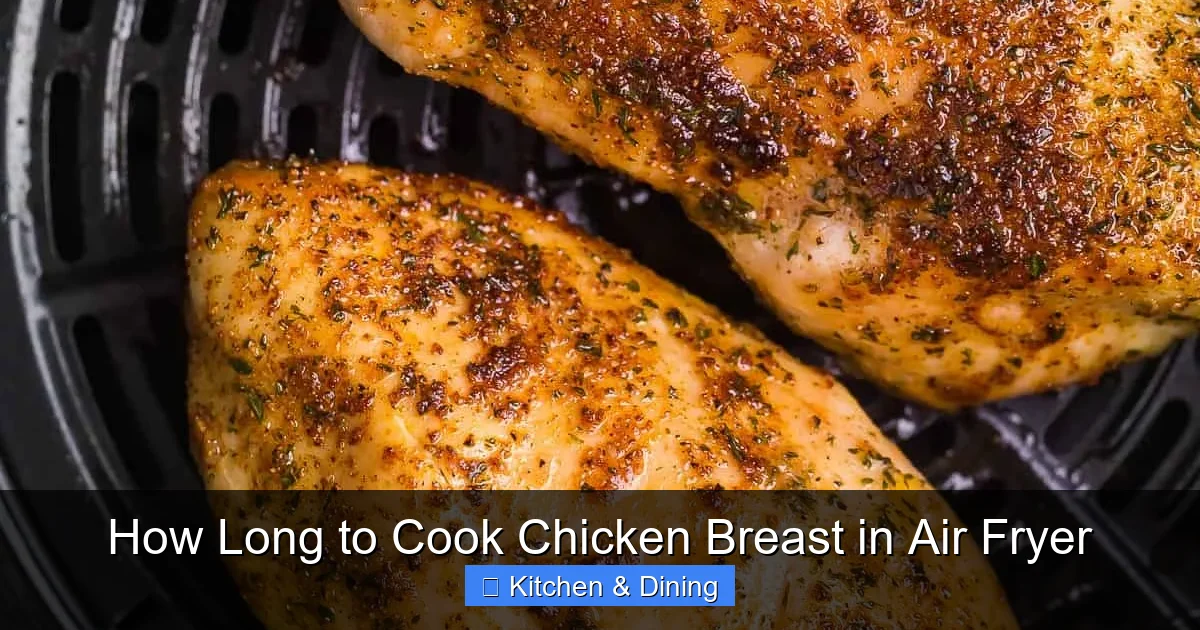
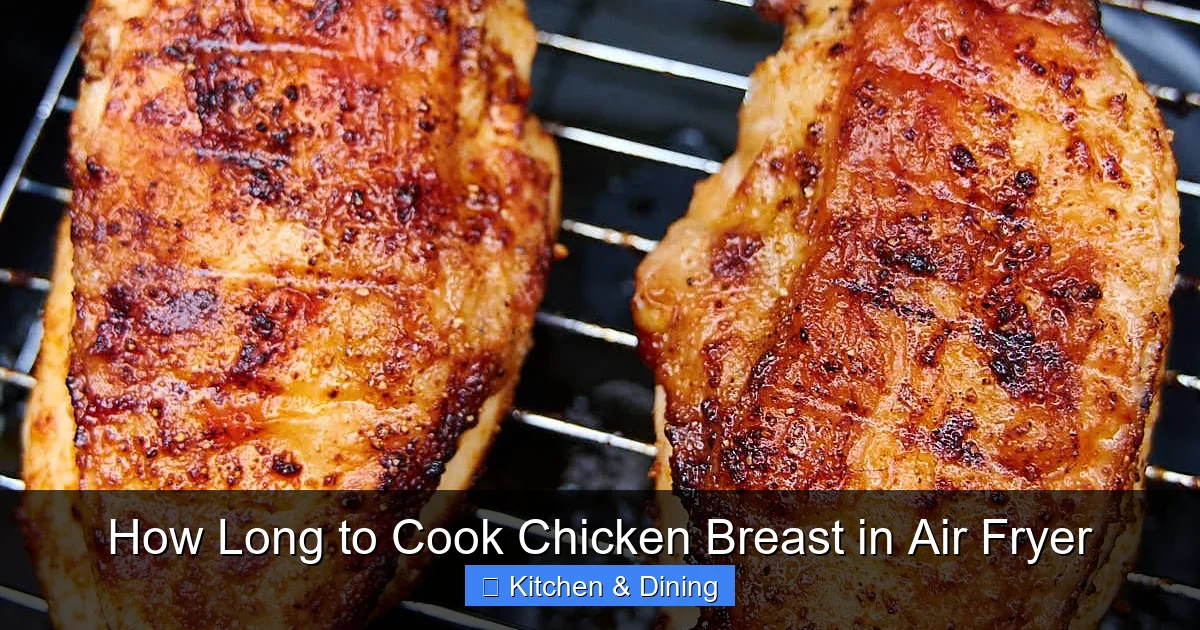
Visual guide about How Long to Cook Chicken Breast in Air Fryer
Image source: enjoycleaneating.com
Visual guide about How Long to Cook Chicken Breast in Air Fryer
Image source: cravingtasty.com
Solution: Always use a meat thermometer and pull the chicken out as soon as it reaches 165°F (74°C). If you do overcook it, try marinating subsequent batches longer or use a sauce to add moisture.
Issue: Chicken is cooked unevenly (some parts are done, others are raw).
Cause: Overcrowded basket or uneven thickness of chicken.
Solution: Ensure you’re cooking in a single layer and not overcrowding the basket. If your chicken breasts are significantly different thicknesses, you might need to remove the thinner ones earlier or pound the thicker ones to a more uniform thickness. Some knives can help with this, like a good boning knife or even just a sharp chef’s knife to even out the thickness.
Issue: Chicken is soggy, not crispy.
Cause: Chicken wasn’t patted dry enough, or there was too much moisture in the basket.
Solution: Make sure to pat your chicken breasts thoroughly dry before seasoning. Ensure there aren’t any wet ingredients pooling in the bottom of the basket.
Issue: Air fryer smoking.
Cause: Food debris or excess oil burning in the basket or on the heating element.
Solution: Ensure your air fryer is clean. If you used a lot of oily marinade or breading, a small amount of smoking might occur. You can try placing a slice of bread at the bottom of the air fryer drawer to absorb excess grease, but ensure it doesn’t touch the food or heating element.
Conclusion
Mastering how long to cook chicken breast in the air fryer is a game-changer for weeknight meals. By understanding the key factors, following the simple steps, and always relying on a meat thermometer, you can consistently achieve perfectly juicy, tender, and flavorful chicken breast.
Remember the importance of preheating, patting the chicken dry, not overcrowding the basket, and letting your chicken rest. These small but mighty tips will ensure your air fryer chicken breast is always a hit. So, preheat your air fryer, grab your seasonings, and get ready to enjoy this healthy and delicious staple in a whole new way! Happy air frying!