How Do You Fry Chicken in an Air Fryer
Discover how to achieve perfectly fried chicken with your air fryer! This guide breaks down the process, from prepping your chicken to achieving a delicious, crispy finish. Learn essential tips and tricks to make your air fryer fried chicken a regular family favorite, offering a healthier alternative to deep frying.
Key Takeaways
- Achieve Crispy Perfection: The air fryer circulates hot air rapidly, creating a crunchy exterior similar to deep-fried chicken without the excess oil.
- Choose the Right Chicken Cuts: Bone-in or boneless pieces like thighs, drumsticks, and breasts work well, but adjust cooking times accordingly.
- Season Generously: A flavorful coating is key. Use your favorite blend of spices, flour, and sometimes breadcrumbs for texture.
- Don’t Overcrowd the Basket: Allowing space for air circulation is crucial for even cooking and crispiness. Cook in batches if necessary.
- Preheat Your Air Fryer: Just like a conventional oven, preheating ensures consistent cooking temperatures from the start.
- Flip for Even Browning: Turning the chicken halfway through the cooking process guarantees golden-brown perfection on all sides.
How Do You Fry Chicken in an Air Fryer
Tired of greasy fried chicken but still craving that irresistible crunch? What if you could have all the delicious crispiness of deep-fried chicken with a fraction of the oil? Enter the air fryer! This amazing kitchen gadget has revolutionized home cooking, and one of its most popular uses is making healthier, yet incredibly satisfying, fried chicken.
In this comprehensive guide, we’ll walk you through everything you need to know to fry chicken in your air fryer. You’ll learn how to select the best chicken cuts, prepare a mouthwatering coating, and cook it to golden, crispy perfection. We’ll cover temperatures, timings, and even offer tips for troubleshooting common issues. Get ready to impress yourself and your family with delicious air fryer fried chicken!
What You’ll Need
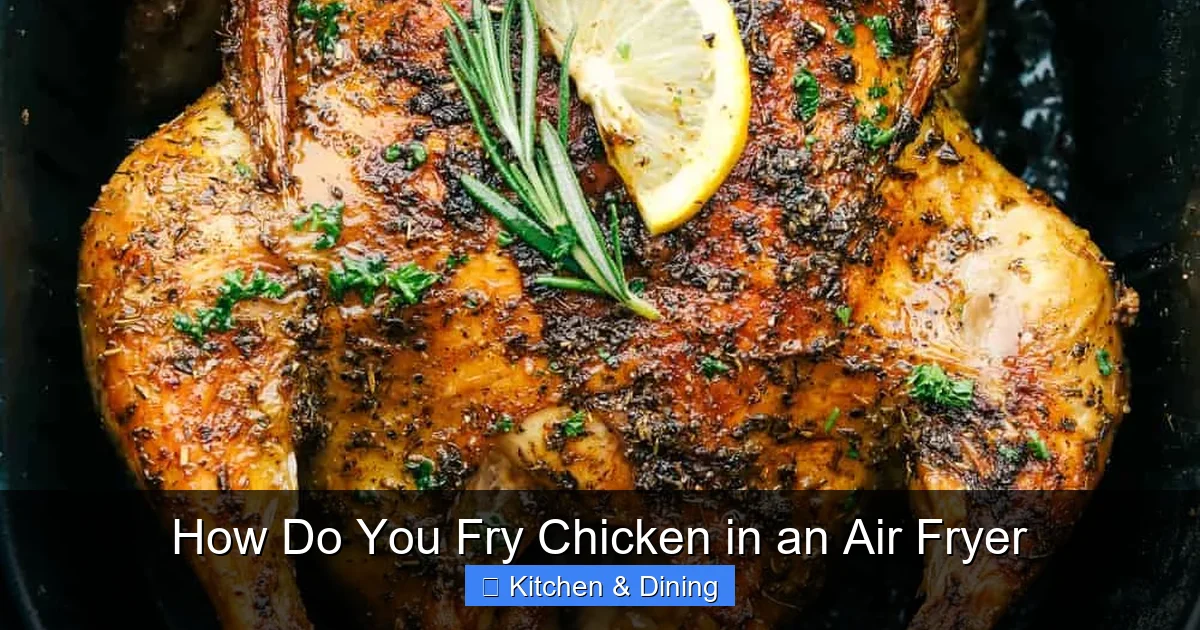
Visual guide about How Do You Fry Chicken in an Air Fryer
Image source: therecipecritic.com
Before we dive into the cooking process, let’s gather your ingredients and equipment. Having everything ready will make your air frying experience smooth and enjoyable.
Ingredients:
- Chicken Pieces: Your favorite cuts. Bone-in or boneless, thighs, drumsticks, breasts, or even wings work wonderfully.
- For the Coating:
- All-purpose flour
- Salt
- Black pepper
- Your favorite spices (paprika, garlic powder, onion powder, cayenne pepper, dried herbs)
- Optional: Breadcrumbs (panko or regular) for extra crunch
- For the Wet Batter (optional but recommended for crispiness):
- Eggs
- Milk or buttermilk
- Oil: A light spray of cooking oil (like olive oil, avocado oil, or vegetable oil) is usually all you need.
Equipment:
- Air Fryer (If you’re looking for a new one, check out reviews for the Instant Pot Vortex Plus 6Qt Clearcook Air Fryer Review 2026, it’s a popular choice!)
- Shallow dishes or bowls for dredging
- Tongs
- Wire rack (optional, for resting chicken)
Step-by-Step Guide to Air Fryer Fried Chicken
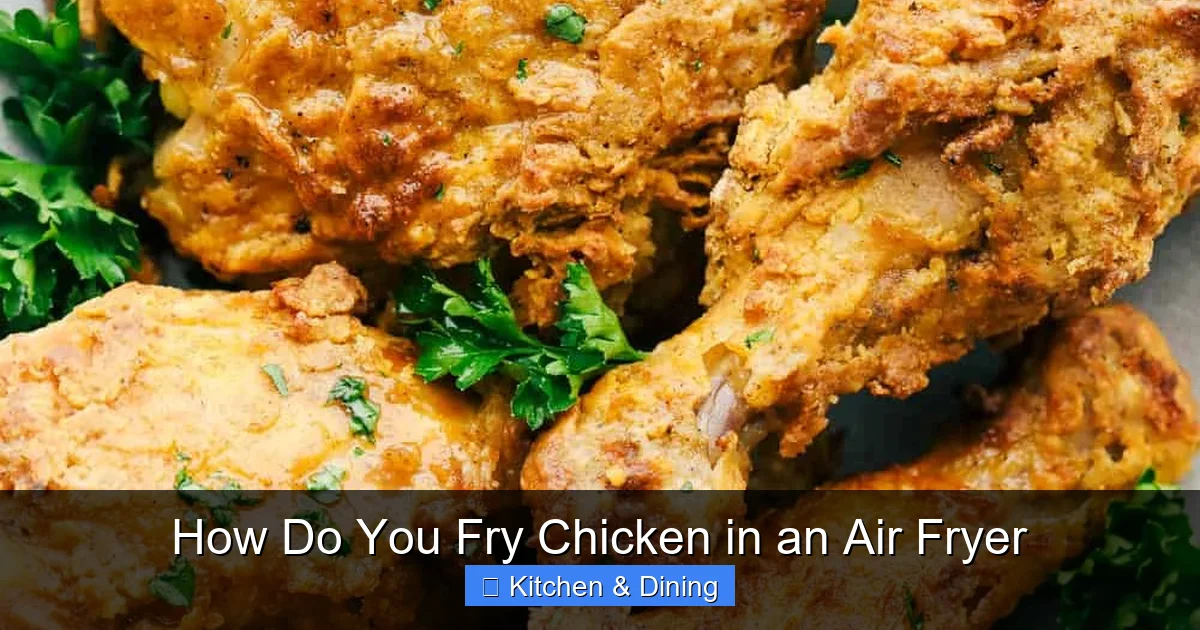
Visual guide about How Do You Fry Chicken in an Air Fryer
Image source: therecipecritic.com
Now that you have your supplies ready, let’s get cooking! Follow these steps for perfectly fried chicken.
Step 1: Prepare the Chicken
Start with good quality chicken. Pat your chicken pieces thoroughly dry with paper towels. This is a crucial step for achieving a crispy coating. Moisture on the chicken can prevent the coating from adhering properly and make it soggy. Trim any excess fat if desired.
Step 2: Set Up Your Dredging Stations
You’ll need two to three shallow dishes or bowls for the coating process.
Wet Batter Station (Optional but Recommended):
In the first shallow dish, whisk together eggs and milk (or buttermilk). Buttermilk adds a nice tang and helps tenderize the chicken. Season this mixture with a pinch of salt and pepper.
Dry Coating Station:
In the second shallow dish, combine the flour, salt, pepper, and all your chosen spices. If you’re using breadcrumbs, mix them in here as well. Make sure the spices are evenly distributed throughout the flour mixture. A good spice blend is key to flavorful chicken. Don’t be afraid to experiment with your favorite seasonings! You might find inspiration in knowing what makes a good boning knife for chicken helps with preparation, so having the right tools matters.
Step 3: Coat the Chicken
This is where the magic begins!
Dredging Process:
* Take a piece of chicken and dip it into the wet batter, ensuring it’s fully coated. Let any excess drip off.
* Next, transfer the wet-battered chicken to the dry coating station. Toss it around until it’s completely covered in the flour and spice mixture. Press the coating onto the chicken to help it stick. For an extra-thick, crispy crust, you can double-dip: dip the coated chicken back into the wet batter, then into the dry coating again.
* Place the coated chicken pieces on a clean plate or a wire rack while you coat the remaining pieces.
Step 4: Preheat Your Air Fryer
Preheating your air fryer is essential for even cooking and achieving that signature crispiness. Set your air fryer to the recommended temperature for your recipe, usually around 375°F to 400°F (190°C to 200°C). Let it preheat for about 3-5 minutes. Many air fryers will beep when they are ready. A good air fryer can make a big difference in your cooking results; consider looking into best multi-function air fryers if you’re exploring options.
Step 5: Arrange Chicken in the Air Fryer Basket
This is another critical step for crispiness. Do NOT overcrowd the air fryer basket. The hot air needs to circulate freely around each piece of chicken. If the pieces are too close together, they will steam rather than fry, resulting in a less crispy texture.
* Place the coated chicken pieces in a single layer in the air fryer basket.
* If you have a lot of chicken, cook it in batches. It’s better to cook in two or three batches than to compromise on crispiness.
Step 6: Spray with Oil
Lightly spray the top of the chicken pieces with cooking oil. This helps the coating brown beautifully and become extra crispy. Don’t drench them; a light mist is all you need.
Step 7: Air Fry the Chicken
Now, it’s time to cook! The cooking time will vary depending on the size and type of chicken pieces you are using.
Cooking Times and Temperatures (General Guidelines):
* Chicken Breasts (boneless, skinless): 375°F (190°C) for 15-20 minutes, flipping halfway.
* Chicken Thighs (bone-in): 390°F (195°C) for 25-30 minutes, flipping halfway.
* Chicken Thighs (boneless, skinless): 375°F (190°C) for 18-22 minutes, flipping halfway.
* Drumsticks (bone-in): 390°F (195°C) for 22-26 minutes, flipping halfway.
* Wings: 380°F (190°C) for 20-24 minutes, flipping halfway.
Important Notes:
* Always check the internal temperature of the chicken with a meat thermometer to ensure it’s cooked through. The safe internal temperature for chicken is 165°F (74°C).
* Flip the chicken pieces halfway through the cooking time to ensure even browning and crispiness on all sides. Use tongs to carefully turn each piece.
Step 8: Rest and Serve
Once the chicken is cooked and reaches the correct internal temperature, remove it from the air fryer basket. Let it rest for 5-10 minutes on a wire rack before serving. This resting period allows the juices to redistribute, making the chicken more tender and moist. Serve hot and enjoy your delicious, guilt-free fried chicken!
Tips for the Crispiest Air Fryer Fried Chicken

Visual guide about How Do You Fry Chicken in an Air Fryer
Image source: cdn.momsdish.com
Want to elevate your air fryer fried chicken game? Here are some expert tips to ensure maximum crispiness and flavor.
* Pat It Dry, Dry, Dry: We can’t stress this enough! Thoroughly patting your chicken dry is the first step to a crispy coating.
* Use Buttermilk: Soaking your chicken in buttermilk for at least 30 minutes (or even overnight) before coating tenderizes the meat and helps the flour mixture adhere better.
* Don’t Skip the Second Coat: For an extra-crispy, bakery-style crust, consider a double dredge. Dip in wet, then dry, then wet again, then dry again.
* Panko Breadcrumbs are Your Friend: If you love extra crunch, panko breadcrumbs are your best bet. They are lighter and crispier than regular breadcrumbs.
* Consider a Seasoned Flour Mixture: Instead of just salt and pepper, load your flour with garlic powder, onion powder, paprika, cayenne for a kick, or Italian herbs for a savory twist.
* Use a Light Oil Spray: A good quality cooking spray is essential for achieving that golden-brown, crispy finish.
* Don’t Overcrowd: Seriously, this is the golden rule of air frying. Cook in batches for the best results.
* Shake the Basket: For smaller items like chicken wings, giving the basket a good shake halfway through cooking can help ensure even crisping.
* Monitor Closely: Air fryers can vary. Keep an eye on your chicken, especially during the last few minutes of cooking, to prevent burning.
Troubleshooting Common Air Fryer Fried Chicken Issues
Even with the best intentions, sometimes things don’t go perfectly. Here are a few common issues and how to fix them.
Issue: Chicken is not crispy.
* Possible Causes: Chicken was too wet, basket was overcrowded, not enough oil spray, temperature too low.
* Solutions: Ensure chicken is thoroughly dry before coating. Cook in a single layer with space for air circulation. Use a light oil spray. Make sure you’re using the recommended temperature and have preheated the air fryer.
Issue: Chicken is unevenly cooked.
* Possible Causes: Unevenly sized chicken pieces, overcrowding, not flipping.
* Solutions: Try to use chicken pieces of similar size. Don’t overcrowd the basket. Make sure to flip the chicken halfway through the cooking process.
Issue: Coating is falling off.
* **Possible Causes:** Chicken was too wet, coating not pressed on well enough, not enough wet ingredient to help dry adhere.
* **Solutions:** Pat chicken very dry. Press the dry coating firmly onto the chicken after dipping. Ensure there’s enough wet mixture to help the dry adhere.
Issue: Chicken is dry.
* Possible Causes: Overcooked, wrong cut of chicken.
* Solutions:** Use a meat thermometer to ensure you’re not overcooking. Thighs tend to stay moister than breasts. Consider brining or marinating chicken for extra moisture.
Conclusion
Frying chicken in an air fryer is a fantastic way to enjoy a healthier, yet incredibly delicious, version of a classic favorite. By following these simple steps, paying attention to the details like drying the chicken and not overcrowding the basket, you’ll be well on your way to air fryer fried chicken perfection. Experiment with different spice blends, try out various cuts of chicken, and soon you’ll discover your signature air fryer fried chicken recipe. Happy air frying!