How to Make Sticky Rice in a Rice Cooker
Making delicious sticky rice at home is simpler than you think, especially with a rice cooker! This guide walks you through everything from choosing the right rice to achieving perfectly fluffy results. You’ll learn the essential soaking and rinsing techniques, the correct water-to-rice ratio, and how to customize your sticky rice. Get ready for authentic, restaurant-quality sticky rice without the fuss.
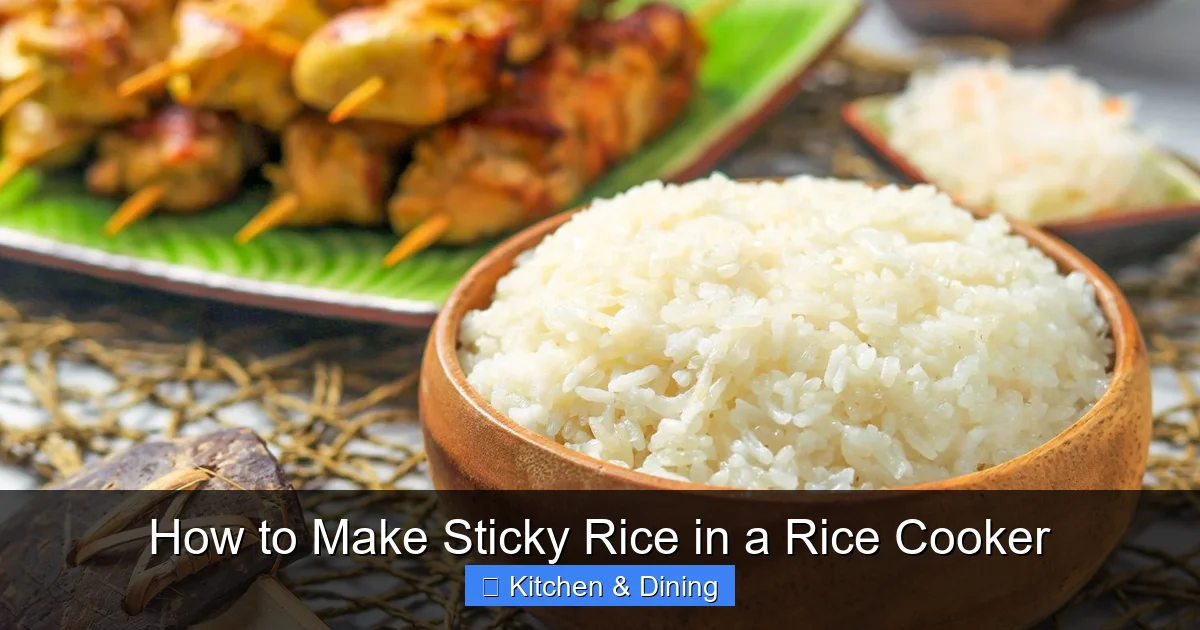
Welcome to your ultimate guide on how to make sticky rice in a rice cooker! If you’ve ever savored that wonderfully chewy, slightly sweet, and utterly satisfying texture of sticky rice at your favorite Asian restaurant and thought it was too complicated to replicate at home, think again! Making authentic sticky rice, also known as glutinous rice or sweet rice, is surprisingly straightforward, especially when you harness the magic of a modern rice cooker.
This guide will take you from a complete novice to a sticky rice pro. We’ll cover everything you need to know: the best type of rice to use, the essential preparation steps that make all the difference, the ideal water ratio for your rice cooker, and simple tips to ensure perfect, fluffy, sticky results every single time. Get ready to impress yourself and your loved ones with this versatile staple!
- Choose the Right Rice: Always opt for glutinous rice (also known as sweet rice or sticky rice) for the authentic chewy texture. Regular rice will not yield the desired result.
- Soaking is Crucial: Rinsing and soaking the rice thoroughly before cooking is a non-negotiable step. It helps the grains absorb water evenly, leading to a softer, stickier texture.
- Precise Water Ratio: The water-to-rice ratio is key. Generally, a 1:1 ratio of soaked rice to water works best for most rice cookers, but it can vary slightly depending on your rice and cooker.
- Rice Cooker Settings: Most standard rice cookers will work, but utilize the “white rice” or “normal” setting. Avoid “quick cook” or “brown rice” settings as they alter cooking times and temperatures.
- Resting Time Matters: After the rice cooker finishes, let the sticky rice rest undisturbed for at least 10-15 minutes. This allows the steam to evenly distribute, ensuring a consistently sticky texture.
- Customization Options: Elevate your sticky rice by adding ingredients like coconut milk, sugar, or pandan leaves during or after cooking for unique flavor profiles.
Understanding Sticky Rice
Before we dive into the cooking process, let’s get a clear picture of what sticky rice is and why it’s special. Sticky rice is a type of rice that, when cooked, becomes unusually sticky, cohesive, and chewy. This is due to its high amylopectin content and low amylose content. Unlike regular rice, which can be fluffy and separate, sticky rice grains cling together, making it perfect for scooping with chopsticks or eating with your hands.
It’s a cornerstone in many Asian cuisines, from Thai mango sticky rice to Japanese mochi and Vietnamese chè. The beauty of sticky rice lies in its simplicity, but achieving that perfect texture requires a little attention to detail.
What You’ll Need
Gathering your ingredients and tools is the first step to a successful sticky rice adventure.
Ingredients:
- Glutinous Rice (Sweet Rice/Sticky Rice): This is non-negotiable! Look for bags labeled “glutinous rice” or “sweet rice.” It usually comes in short or medium grains.
- Water: For soaking and cooking.
- Optional Flavorings: Such as coconut milk, sugar, salt, or pandan leaves for added flavor.
Equipment:
- Rice Cooker: Any standard electric rice cooker will do.
- Measuring Cups: For precise measurements of rice and water.
- Fine-Mesh Strainer: Essential for rinsing the rice.
- Bowl: For soaking the rice.
Step-by-Step Guide to Making Sticky Rice
Let’s get cooking! Follow these steps carefully for the best results.
Step 1: Measure Your Rice
Start by measuring the amount of glutinous rice you want to cook. For most recipes and standard rice cooker bowls, 1 to 2 cups of uncooked rice is a good starting point. Remember that rice expands significantly when cooked.
Step 2: Rinse and Soak the Rice
This is perhaps the most critical step for achieving perfectly cooked sticky rice. Glutinous rice has a lot of surface starch, which needs to be washed away to prevent the rice from becoming gummy or clumpy.
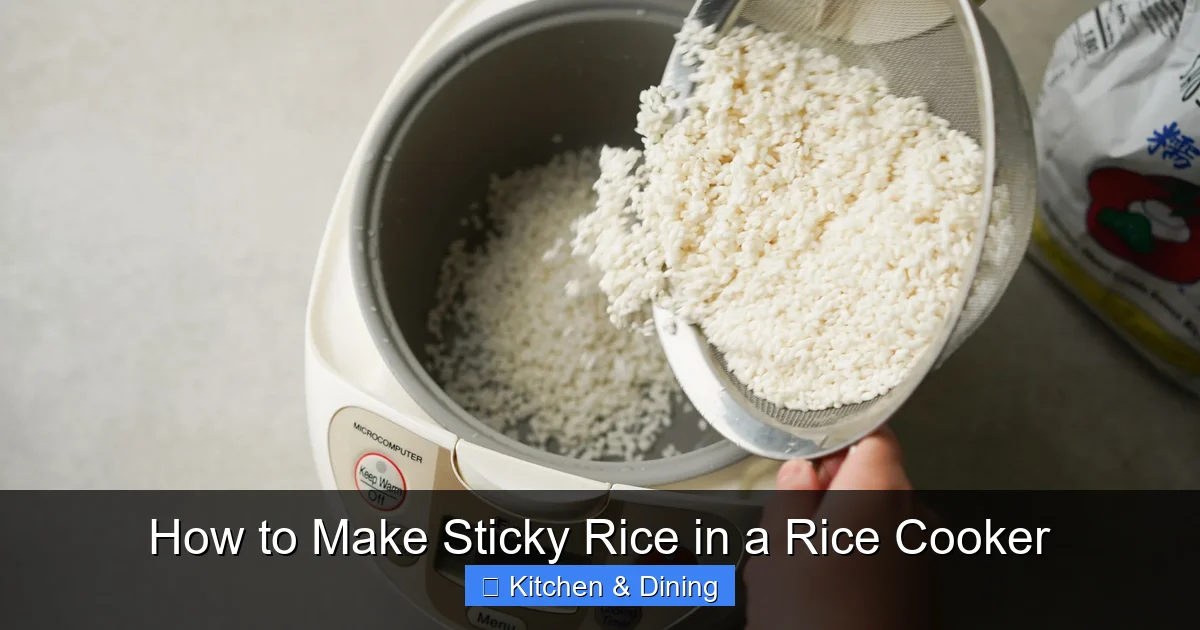
Rinsing:
Place the measured rice in a fine-mesh strainer. Rinse the rice under cold running water, swishing it around with your fingers. You’ll notice the water becomes very cloudy. Continue rinsing until the water runs mostly clear. This might take 4-6 rinses.
Visual guide about How to Make Sticky Rice in a Rice Cooker
Image source: expertreviewsbestricecooker.com
Visual guide about How to Make Sticky Rice in a Rice Cooker
Image source: hungryhuy.com
Visual guide about How to Make Sticky Rice in a Rice Cooker
Image source: thespruceeats.com
Soaking:
After rinsing, transfer the rice to a clean bowl. Cover the rice completely with fresh, cool water. The water level should be at least 1-2 inches above the rice. Let the rice soak for a minimum of 4 hours, or preferably overnight. If you’re in a warm climate, you can soak it in the refrigerator to prevent fermentation.
Why is soaking so important? Soaking allows the rice grains to rehydrate and absorb moisture. This process ensures that the rice cooks evenly and becomes tender and chewy. Skipping or shortening this step will result in hard, undercooked rice.
Step 3: Drain the Soaked Rice
Once your rice has finished soaking, drain it thoroughly using the fine-mesh strainer. Ensure all excess water is removed. The grains should look plump and slightly translucent.
Step 4: Add Rice and Water to the Rice Cooker
This is where we move towards cooking. The ratio of water to rice is crucial for sticky rice.
The Water-to-Rice Ratio:
For most standard rice cookers, a 1:1 ratio of soaked rice to water is generally recommended. This means for every 1 cup of drained, soaked rice, you’ll add 1 cup of water.
Example: If you soaked 2 cups of uncooked rice, after draining, you will have a larger volume. If you ended up with approximately 4 cups of soaked rice, you would add 4 cups of water.
A Word of Caution: This ratio can vary slightly depending on the specific type of glutinous rice you’re using and the efficiency of your rice cooker. It’s a good idea to check your rice cooker’s manual for general rice-to-water ratios, though specific sticky rice instructions might differ.
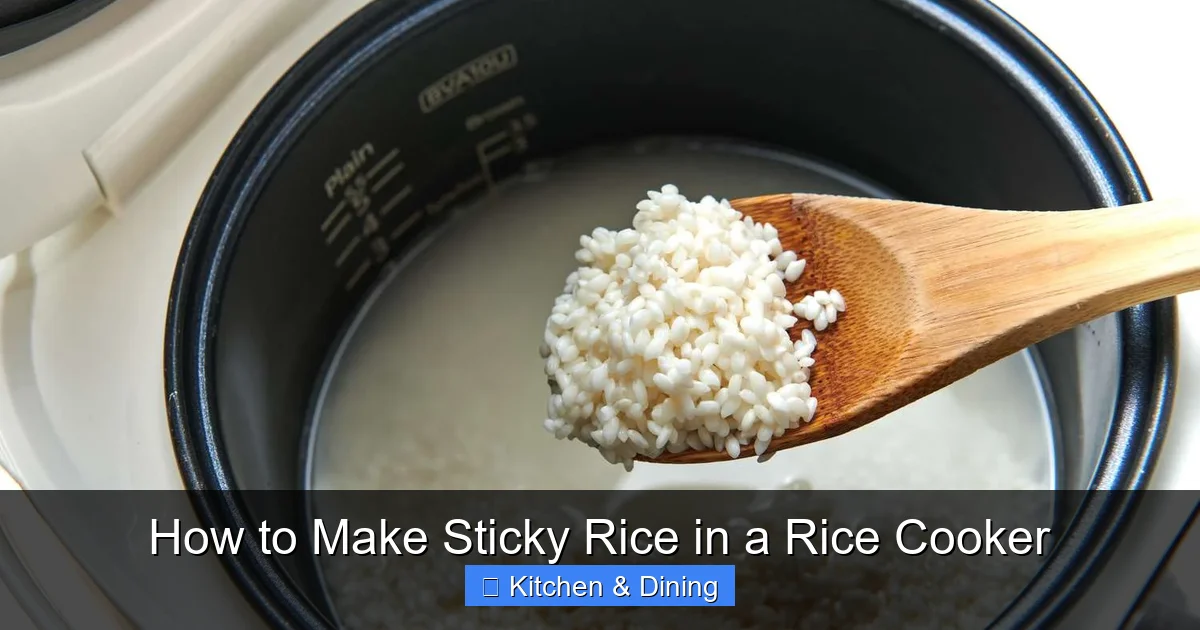
Adding Water:
Place the drained, soaked rice into the inner pot of your rice cooker. Then, pour in the measured amount of fresh water. If you’re adding coconut milk for flavor, you can substitute some or all of the cooking water with it. For instance, use 3/4 cup coconut milk and 1/4 cup water for a richer taste.
Step 5: Cook the Sticky Rice
Now, it’s time to let the rice cooker do its magic.
Selecting the Setting:
Place the inner pot into your rice cooker and close the lid securely. Select the standard “white rice” or “normal” cooking setting. Avoid any “quick cook” or “brown rice” settings, as these use different heating cycles that might not be ideal for sticky rice.
Cooking Time:
The cooking time will vary depending on your rice cooker, but it typically takes around 20-30 minutes for the cooking cycle to complete. The cooker will automatically switch to the “keep warm” mode when it’s done.
Step 6: Let the Rice Rest
This is another crucial step that many people overlook. Resist the urge to open the lid immediately after the cooking cycle finishes.
Resting Period:
Once the rice cooker has switched to “keep warm,” let the sticky rice rest undisturbed for at least 10-15 minutes. This resting period allows the steam trapped inside the pot to evenly distribute throughout the rice. This process ensures that all the grains are perfectly cooked and have reached that desirable sticky, chewy consistency. It helps to create a uniform texture from top to bottom.
Step 7: Fluff and Serve
After the resting period, open the lid of your rice cooker.
Fluffing:
Use a rice paddle or a fork to gently fluff the sticky rice. Be careful not to mash the grains. You’re just gently separating them and ensuring an even texture. You’ll notice how wonderfully clumpy and sticky it is!
Serving:
Your perfect sticky rice is now ready to be served! It can be enjoyed warm as a side dish, as a base for savory dishes, or as a sweet treat. For dishes like mango sticky rice, you might want to add a little extra sweetness and coconut milk to the finished rice.
Tips for Perfect Sticky Rice
Here are some extra tips to help you achieve sticky rice perfection every time:
- Use Fresh Rice: Older glutinous rice can sometimes be harder to rehydrate and might require a longer soaking time.
- Adjust Water Based on Rice Type: Some short-grain glutinous rice might need slightly less water than medium-grain varieties. If you find your rice consistently too wet or too dry, adjust the water ratio by a tablespoon or two for the next batch.
- Flavor Infusion: For coconut sticky rice, you can mix coconut milk, a pinch of sugar, and a pinch of salt with the cooking water. You can also add a pandan leaf (tied in a knot) to the rice cooker while cooking for a subtle, aromatic flavor.
- Don’t Overcrowd the Cooker: Ensure there’s enough space for the rice to steam and expand properly.
- Clean Your Rice Cooker: A clean rice cooker, especially the inner pot and heating element, ensures even cooking and prevents any residual flavors from affecting your sticky rice. If you notice any issues with your appliance, learning best way to clean the inside of a microwave oven can offer insights into appliance care, though this isn’t directly for rice cookers, general appliance cleanliness is key.
Troubleshooting Common Sticky Rice Issues
Even with the best intentions, sometimes things don’t turn out as planned. Here are solutions to common problems:
Issue: Rice is too hard or undercooked.
Cause: Insufficient soaking time, not enough water, or a malfunctioning rice cooker.
Solution: Ensure you soak the rice for at least 4 hours (overnight is best). Double-check your water-to-rice ratio. If your rice cooker is older, you might need to use slightly more water or manually cook it for a bit longer after the cycle finishes.
Issue: Rice is too mushy or watery.
Cause: Too much water, rice was not drained properly after soaking, or the rice cooker setting was too long/intense.
Solution: Use the 1:1 ratio meticulously. Make sure to drain the rice very well. If it’s consistently mushy, reduce the water slightly next time.
Issue: Rice is clumpy but not sticky.
Cause: Likely due to insufficient soaking or rinsing, or not enough starch in the rice.
Solution: Ensure you’re using authentic glutinous rice. Make sure you’re rinsing thoroughly until the water runs clear and soaking for the recommended time.
Conclusion
Mastering the art of making sticky rice in a rice cooker opens up a world of delicious possibilities. By paying close attention to the type of rice, the essential soaking and rinsing steps, and the correct water ratio, you can achieve that perfect chewy, sticky texture every time. Whether you’re preparing it for a traditional meal, a sweet dessert, or a new culinary experiment, this guide provides you with the knowledge and confidence to succeed.
So, go ahead, grab some glutinous rice, fire up your rice cooker, and get ready to enjoy authentic, homemade sticky rice that rivals any restaurant. Happy cooking!