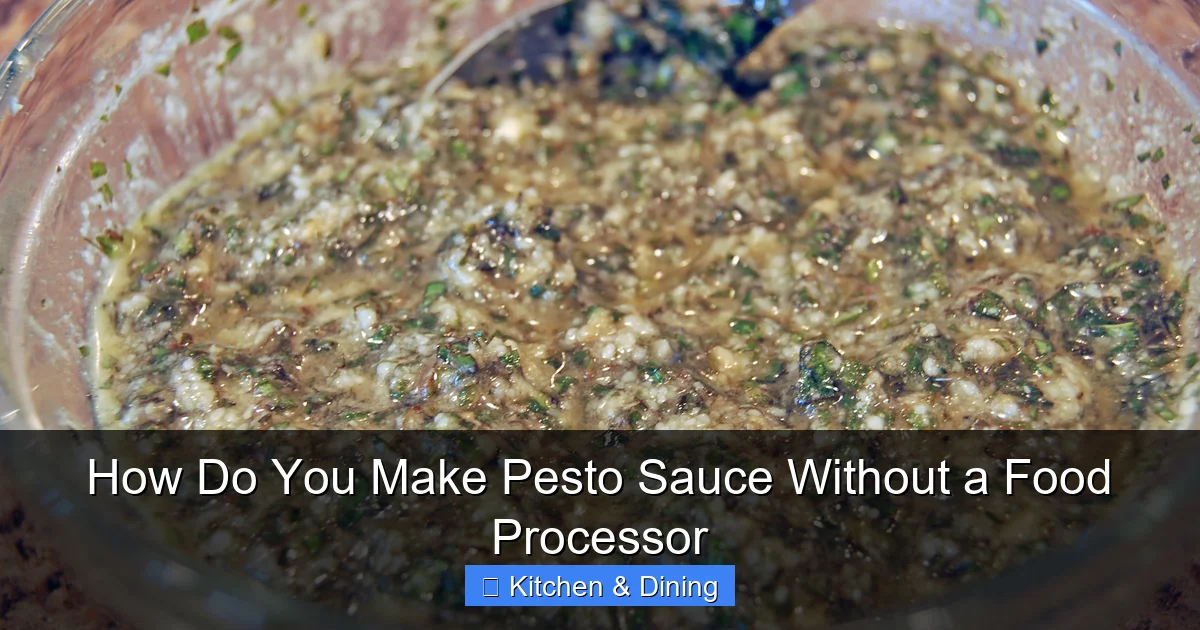
How Do You Make Pesto Sauce Without a Food Processor
You *can* make delicious pesto sauce without a food processor! This guide shows you how to achieve that vibrant, herby flavor using simple kitchen tools. Discover the charm of hand-chopping with a knife, the rustic authenticity of a mortar and pestle, or the quick convenience of a blender. Get ready to elevate your pasta, sandwiches, and more with fresh, homemade pesto.
# How Do You Make Pesto Sauce Without a Food Processor?
Ah, pesto! That vibrant, herbaceous sauce that instantly elevates pasta, sandwiches, and practically anything it touches. Traditionally, pesto is made with a mortar and pestle, a time-honored method that truly coaxes out the incredible flavors of fresh basil and other ingredients. But what if you don’t have a fancy food processor? Does that mean you can’t enjoy this Italian delight? Absolutely not!
This guide is here to show you that making delicious, authentic pesto sauce is totally achievable without a food processor. We’ll explore a few different methods, from the rustic charm of hand-chopping to the quick convenience of a blender. Get ready to unlock the secrets to making incredible pesto, one flavorful ingredient at a time. Whether you’re a seasoned cook or just starting out, you’ll find these techniques accessible and rewarding.
## Understanding the Core Components of Pesto
Before we dive into the “how,” let’s talk about the “what.” Classic Genovese pesto, the most well-known variety, is a beautiful symphony of a few key ingredients:
* **Fresh Basil:** This is the star! Look for bright green, fragrant leaves. Avoid any that are wilted or bruised.
* **Garlic:** Fresh garlic provides a pungent kick. You can adjust the amount to your liking.
* **Pine Nuts:** These small, buttery nuts add richness and a subtle sweetness. Toasted pine nuts offer an even deeper flavor.
* **Parmesan Cheese:** Grated Parmigiano-Reggiano is the traditional choice, offering a salty, nutty depth.
* **Olive Oil:** A good quality extra virgin olive oil binds everything together and adds its own fruity notes.
* **Salt:** To enhance all the other flavors.
While these are the classics, pesto is incredibly versatile. You can swap basil for other herbs like parsley or arugula, use different nuts like walnuts or almonds, or even experiment with different cheeses. The methods we’ll cover can be adapted to your favorite pesto variations.
## Method 1: The Classic Knife Technique (The “Rustic” Approach)
This method harks back to simpler times, focusing on the precise control a sharp knife offers. It’s a bit more labor-intensive, but the result is a beautifully textured pesto with distinct flecks of herbs and cheese. It requires patience but is incredibly rewarding.
### Step 1: Prepare Your Basil
* Wash and Dry Thoroughly: Gently wash your basil leaves under cool running water. Pat them completely dry with paper towels or a clean kitchen towel. Excess water can make your pesto watery and dilute the flavors.
* Stack and Roll: Take a generous handful of basil leaves and stack them neatly on top of each other. Then, roll them up tightly like a cigar. This makes for easier and more uniform chopping.
### Step 2: Finely Mince Your Garlic
* Peel and Smash: Peel your garlic cloves. Place them on a clean cutting board and use the flat side of your chef’s knife to smash them. This helps to break down the garlic’s structure, making it easier to mince.
* Mince to a Paste: Using your sharp knife, mince the smashed garlic as finely as possible. Aim for a paste-like consistency. You can add a tiny pinch of salt to the garlic while mincing; the salt acts as an abrasive and helps create a smoother paste.
### Step 3: Chop Your Pine Nuts (or Other Nuts)
* Rough Chop First: Place your pine nuts on the cutting board. Give them a rough chop first to break them down into smaller pieces.
* Fine Chop: Continue to chop them finely. Some people prefer to toast their pine nuts first for a deeper flavor. You can do this by gently toasting them in a dry skillet over medium-low heat until fragrant and lightly golden. Watch them closely, as they can burn quickly!
### Step 4: Grate Your Cheese
* Finely Grate: Grate your Parmesan cheese using a microplane or the finest setting on your grater. This will help it incorporate smoothly into the pesto.
### Step 5: Combine and Chop Together
* Initial Chop: Start by finely chopping the basil leaves you rolled up earlier. Aim for small, consistent pieces.
* Add Garlic and Nuts: Add the minced garlic and chopped pine nuts to the pile of chopped basil. Continue chopping everything together. The goal here is to break down the ingredients further and start creating a cohesive mixture.
* Add Cheese: Once the basil, garlic, and nuts are well-combined and finely chopped, add your grated Parmesan cheese.
* Chop and Mix: Continue chopping and mixing everything together until you achieve your desired consistency. You’re essentially creating a finely minced mixture.
### Step 6: Emulsify with Olive Oil
* Gradually Add Oil: Slowly drizzle in your extra virgin olive oil while continuing to stir and mix with your knife or a spoon. Add just enough oil to create a smooth, emulsified sauce. You’re looking for a consistency that coats the back of a spoon but isn’t too oily.
* Season: Taste and season with salt. Remember that Parmesan cheese is already salty, so start with a small amount and adjust as needed.
## Method 2: The Mortar and Pestle Technique (The “Authentic” Way)
This is the traditional method, and it’s a truly beautiful way to make pesto. The act of grinding releases essential oils and creates a uniquely fragrant and textured sauce. It requires a bit of elbow grease, but the results are unparalleled.
### Step 1: Prepare Your Ingredients
* Garlic: Peel and lightly smash your garlic cloves.
* Pine Nuts: Toasting your pine nuts beforehand can enhance their flavor significantly. Let them cool before adding to the mortar.
* Basil: Wash and thoroughly dry your basil leaves. You don’t need to chop them beforehand for this method.
### Step 2: Grind the Garlic and Salt
* Start Grinding: Place the garlic cloves in your mortar. Add a pinch of coarse salt. The salt will help to break down the garlic more easily.
* Grind to a Paste: Use the pestle to grind the garlic and salt together with a circular motion, pressing down and twisting. Continue until you have a smooth paste. This process releases the garlic’s pungent oils.
### Step 3: Add the Pine Nuts
* Grind the Nuts: Add the pine nuts to the mortar with the garlic paste. Continue to grind them into the paste. You want to break them down, but not necessarily into a fine powder. Some texture is desirable.
### Step 4: Add the Basil Gradually
* Add in Batches: This is crucial. Add your basil leaves to the mortar a handful at a time.
* Grind and Crush: As you add basil, use the pestle to gently crush and grind the leaves against the sides of the mortar. Work in a circular motion. Continue adding basil and grinding until all the leaves are incorporated and finely broken down. The goal is to bruise the leaves and release their oils, not to pulverize them into a mush.
### Step 5: Incorporate the Cheese
* Add Grated Cheese: Once the basil is well-ground, add your finely grated Parmesan cheese to the mortar.
* Mix and Grind Gently: Gently grind and mix the cheese into the basil mixture until well combined.
### Step 6: Emulsify with Olive Oil
* Drizzle and Stir: Slowly drizzle in your extra virgin olive oil while stirring with the pestle or a spoon. Add just enough oil to create a sauce that binds all the ingredients together.
* Taste and Adjust: Taste your pesto and add more salt if needed.
## Method 3: The Blender Technique (The “Quick” Method)
If you have a standard kitchen blender, you can also make pesto. While it won’t give you the same rustic texture as hand-chopping or the depth of flavor from a mortar and pestle, it’s the fastest method and still yields a delicious result.
### Step 1: Prepare Your Ingredients
* Basil: Wash and thoroughly dry your basil leaves.
* Garlic: Peel your garlic cloves. You can give them a rough chop.
* Pine Nuts: Toast them if you prefer for added flavor.
* Parmesan Cheese: Grate your cheese finely.
### Step 2: Load the Blender
* Add Solids First: Place the basil leaves, garlic, and pine nuts into the blender jar.
* Add Cheese: Add the grated Parmesan cheese.
### Step 3: Blend in Pulses
* Start on Low: Begin by pulsing the ingredients. This helps to break them down without over-processing them into a paste too quickly.
* Gradually Increase Speed: After a few pulses, you can increase the speed. Blend until you reach your desired consistency – smooth or slightly chunky. Scrape down the sides of the blender jar as needed with a spatula.
### Step 4: Emulsify with Olive Oil
* Add Oil Slowly: With the blender running on a low speed, slowly drizzle in your extra virgin olive oil through the opening in the lid.
* Blend to Emulsify: Continue blending until the oil is fully incorporated and the pesto is emulsified to your liking.
* Season and Adjust: Taste and add salt as needed.
## Tips for Pesto Perfection
* Use Fresh, High-Quality Ingredients: The better your ingredients, the better your pesto will taste. This is especially true for basil and olive oil.
* Toast Your Nuts: This is an optional but highly recommended step for richer flavor.
* Don’t Over-Process: Especially with the blender, be careful not to turn your pesto into a watery paste. Stop when you reach the desired texture.
* Taste and Adjust: Your palate is your best guide! Adjust the amount of garlic, salt, and even olive oil to suit your preference.
* Experiment with Herbs: Don’t be afraid to try other herbs like parsley, cilantro, or arugula. You can even mix them with basil.
* Storage: Store homemade pesto in an airtight container in the refrigerator. Pour a thin layer of olive oil over the top to prevent browning and keep it fresh for up to a week. You can also freeze pesto in ice cube trays for longer storage.
## Troubleshooting Your Pesto
* Pesto is too dry/thick: Add more olive oil, a tablespoon at a time, until you reach the desired consistency.
* Pesto is too oily: This is less common, but if it happens, you can try adding a bit more basil, nuts, or cheese to absorb some of the excess oil.
* Pesto is bland: This usually means it needs more salt or garlic. Taste and adjust carefully.
* Pesto is bitter: This can sometimes happen if the basil stems were included or if the basil itself is older. Ensure you’re using only the leaves. If it’s still bitter, a tiny squeeze of lemon juice can help balance the flavor.
## Conclusion
As you can see, the absence of a food processor is no barrier to enjoying fresh, homemade pesto. Whether you choose the deliberate precision of a knife, the ancestral wisdom of a mortar and pestle, or the swift efficiency of a blender, the result is a sauce bursting with flavor. Each method offers a unique experience and texture, allowing you to tailor your pesto to your preference and available tools.
So, the next time that craving for pesto strikes, don’t fret about your kitchen equipment. Gather your fresh basil, garlic, nuts, and cheese, and get ready to create something delicious. You’ve learned how to make pesto sauce without a food processor, and the possibilities for enjoying it are endless. Happy cooking!
Key Takeaways
- Mastering Pesto Without Machinery: This guide empowers you to create fresh pesto sauce using traditional methods and common kitchen tools, proving a food processor isn’t essential.
- The Classic Knife Method: Learn how to finely chop basil, garlic, nuts, and cheese by hand, achieving a delightful texture and aromatic sauce.
- Embrace the Mortar and Pestle: Discover the ancient art of grinding ingredients to release maximum flavor, creating a truly authentic and rich pesto.
- Leveraging Your Blender: Understand how to use a standard blender to achieve a smooth or chunky pesto, offering a quicker alternative to hand-chopping.
- Ingredient Focus: Get tips on selecting the freshest basil, best nuts, and quality cheese for the most flavorful pesto sauce.
- Customization is Key: Learn how to adjust seasonings, oil, and ingredients to suit your personal taste and dietary needs.