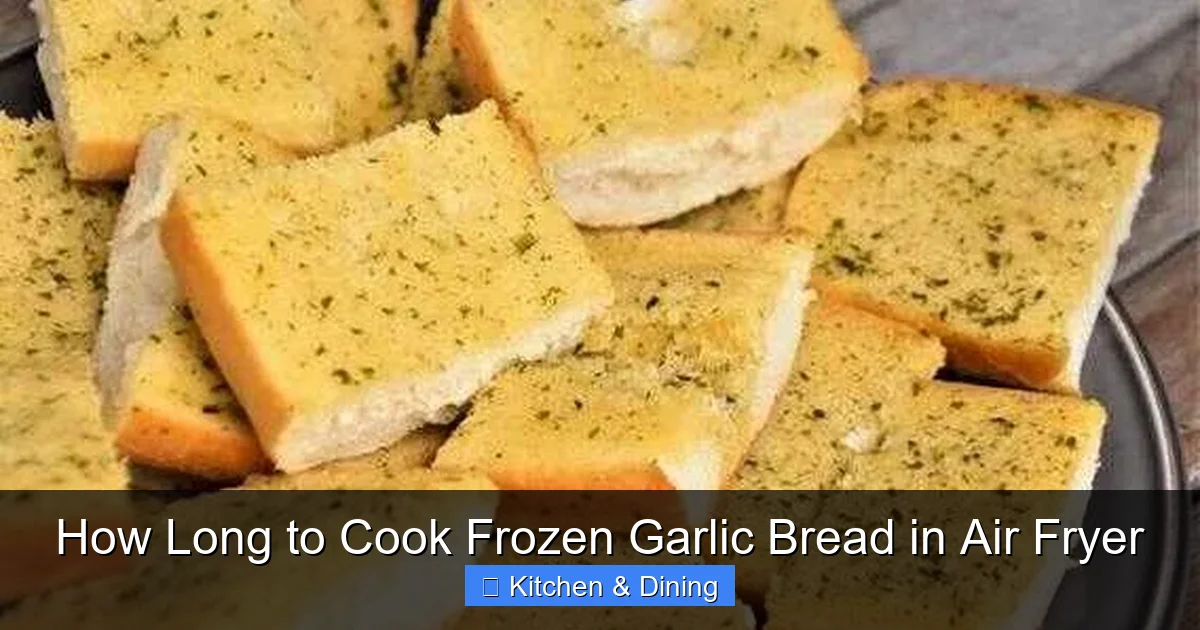
How Long to Cook Frozen Garlic Bread in Air Fryer
Discover the easiest way to achieve perfectly crisp and golden frozen garlic bread using your air fryer. This guide provides simple, step-by-step instructions on how long to cook frozen garlic bread in an air fryer, ensuring delicious results with minimal effort. Get ready for a quick and satisfying side dish that’s far superior to soggy microwave versions.
## How Long to Cook Frozen Garlic Bread in Air Fryer
There’s nothing quite like the aroma and taste of warm, buttery garlic bread. It’s the perfect accompaniment to pasta dishes, soups, stews, or even just enjoyed on its own. But who has the time to wait for a traditional oven to preheat and bake? If you’ve ever found yourself craving that garlicky goodness in a hurry, and you have a bag of frozen garlic bread in your freezer, your air fryer is about to become your new best friend!
This guide will walk you through the simple process of cooking frozen garlic bread in your air fryer. You’ll learn the ideal temperature and time, along with some handy tips to ensure your garlic bread comes out perfectly golden brown and delightfully crispy every single time. Say goodbye to soggy bread and hello to quick, delicious perfection! We’ll cover everything you need to know, from preheating to that final satisfying crunch.
## Why Air Fry Frozen Garlic Bread?
Before we dive into the specifics, let’s talk about why using your air fryer for frozen garlic bread is such a game-changer. Unlike the microwave, which can leave your bread soggy and unevenly heated, or a conventional oven that takes a while to preheat, the air fryer uses circulating hot air to achieve a fantastic crispiness in a fraction of the time. It’s efficient, quick, and delivers superior texture. If you’re looking for a kitchen gadget that simplifies meal prep, exploring a best multi-function air fryer can offer even more versatility.
## The Magic Numbers: Temperature and Time
The question on everyone’s mind is: “How long do I cook frozen garlic bread in the air fryer?” The answer is surprisingly quick, but it does depend slightly on your specific air fryer model and the thickness of your garlic bread. However, we have a great starting point.
For most standard frozen garlic bread loaves or sticks, the magic numbers are:
* **Temperature:** 375°F (190°C)
* **Time:** 5 to 8 minutes
This temperature is hot enough to crisp up the bread and melt the garlic butter without burning the edges too quickly. The time frame allows for thorough heating and browning.
## Step-by-Step Guide to Air Fryer Garlic Bread Perfection
Let’s get this garlicky goodness ready to eat! Follow these simple steps for the best results.
### Step 1: Preheat Your Air Fryer
This is arguably the most important step for achieving that desirable crispiness. Just like preheating a conventional oven, preheating your air fryer ensures that when your garlic bread hits the basket, it starts cooking immediately and evenly.
* **How to do it:** Set your air fryer to 375°F (190°C). Let it preheat for about 3-5 minutes. Many air fryers have a built-in preheat function or a light that indicates when it’s ready.
### Step 2: Prepare the Garlic Bread
While your air fryer is preheating, take your frozen garlic bread out of the freezer.
* **For loaves:** If you have a whole loaf, you might want to slice it into individual pieces. This helps ensure even cooking and makes it easier to serve. Use a sharp knife, like a good bread knife, for clean cuts.
* **For pre-sliced bread:** If your garlic bread is already in individual slices, you’re good to go!
### Step 3: Arrange the Garlic Bread in the Air Fryer Basket
Now it’s time to load up your air fryer. The key here is to avoid overcrowding.
* **Single Layer is Best:** Place the garlic bread slices or pieces in a single layer in the air fryer basket.
* **Leave Space:** Ensure there’s a little space between each piece. This allows the hot air to circulate freely around each slice, promoting even crisping and browning. If you pile them up, the bread in the middle won’t get as crispy.
If you have a lot of garlic bread to cook, it’s better to cook it in batches. Think of it like getting ready for a party; you wouldn’t try to fit everyone into one small car! You want everyone to have a comfortable ride.
### Step 4: Air Fry the Garlic Bread
Once the air fryer is preheated and the bread is arranged, it’s time to start the cooking process.
* **Place the Basket:** Carefully slide the air fryer basket containing the garlic bread back into the air fryer.
* **Set the Timer:** Set your air fryer to 375°F (190°C) and the timer for 5 minutes.
### Step 5: Check and Flip Midway
After about 3-4 minutes, it’s a good idea to check on your garlic bread.
* **Open and Inspect:** Carefully pull out the air fryer basket. Look at the color and crispiness of the bread.
* **Flip for Evenness:** Using tongs, flip each piece of garlic bread over. This ensures that both the top and bottom sides get equally golden and crispy.
This midway check is also your chance to assess how fast your air fryer is cooking. If the bread is already browning nicely, you might only need another 1-2 minutes. If it’s still a bit pale, you might need the full remaining time or even a touch longer.
### Step 6: Finish Cooking
Return the basket to the air fryer and let it cook for the remaining 1-4 minutes, depending on your midway check.
* **Watch Closely:** Keep an eye on it during these final minutes. Air fryers can cook quickly, and you don’t want your delicious garlic bread to go from golden to burnt!
* **Desired Crispiness:** Continue cooking until the garlic bread is golden brown, heated through, and wonderfully crispy to your liking.
### Step 7: Serve and Enjoy!
Once your garlic bread reaches perfection, carefully remove the basket from the air fryer. Transfer the hot garlic bread to a plate and serve immediately. It’s fantastic alongside almost any meal!
## Tips for the Crispiest Garlic Bread
Want to elevate your air fryer garlic bread game? Here are a few extra tips:
* **Don’t Thaw First:** Cooking directly from frozen is ideal for air frying. Thawing can make the bread too soft and potentially lead to a less crispy result.
* **Consider Thickness:** Thicker slices of garlic bread might need an extra minute or two, or even a slightly lower temperature for a longer duration to ensure the inside is heated through without burning the outside. Thinner slices will cook faster, so keep a close eye on them.
* **Experiment with Your Air Fryer:** Every air fryer is a little different. The first time you make garlic bread, pay close attention to the cooking process. You might find your specific model cooks a bit hotter or cooler than others. Note down the perfect time and temp for your next use! If you’re curious about different air fryer models, an Instant Pot Vortex Plus 6Qt Clearcook Air Fryer Review 2026 might give you some insights.
* **Add Extra Toppings:** Feeling adventurous? After flipping the bread, you can sprinkle a little extra garlic powder, Italian seasoning, or even some shredded Parmesan cheese on top for an extra flavor boost.
* **For Softer Centers:** If you prefer your garlic bread with a slightly softer interior and a crisp exterior, you can experiment with slightly lower temperatures for a minute or two longer. However, for that classic crispy bite, 375°F (190°C) is usually perfect.
## Troubleshooting Common Air Fryer Garlic Bread Issues
Even with a simple recipe, sometimes things don’t go as planned. Here are a few common issues and how to fix them:
### My Garlic Bread is Burnt on the Edges but Not Heated Through
* **Cause:** The temperature might be too high for the thickness of the bread, or you didn’t flip it midway.
* **Solution:** Reduce the temperature slightly for the next batch (e.g., to 350°F or 175°C) and extend the cooking time by a minute or two. Make sure you are flipping the bread halfway through.
### My Garlic Bread is Too Soft and Not Crispy Enough
* **Cause:** The air fryer wasn’t preheated sufficiently, or there wasn’t enough space between the pieces for air to circulate.
* **Solution:** Ensure you preheat your air fryer properly for at least 3-5 minutes. Cook the bread in a single layer with space between slices. For subsequent batches, you might even try increasing the temperature by 10-15°F (about 5°C) for the last minute or two, watching it carefully.
### Some Pieces are Crispy, Others Aren’t
* **Cause:** Uneven arrangement in the basket or inconsistent thickness of the bread slices.
* **Solution:** Always arrange in a single layer, ensuring space. If using a loaf, try to slice it as evenly as possible. If cooking different thicknesses, try to cook similar ones together.
## Conclusion
Mastering how to cook frozen garlic bread in your air fryer is a simple yet incredibly rewarding kitchen skill. In just a matter of minutes, you can transform a frozen staple into a hot, crispy, and irresistible side dish. Remember the key steps: preheat your air fryer to 375°F (190°C), arrange the bread in a single layer with space, and check and flip halfway through. With a cooking time of approximately 5-8 minutes, you’ll have perfect garlic bread ready to serve. So next time you need a quick and delicious side, skip the oven and reach for your air fryer – you won’t be disappointed!
Key Takeaways
- Air frying frozen garlic bread is significantly faster than traditional oven methods, often taking just 5-8 minutes.
- Preheating your air fryer is a crucial step for achieving evenly cooked and crispy garlic bread.
- Temperature is key: aim for 375°F (190°C) for optimal browning and warming without burning.
- Check the bread halfway through for desired crispiness and flip it to ensure both sides are cooked.
- Adjust cooking time based on the thickness and type of garlic bread – thinner slices cook faster.
- Don’t overcrowd the air fryer basket to allow for proper air circulation, leading to a crispier finish.