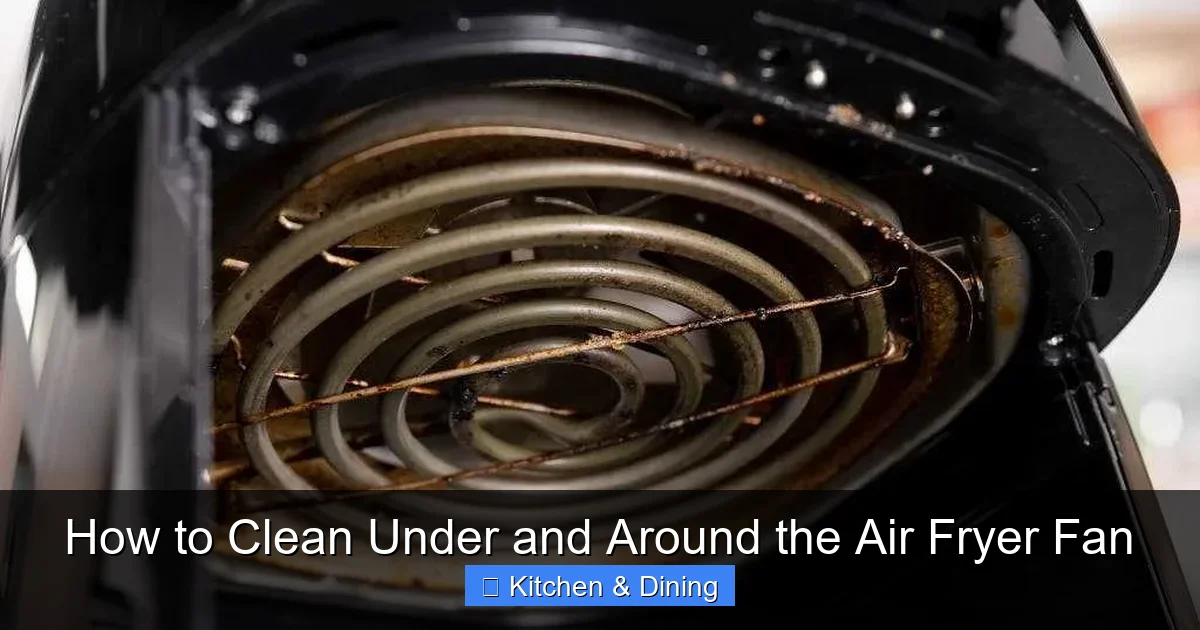
How to Clean Under and Around the Air Fryer Fan
Keeping your air fryer running smoothly means regular cleaning, especially the fan. This comprehensive guide will show you exactly how to clean under and around the air fryer fan to remove grease, debris, and food particles. Following these simple steps will ensure your air fryer operates efficiently and lasts longer, providing delicious meals every time.
Congratulations on owning an air fryer! These incredible kitchen gadgets have revolutionized the way we cook, offering a healthier and faster alternative to traditional frying. From crispy fries to perfectly roasted chicken, your air fryer likely gets a lot of use. But with great cooking power comes the need for great maintenance. One of the most overlooked yet crucial areas to clean is under and around the air fryer fan.
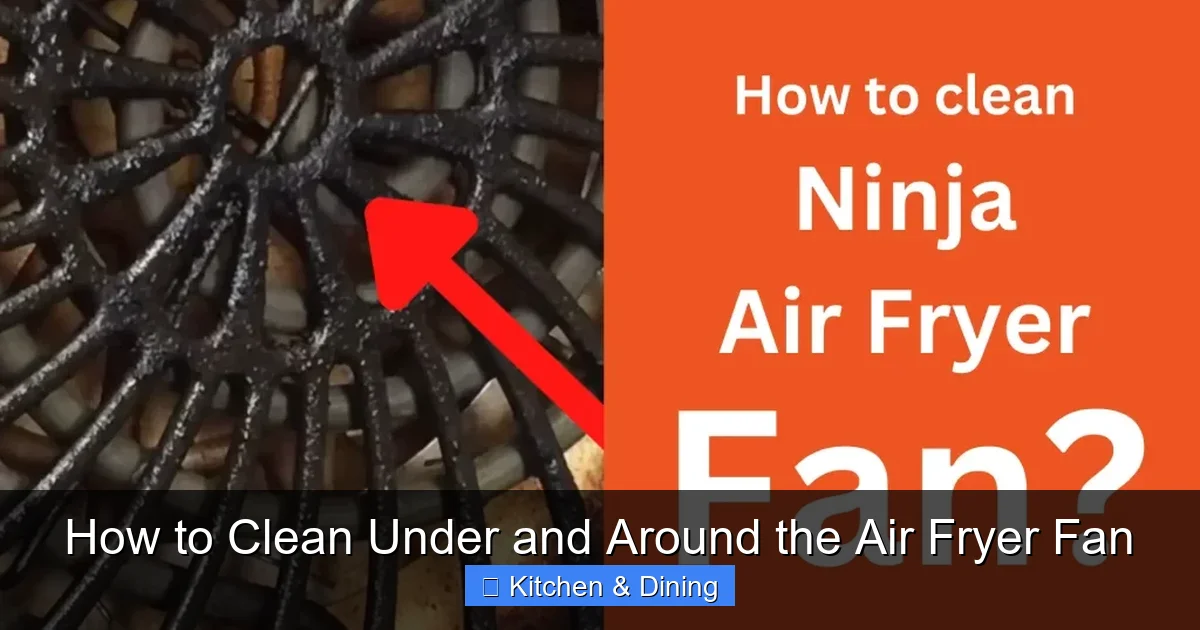
Why is cleaning the air fryer fan so important? Over time, grease, food particles, and airborne debris can accumulate around the fan and its housing. This buildup can hinder the fan’s efficiency, lead to strange smells, and even affect the cooking performance of your appliance. A clogged fan might not circulate hot air effectively, resulting in unevenly cooked food. In some cases, excessive buildup could even pose a fire risk, though this is rare with proper maintenance.
This comprehensive guide will walk you through the process of safely and effectively cleaning under and around your air fryer fan. We’ll cover everything from preparation to detailed cleaning steps, ensuring your air fryer continues to deliver delicious results for years to come. You’ll learn how to tackle stubborn grime and keep your appliance running like new.
- Safety First: Always unplug your air fryer and ensure it’s completely cool before starting any cleaning process to prevent electrical shock or burns.
- Gather Supplies: Have necessary cleaning tools ready, including soft cloths, a soft brush or old toothbrush, mild dish soap, and warm water.
- Disassemble Carefully: Most air fryers allow for some disassembly. Remove the basket and any internal racks or trays. For fan access, you might need to consult your manual.
- Gentle Cleaning: Use a damp cloth and mild soap for external and accessible internal parts. Avoid harsh chemicals or abrasive scrubbers that can damage components.
- Fan Blade Care: Gently wipe fan blades with a damp cloth, working around them carefully. For stubborn residue, a soft brush can help dislodge bits without bending the blades.
- Drying is Crucial: Ensure all parts are completely dry before reassembling and plugging the air fryer back in to prevent moisture damage or electrical issues.
- Regular Maintenance: A quick wipe-down after each use and a more thorough fan cleaning every few weeks will keep your air fryer in top condition.
Why Regular Air Fryer Fan Cleaning Matters
Before we dive into the “how-to,” let’s reinforce why this task is essential. Think of your air fryer’s fan as its heart. It’s responsible for circulating the superheated air that makes your food crispy and perfectly cooked. When this fan is obstructed by grease and food residue, it has to work harder. This strain can lead to:
- Reduced Efficiency: The fan might spin slower or struggle to move air effectively, impacting cooking times and results.
- Uneven Cooking: If air isn’t circulated properly, some parts of your food might be undercooked while others are overcooked.
- Unpleasant Odors: Accumulated grease can heat up and burn, producing unpleasant smells that transfer to your food.
- Potential Damage: In extreme cases, excessive buildup could put undue stress on the motor or even cause it to overheat.
- Hygiene Concerns: A dirty fan can harbor bacteria, which is something we definitely want to avoid in our kitchen appliances.
Regular cleaning, especially of the fan area, is a simple preventive measure that saves you from potential problems down the line. It’s similar to how you’d want to keep the vents clean on other appliances to ensure optimal performance.
Gather Your Cleaning Supplies
Visual guide about How to Clean Under and Around the Air Fryer Fan
Image source: kitchenspet.com
Having the right tools makes any cleaning job easier and more effective. For cleaning your air fryer fan, you’ll need:
- Soft Microfiber Cloths: For wiping surfaces without scratching.
- A Soft Brush or Old Toothbrush: Ideal for reaching tight spots and dislodging stubborn debris.
- Mild Dish Soap: For cleaning grease and grime.
- Warm Water: For rinsing and creating a gentle cleaning solution.
- Cotton Swabs or Q-tips: Useful for cleaning very small or delicate areas around the fan.
- A Small Bowl or Basin: For mixing your cleaning solution.
- Optional: Degreaser (mild, food-safe): For particularly tough grease buildup, but use sparingly and ensure it’s suitable for kitchen appliances.
- Optional: Your Air Fryer’s Manual: This is invaluable if you’re unsure about disassembly or specific cleaning instructions for your model.
Step-by-Step Guide to Cleaning Your Air Fryer Fan
Visual guide about How to Clean Under and Around the Air Fryer Fan
Image source: kitchenspet.com
Now, let’s get down to business! Follow these steps carefully for a thorough and safe cleaning.
Step 1: Safety First – Unplug and Cool Down
This is the most critical step. Before you do anything else, ensure your air fryer is unplugged from the power outlet. Also, make sure the appliance has cooled down completely. A hot air fryer can cause burns. Give it at least 30 minutes to an hour to cool after use.
Step 2: Disassemble Removable Parts
Open your air fryer and remove the basket, any racks, and drip pans. These are usually the easiest parts to clean and should be washed separately. You can typically wash these in the sink with warm, soapy water. For stubborn, baked-on food, you might need to let them soak for a while.
Step 3: Accessing the Fan Area
This step can vary significantly depending on your air fryer model. Some air fryers have a more accessible fan area than others.
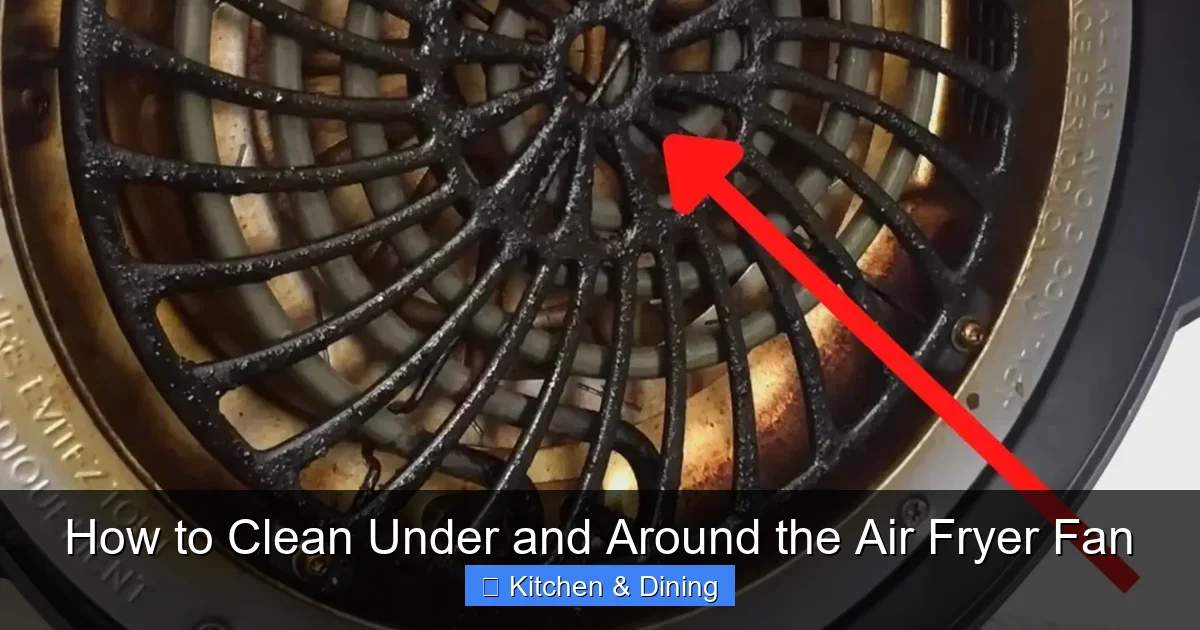
Locating the Fan
The fan is typically located at the back or top of the air fryer, behind a protective grate or housing. You might see a circular opening where the fan is housed. Often, when you remove the basket, you can see the heating element and, behind it, the fan.
Consult Your Manual
If you’re unsure how to access the fan area, your air fryer’s user manual is your best friend. It will often provide diagrams and specific instructions for cleaning and maintenance. Some models may require you to unscrew a panel to get better access.
If Disassembly is Required
If your manual indicates that you need to unscrew a panel to reach the fan, do so carefully. Keep track of any screws you remove, perhaps by placing them in a small container so they don’t get lost. Work on a soft surface like a towel to avoid scratching the appliance.
Step 4: Cleaning Around the Fan Housing
Once you have access to the fan area, you can begin cleaning.
Initial Wipe-Down
Use a dry or slightly damp microfiber cloth to wipe away any loose dust, crumbs, or light debris from the housing and surrounding areas.
Tackling Grease and Grime
For more stubborn grease, dampen a microfiber cloth with warm water and a small amount of mild dish soap. Wring out the cloth very well so it’s not dripping wet – you don’t want excess water getting into the electrical components.
Gently wipe the surfaces around the fan housing. Pay attention to any nooks and crannies where grease might have splattered.
Using a Soft Brush
A soft brush or an old toothbrush is excellent for getting into tight spots. Dip the bristles of the brush in your soapy water solution, shake off excess liquid, and gently scrub away any stuck-on residue. Be careful not to apply too much pressure, especially near delicate components.
Cotton Swabs for Precision
For very small areas or around the base of the fan motor, cotton swabs can be very effective. Dampen them slightly with your cleaning solution and carefully maneuver them to clean the tight spaces.
Step 5: Cleaning the Fan Blades
This is where you need to be extra gentle. The fan blades are usually made of plastic and can be delicate.
Gentle Wiping
Using a slightly damp, well-wrung-out microfiber cloth, gently wipe each fan blade. Move the cloth around the blade in a slow, deliberate motion. Avoid using too much force, as you don’t want to bend or damage the blades.
Stubborn Residue on Blades
If there’s dried-on food or tough grease on the blades, you can use your soft brush. Again, use it gently. You can also try a cotton swab lightly dampened with your cleaning solution to target specific spots.
Never spray cleaning solutions directly onto the fan or its motor. Always apply cleaning solutions to your cloth or brush first.
Step 6: Cleaning Other Internal Areas
While you’re in there, take the opportunity to clean other accessible internal areas of the air fryer. This might include the walls of the cooking chamber and around the heating element (ensure the heating element is cool and you’re not directly spraying water on it). A damp cloth is usually sufficient for these areas.
Step 7: Thorough Drying
This is another crucial step. Before reassembling anything or plugging your air fryer back in, ensure all cleaned parts are completely dry.
Use a dry microfiber cloth to wipe down all the surfaces you’ve cleaned. Pay special attention to any areas where water might have pooled.
Allow the air fryer to air dry for a bit longer if you have any doubts. Moisture can lead to electrical issues or mold growth.
Step 8: Reassemble Your Air Fryer
Once everything is bone dry, carefully reassemble your air fryer.
If you removed any panels or screws, put them back in their original places. Make sure everything fits snugly and securely.
Reinsert the cleaned and dried basket, racks, and drip pan.
Step 9: Final Wipe-Down and Test Run
Give the exterior of your air fryer a final wipe-down with a clean, damp cloth, followed by a dry one. Then, plug it in and run it on a low temperature (e.g., 300°F or 150°C) for about 5-10 minutes without food. This helps to ensure everything is working correctly and dissipates any residual cleaning solution odors. You might notice a slight smell of cleaner the first time, which is normal if you used soap.
Tips for Easier Air Fryer Fan Cleaning
Visual guide about How to Clean Under and Around the Air Fryer Fan
Image source: kitchenspet.com
* **Clean Spills Immediately:** If you notice a spill or splatter near the fan area during cooking, let the air fryer cool down, unplug it, and wipe it up as soon as possible. This prevents food from baking on and becoming harder to remove later.
* **Use Parchment Paper or Foil Liners (with caution):** For some foods, using parchment paper liners or aluminum foil (ensure it doesn’t block air vents) can help catch drips and reduce the amount of grease reaching the fan area. Always check your air fryer manual for recommendations on using liners.
* **Don’t Overload Your Air Fryer:** Overcrowding the basket can lead to grease and food particles being forced into areas they shouldn’t be.
* **Regularity is Key:** A quick check and wipe-down of accessible areas after each use, followed by a more thorough fan cleaning every few weeks or monthly (depending on usage), will make the process much easier. Think of it as part of your regular kitchen appliance maintenance, like cleaning your microwave oven.
Troubleshooting Common Issues
* **Fan Not Spinning or Spinning Slowly:** This is a strong indicator that the fan is obstructed by debris. Unplug, cool, and carefully clean the fan blades and housing as described above. If the problem persists after thorough cleaning, there might be a motor issue requiring professional service.
* **Strange Noises from the Fan:** Humming, grinding, or rattling noises can also point to something obstructing the fan. Again, cleaning is the first step. If the noise continues, it might be a sign of a failing motor bearing.
* **Burning Smells:** If you detect a burning smell during operation, it’s often due to accumulated grease on the heating element or near the fan burning off. Unplug, cool, and thoroughly clean all interior parts, paying close attention to the fan area.
* **Difficulty Accessing the Fan:** If you can’t easily access the fan area or your manual doesn’t provide clear instructions, it’s best to err on the side of caution. Avoid forcing parts or attempting to disassemble the unit if you’re not comfortable. Contact the manufacturer for specific guidance.
Conclusion
Cleaning under and around your air fryer fan might seem like a daunting task, but it’s a vital part of maintaining your appliance for optimal performance and longevity. By following these steps, you can effectively remove grease and food buildup, ensuring your air fryer continues to cook your favorite meals to crispy perfection. Remember to prioritize safety by unplugging the unit and allowing it to cool before you begin. A clean air fryer is a happy, healthy air fryer, ready to whip up delicious and healthier versions of your favorite fried foods. So, roll up your sleeves and give your air fryer the TLC it deserves! A little effort goes a long way in keeping your kitchen appliance running smoothly and efficiently.