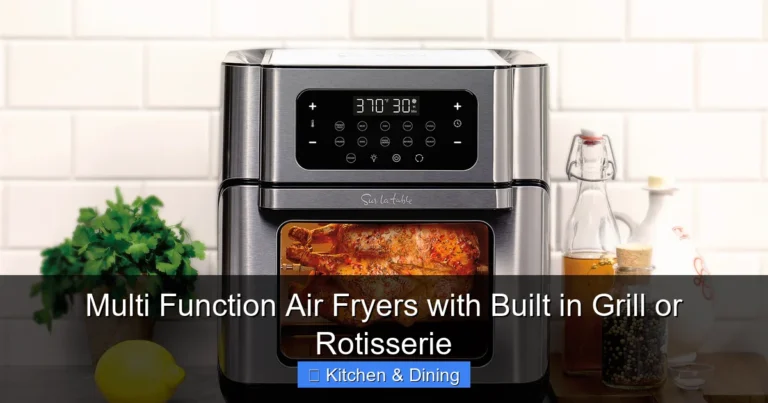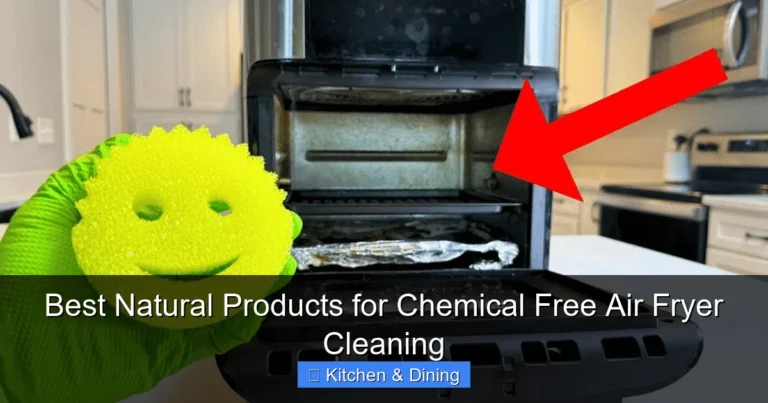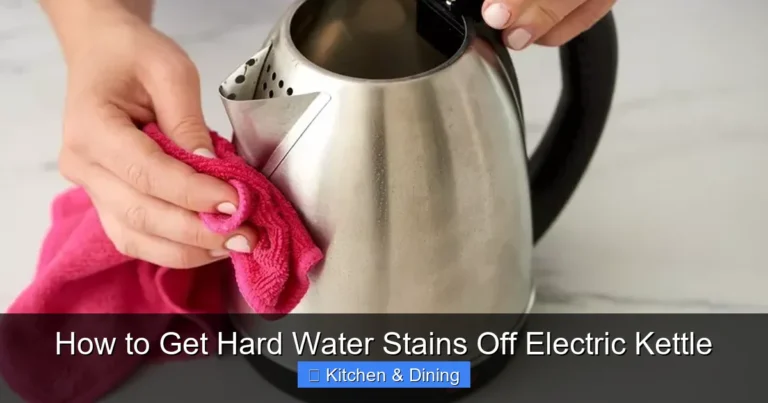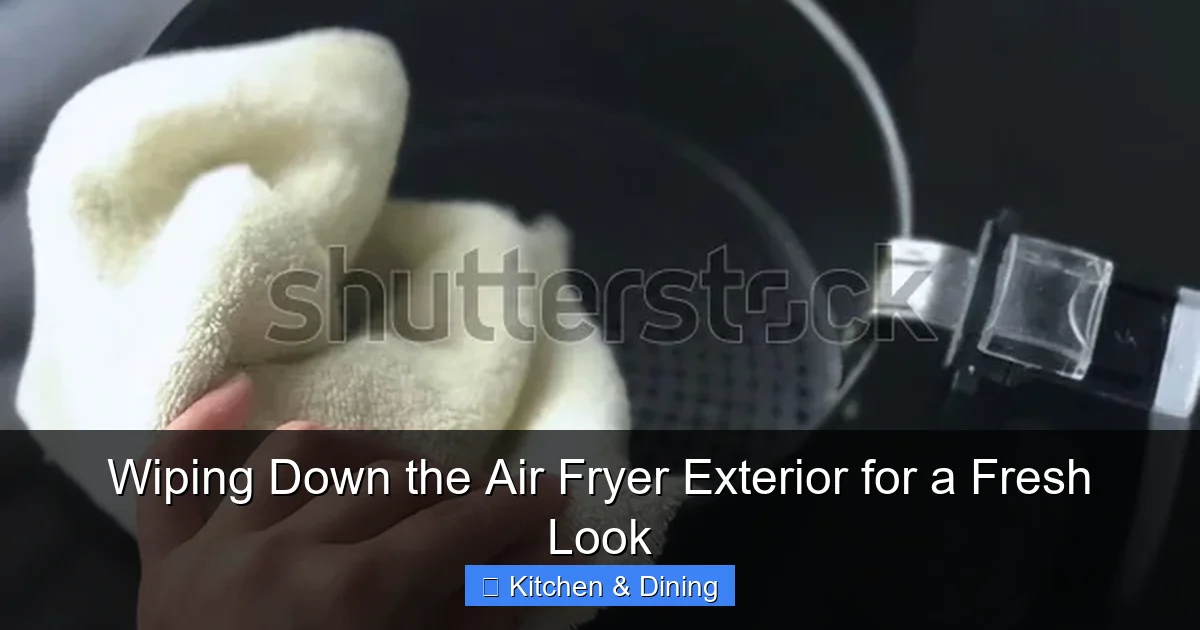
Wiping Down the Air Fryer Exterior for a Fresh Look
Maintaining a clean air fryer exterior is simple and quick. This guide walks you through the easy steps to wipe down your air fryer’s outside, leaving it looking fresh and new. Regular cleaning prevents grime buildup and keeps your kitchen appliance looking its best.
Are you tired of your air fryer looking a little grimy and smudged, even when the inside is sparkling clean? It’s easy to focus on the parts that come into direct contact with food, but the exterior of your appliance can quickly accumulate dust, grease, and fingerprints. A clean exterior doesn’t just look good; it contributes to a more hygienic kitchen environment and can even help your appliance last longer.
This guide is here to help you achieve that fresh, pristine look for your air fryer’s exterior. We’ll break down the process into simple, easy-to-follow steps. You’ll learn what supplies you need, how to tackle different types of smudges, and how to ensure you’re cleaning safely and effectively. Get ready to give your air fryer the spa treatment it deserves!
## Why Bother Wiping Down the Air Fryer Exterior?
You might be wondering if it’s really worth the effort to clean the outside of your air fryer. The answer is a resounding yes! Here’s why:
* **Aesthetics:** A clean appliance simply looks better in your kitchen. It contributes to a polished and inviting atmosphere.
* **Hygiene:** Grease and dust can harbor bacteria. Wiping down the exterior helps maintain a sanitary cooking environment.
* **Longevity:** Regular cleaning can prevent stubborn buildup that might eventually damage the finish of your air fryer.
* **Pride of Ownership:** A well-maintained appliance reflects pride in your kitchen and your cooking tools.
## Getting Started: What You’ll Need
Before you dive in, gather your cleaning supplies. You don’t need anything fancy or specialized. Here’s what will make the job easy:
* **Soft Microfiber Cloths:** These are ideal because they are gentle on surfaces and won’t scratch. Have at least two handy – one for cleaning and one for drying.
* **Mild Dish Soap:** Your go-to for cutting through grease and grime.
* **Warm Water:** The perfect partner for dish soap.
* **Optional: Gentle All-Purpose Cleaner:** For those more stubborn spots, a mild, kitchen-safe all-purpose cleaner can be helpful. Always check your air fryer’s manual to see what cleaners are recommended or should be avoided.
* **Optional: Cotton Swabs or Old Toothbrush:** For reaching tight corners or control panel buttons.
## Step-by-Step: Wiping Down Your Air Fryer Exterior
Let’s get your air fryer looking its best. Follow these simple steps for a sparkling finish.
## Step 1: Safety First – Unplug and Cool Down
This is the most crucial step. Never attempt to clean any electrical appliance while it’s plugged in or still hot.
* Unplug the Appliance: Gently pull the power cord from the wall socket.
* Allow to Cool Completely: Air fryers retain heat. Give it at least 30-60 minutes (or longer if it was recently used intensely) to cool down to a safe temperature. Touching a hot exterior can cause burns.
## Step 2: Prepare Your Cleaning Solution
Mixing your cleaning solution is quick and easy.
* Fill a Small Bowl or Sink: Add a few drops of mild dish soap to warm water.
* Avoid Over-Soaping: You don’t need a lot of soap. Too much can leave a residue.
* Test if Using All-Purpose Cleaner: If you plan to use an all-purpose cleaner for tougher spots, it’s wise to test it on an inconspicuous area first. Some finishes can be sensitive.
## Step 3: Wipe Down the Main Body
This is where the magic happens.
* Dampen Your Cloth: Dip one of your microfiber cloths into the soapy water and wring it out thoroughly. The cloth should be damp, not dripping wet. Excess water can seep into the appliance’s components.
* Gentle Wiping Motion: Start wiping down the main body of the air fryer. Use gentle, circular motions. This helps to lift away dust, fingerprints, and light grease splatters.
* Work in Sections: Tackle one area at a time. This ensures you don’t miss any spots and that the dampness doesn’t sit on the surface for too long.
* Addressing Stubborn Spots: For areas with more persistent grease, you might need to apply a little more pressure or a slightly more concentrated spot of soapy water. You can also try a tiny dab of dish soap directly onto the damp cloth.
* Be Mindful of Vents: Pay attention to the air vents. Gently wipe around them, but avoid pushing excess moisture into them.
## Step 4: Cleaning the Control Panel and Knobs
The control panel often gathers the most fingerprints.
* Use a Lightly Damp Cloth: For most control panels (whether digital or manual knobs), a lightly dampened cloth is sufficient. Ensure it’s barely damp to avoid getting water near the electronic components.
* For Digital Screens: If your air fryer has a digital display, be extra cautious. A soft, dry cloth or a *very* lightly dampened cloth with water only is usually best. Check your manual for specific recommendations.
* Tight Spots: For buttons or the crevices around knobs, a cotton swab or an old, dry toothbrush can be very effective at dislodging dust or grime. Again, ensure they are dry or very lightly damp.
## Step 5: Don’t Forget the Handle!
The handle is another frequently touched area.
* Same as Main Body: Treat the handle the same way you treated the main body of the air fryer. Use your damp, soapy cloth and wipe it down thoroughly.
* Grip Areas: Pay attention to the areas where your hand typically grips, as these can accumulate more oil and residue.
## Step 6: Rinse Away Soap Residue
This step is essential for a streak-free finish.
* Use a Clean, Damp Cloth: Take your second microfiber cloth, dampen it with plain water, and wring it out well.
* Wipe Again: Gently wipe down all the areas you just cleaned with the soapy cloth. This removes any leftover soap residue that could cause streaks or attract more dust.
* Rinse and Repeat if Necessary: If you used a bit more soap or notice a sudsy feel, rinse your cloth and wipe down the appliance again.
## Step 7: Dry Thoroughly
This is the final polish.
* Use a Dry Microfiber Cloth: Grab your dry microfiber cloth.
* Buff to a Shine: Gently buff the entire exterior of the air fryer. This removes any remaining moisture and leaves a shiny, clean finish.
* Ensure All Crevices are Dry: Take a moment to ensure that any nooks and crannies are completely dry. Moisture left behind can lead to water spots or even potential issues down the line.
## Tips for Different Air Fryer Materials
Most air fryers have exteriors made of plastic or stainless steel. The general cleaning method works for both, but here are a few extra notes:
* Plastic Exteriors: These are generally very easy to clean. Avoid using abrasive scrubbers, which can leave visible scratches on the matte or glossy finish.
* Stainless Steel Exteriors: To avoid streaks and water spots on stainless steel, always wipe in the direction of the grain (if visible). For a brilliant shine, you can use a dedicated stainless steel cleaner, but ensure it’s safe for kitchen appliances and always follow up with a clean, dry cloth. If you’re looking for a new appliance with a sleek design, you might want to check out reviews of models like the Instant Pot Vortex Plus 6Qt Clearcook Air Fryer Review 2026 to see what features appeal to you.
## When to Use a Gentle All-Purpose Cleaner
Sometimes, a simple wipe-down isn’t enough. If you have particularly stubborn grease splatters or residue that’s dried on, a gentle all-purpose cleaner can be your friend.
* Choose Wisely: Opt for a cleaner that is specifically labeled as safe for kitchen appliances and sensitive surfaces. Avoid anything with harsh abrasives, bleach, or strong solvents.
* Apply to the Cloth, Not the Appliance: Always spray the cleaner onto your microfiber cloth, not directly onto the air fryer. This prevents overspray and protects the electrical components.
* Spot Treat: Apply the cleaner to the damp cloth and gently rub the affected area.
* Rinse Thoroughly: It’s even more critical to rinse away all traces of the cleaner with a clean, damp cloth afterward to ensure no chemicals are left behind on the exterior.
* Dry and Buff: Finish by drying and buffing with a clean, dry cloth.
## Troubleshooting Common Exterior Issues
Even with careful cleaning, you might encounter a few common issues.
### Q: My air fryer has a sticky residue I can’t remove.
A: This could be from spilled sugary foods or grease that has become baked on. Try using your damp, soapy cloth first. If that doesn’t work, try the gentle all-purpose cleaner mentioned above, applied to the cloth. For extremely stubborn, sticky spots, you can try a tiny amount of Goo Gone or a similar citrus-based adhesive remover. Always test in an inconspicuous area first and rinse very thoroughly.
### Q: I see white streaks on my black plastic air fryer after cleaning.
A: This is usually due to soap residue. You likely didn’t rinse thoroughly enough. Go back with a clean, well-wrung-out damp cloth and wipe the entire surface again. Ensure you’re using a mild soap. After rinsing, dry and buff with a separate dry cloth.
### Q: I accidentally got water into the vents. What should I do?
A: First, unplug the air fryer immediately if you haven’t already. Then, use a dry cloth or paper towel to gently absorb as much moisture as possible from the exterior of the vents. Do NOT try to turn the air fryer on. Let it air dry completely for at least 24 hours in a well-ventilated area. If you are concerned or the appliance behaves unusually after drying, consult your user manual or the manufacturer.
### Q: My air fryer has minor scratches on the exterior. Can they be fixed?
A: Unfortunately, deep scratches on plastic or painted exteriors are difficult to repair without affecting the overall look. For very minor surface scuffs on colored plastic, sometimes a magic eraser can *very gently* buff them out, but this carries a risk of further dulling the finish. For stainless steel, minor scratches can sometimes be minimized with specialized stainless steel scratch removal kits, but these require careful application. Your best bet is to prevent scratches by using soft cloths and avoiding abrasive materials in the first place. If you’re considering a new model, perhaps one with a more durable finish, looking at reviews for a best multi-function air fryer could offer some ideas.
## Maintaining That Fresh Look
Wiping down your air fryer exterior after each use is the best way to prevent buildup and keep it looking fresh.
* Quick Wipe-Down: Once the air fryer has cooled, take a moment to give it a quick wipe with a dry or slightly damp cloth to remove any fresh splatters or fingerprints. This takes less than a minute and makes a big difference over time.
* Deeper Clean as Needed: Schedule a more thorough cleaning (like the one outlined above) every few weeks or whenever you notice visible grime.
## Conclusion
Keeping your air fryer’s exterior looking fresh and clean is a simple yet rewarding task. By following these straightforward steps, you can easily maintain the aesthetic appeal and hygiene of your kitchen appliance. Remember to always prioritize safety by unplugging and cooling down your air fryer before cleaning. With just a few basic supplies and a little bit of attention, your air fryer will not only cook your favorite meals to perfection but also look great on your countertop for years to come. Enjoy your sparkling clean kitchen companion!
Key Takeaways
- Safety First: Always unplug your air fryer and ensure it has cooled completely before cleaning to prevent any risk of burns or electrical shock.
- Gather Your Supplies: You’ll need a soft cloth, mild dish soap, water, and potentially a gentle all-purpose cleaner for tougher spots.
- Gentle Cleaning is Key: Avoid abrasive materials or harsh chemicals that can scratch or damage the air fryer’s finish.
- Targeted Cleaning: Address greasy splatters and smudges with a damp cloth and mild soap, working in small sections.
- Rinse and Dry Thoroughly: After cleaning, wipe down the exterior with a clean, damp cloth to remove any soap residue, and then dry it completely.
- Regular Maintenance: Wiping down the exterior regularly, even after each use, makes deep cleaning much easier and keeps your appliance looking newer for longer.