Air Fryer Grill Pan Insert for Fat Draining and Grilling
Unlock healthier grilling with your air fryer’s grill pan insert! This guide explains how to use your insert for effective fat draining and achieving delicious grill marks on various foods. You’ll learn simple steps to prepare your food, cook it perfectly, and clean up with ease, transforming your air fryer into a versatile indoor grill. Enjoy smoky flavors and leaner meals with this handy kitchen tool.
Air frying has revolutionized home cooking, offering a healthier way to enjoy crispy favorites. But did you know your air fryer can do even more? Many air fryers come with or have available as accessories, a grill pan insert. This isn’t just any pan; it’s specifically designed to bring the char-grilled flavor and appearance of outdoor grilling right into your kitchen, all while helping you cook healthier meals.
This comprehensive guide will walk you through everything you need to know about using an air fryer grill pan insert for fat draining and grilling. We’ll cover how to prepare your food, achieve those coveted grill marks, cook a variety of dishes, and maintain your insert for longevity. Get ready to elevate your air frying game!
Key Takeaways
- Effortless Fat Drainage: The design of the air fryer grill pan insert allows grease and excess fat to drip away from your food, leading to healthier meals.
- Achieve Perfect Grill Marks: The raised ridges on the insert create beautiful, appetizing grill marks, mimicking traditional grilling.
- Versatile Cooking: Beyond burgers and steaks, this insert is great for vegetables, chicken, fish, and even some desserts.
- Simple Preparation: Proper preheating and light oiling of your food are key to preventing sticking and ensuring even cooking.
- Easy Cleanup: Most non-stick grill pan inserts are dishwasher safe, making post-meal cleanup a breeze.
- Healthy Indoor Grilling: Enjoy the flavors of grilling year-round without the need for outdoor space or excessive oil.
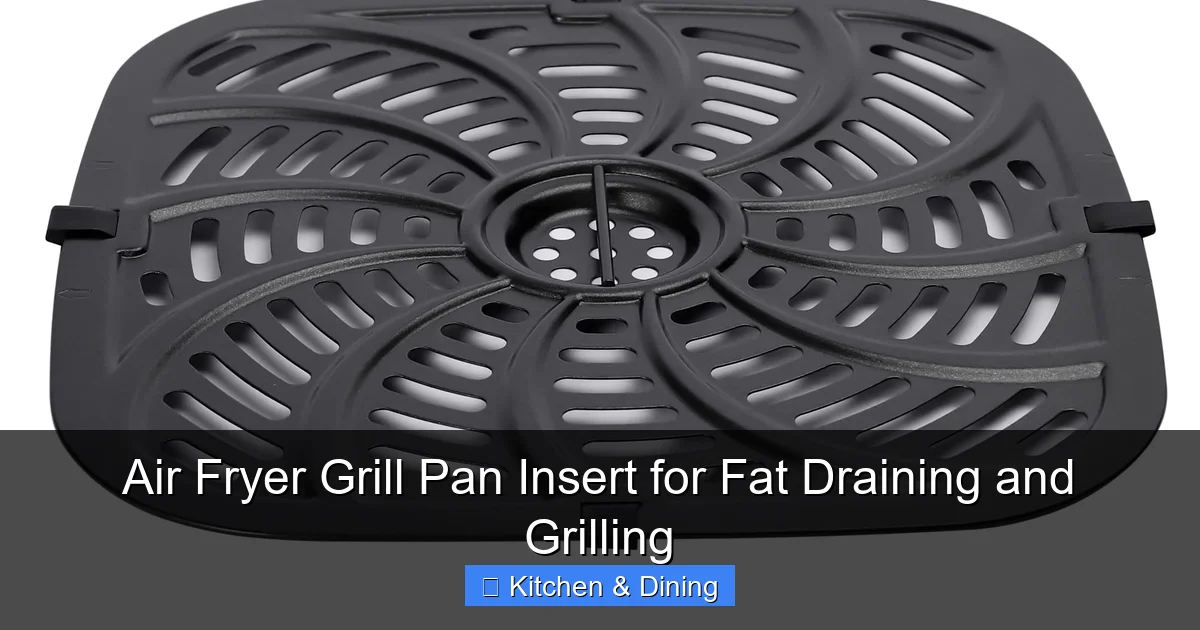
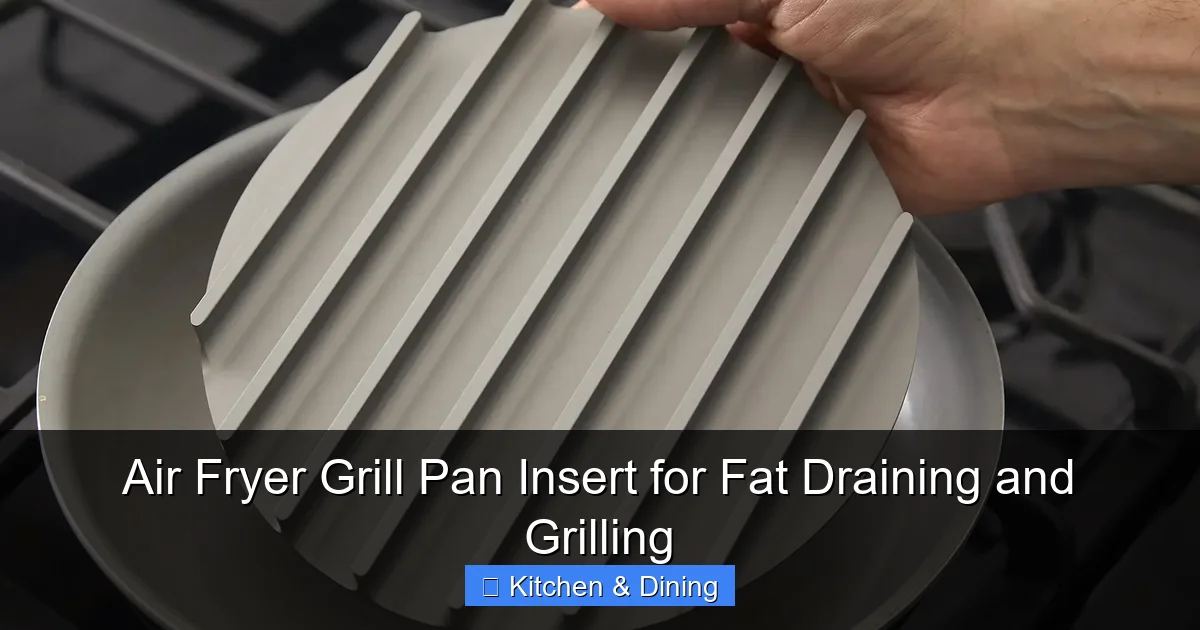
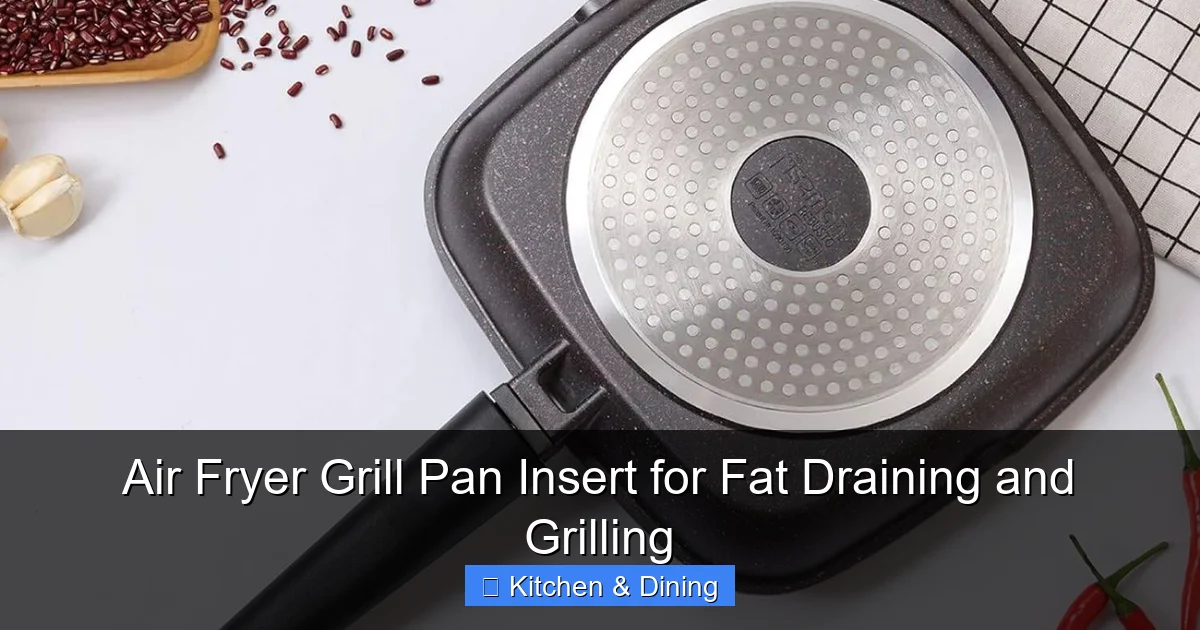
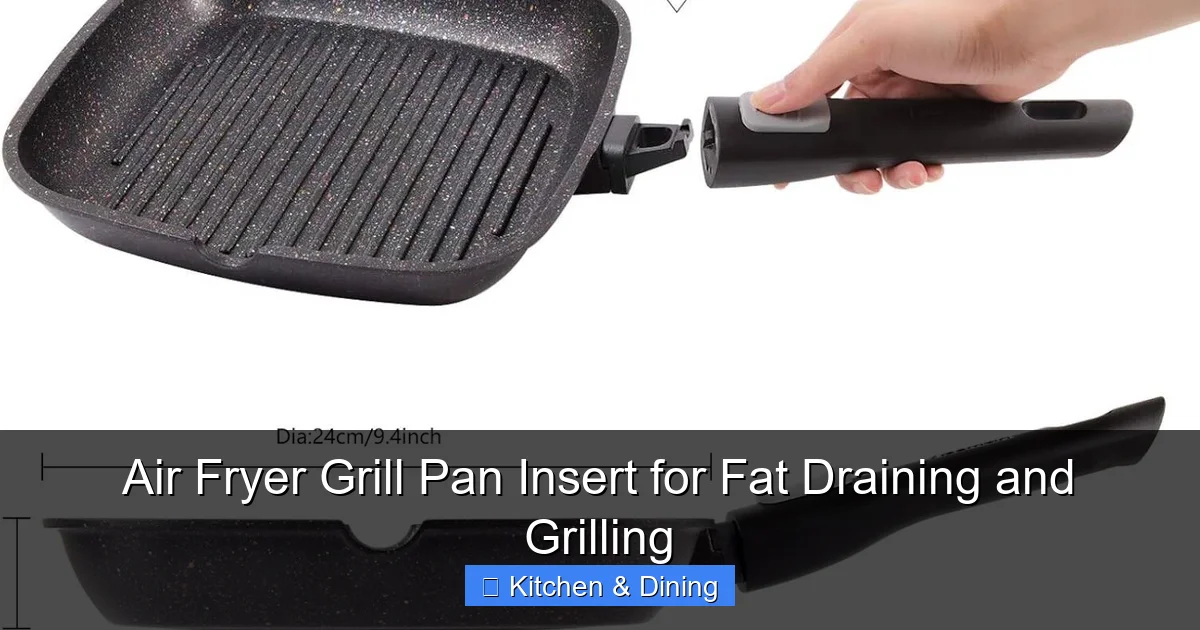
Understanding Your Air Fryer Grill Pan Insert
Before we dive into the “how-to,” let’s quickly understand what makes this accessory so special. An air fryer grill pan insert typically features raised ridges. These ridges serve two main purposes:
- Fat Drainage: As your food cooks, any excess fat and grease will drip down into the channels between the ridges, away from the food itself. This results in a leaner, healthier cooked product.
- Grill Marks: The direct contact of your food with the hot ridges creates those distinct, attractive grill marks that signal deliciousness.
Many inserts are also made with non-stick coatings, making both cooking and cleaning much simpler. They are designed to fit snugly into your air fryer basket or tray.
Preparing Your Food for the Grill Pan Insert
Proper preparation is crucial for success with your air fryer grill pan insert. Here’s what you need to do:
Pat Your Food Dry
This is a vital step, especially for meats and vegetables. Excess moisture on the surface of your food can lead to steaming rather than grilling.
- For meats like chicken breasts, steaks, or burgers, use paper towels to thoroughly pat them dry.
- For vegetables, a gentle patting is usually sufficient.
Season Generously
Just like with any grilling, seasoning is key to flavor.
- Use your favorite rubs, spices, herbs, and salt.
- For a more intense flavor, you can marinate meats beforehand. Ensure the marinade is not too wet, as this can lead to steaming.
Lightly Oil Your Food (Not the Pan!)
Contrary to traditional grilling where you might oil the grates, with most air fryer grill pan inserts, it’s better to lightly coat your food with oil. This helps prevent sticking and promotes even browning.
- Use a cooking spray or brush a small amount of oil (like olive oil, avocado oil, or vegetable oil) directly onto the surface of your food.
- Avoid over-oiling, as this can create excessive smoke in your air fryer.
Preheating the Air Fryer and Grill Pan Insert
Preheating is essential for achieving that perfect sear and preventing food from sticking.
Preheat Your Air Fryer
Just as you would preheat a conventional oven or grill, preheating your air fryer ensures it reaches the optimal temperature before you add your food.
- Set your air fryer to the desired cooking temperature (often around 375-400°F or 190-200°C for most grilling applications).
- Let it preheat for 3-5 minutes.
Preheat the Grill Pan Insert
Once your air fryer is preheated, place the grill pan insert inside and let it heat up for an additional 2-3 minutes. This ensures the ridges are hot and ready to sear your food immediately upon contact, creating those beautiful grill marks.
Grilling Meats: Achieving Perfect Sear and Fat Drainage
The air fryer grill pan insert is fantastic for cooking leaner meats and achieving a healthy, flavorful result.
Burgers
Burgers are a natural fit for the grill pan insert.
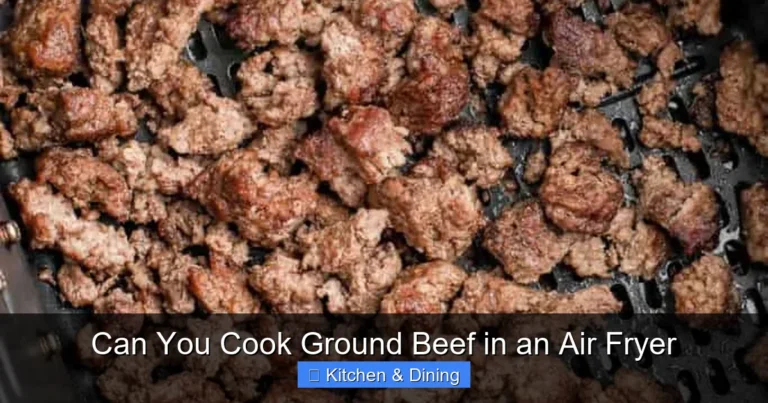
Preparation: Form your patties, pat them dry, season well, and lightly oil both sides. For leaner ground beef, a light oiling is especially important to prevent sticking.
Visual guide about Air Fryer Grill Pan Insert for Fat Draining and Grilling
Image source: grillgrate.b-cdn.net
Visual guide about Air Fryer Grill Pan Insert for Fat Draining and Grilling
Image source: microless.com
Visual guide about Air Fryer Grill Pan Insert for Fat Draining and Grilling
Image source: microless.com
Cooking: Place the preheated patties onto the hot grill pan. Cook for about 4-6 minutes per side for medium-rare, depending on thickness. The fat will drip into the channels, leaving you with a juicy, less greasy burger.
Chicken Breasts and Thighs
Boneless, skinless chicken pieces are excellent candidates.
Preparation: Pat chicken dry, season, and lightly oil. For breasts, you might want to pound them to an even thickness for consistent cooking.
Cooking: Place chicken onto the hot grill pan. Cook for approximately 6-8 minutes per side for breasts, and 5-7 minutes per side for thighs, or until the internal temperature reaches 165°F (74°C). You’ll get lovely char marks and reduced fat content.
Steaks
While you won’t get the exact same crust as a screaming hot outdoor grill, you can achieve delicious results.
Preparation: Choose thinner cuts of steak (like flank steak, sirloin, or ribeye) for best results in an air fryer. Pat dry, season generously, and lightly oil.
Cooking: Place steaks on the preheated grill pan. Cook for 3-5 minutes per side for medium-rare, adjusting for your desired doneness. Remember, air fryers cook faster, so keep a close eye on your steak.
Fish Fillets
Delicate fish can also be grilled.
Preparation: Pat fish fillets (like salmon, cod, or tilapia) very dry. Season and lightly oil. Ensure there are no bones.
Cooking: Place fish onto the hot grill pan. Cook for about 4-6 minutes per side, depending on thickness, until opaque and flaky. Be careful not to overcook delicate fish.
Grilling Vegetables: Adding Smoky Flavor and Char
Don’t limit yourself to just meats! Vegetables also benefit from the charring effect of the grill pan insert.
Asparagus
Preparation: Snap off the woody ends of asparagus. Toss with a tablespoon of olive oil, salt, and pepper.
Cooking: Place asparagus spears in a single layer on the hot grill pan. Cook for 5-7 minutes, turning halfway through, until tender-crisp and slightly charred.
Bell Peppers and Onions
These add fantastic flavor to many dishes.
Preparation: Cut bell peppers into large chunks or strips. Slice onions into thick rings or wedges. Toss with a light coating of oil, salt, and pepper.
Cooking: Arrange on the grill pan in a single layer. Cook for about 8-10 minutes, flipping halfway, until tender and nicely charred. The charred bits add wonderful smoky notes.
Zucchini and Squash
Preparation: Slice zucchini and yellow squash into ½-inch thick rounds or lengthwise planks. Toss with oil, salt, and pepper.
Cooking: Grill for about 4-5 minutes per side until tender with grill marks. These are great as a side dish or added to salads.
Corn on the Cob
Preparation: You can grill corn in the husk or shucked. If shucked, lightly brush with melted butter or oil and season.
Cooking: Place corn on the hot grill pan. Turn every few minutes for about 10-15 minutes until kernels are tender and slightly charred.
Tips for Optimal Grilling and Fat Drainage
Here are some extra tips to ensure you get the best results every time:
- Don’t Overcrowd the Pan: This is one of the most common mistakes. Overcrowding prevents hot air from circulating effectively and will steam your food instead of grilling it, leading to soggy results and poor charring. Cook in batches if necessary.
- Adjust Cooking Times: Air fryer models and sizes vary. The cooking times provided are estimates. Always check your food for doneness and adjust as needed. You might find your air fryer cooks faster or slower than expected.
- Experiment with Marinades: While you want to avoid overly wet marinades, well-reduced marinades or glazes can add incredible flavor. Apply glazes during the last few minutes of cooking to prevent burning.
- Consider Food Thickness: Thicker cuts of meat or vegetables will take longer to cook. Pounding meats to an even thickness is highly recommended for consistent results.
- Manage Smoke: While designed for fat drainage, very fatty foods can still produce some smoke. Ensure your kitchen is well-ventilated. Using a lower smoke point oil on your food rather than coating the pan helps minimize smoke. If you find smoke is a constant issue, consider an air purifier for smoke.
- Check Your Air Fryer Manual: Always refer to your specific air fryer’s manual for recommended temperatures and cooking times for grilling inserts. Different models might have unique instructions or limitations. If you have a specific model like the Instant Pot Vortex Plus 6Qt Clearcook Air Fryer Review 2026, check its features.
Cleaning and Maintaining Your Grill Pan Insert
Proper cleaning will ensure your grill pan insert lasts for years to come.
Immediate Cleanup is Best
Try to clean the insert shortly after cooking, once it has cooled down sufficiently.
Hand Washing is Recommended (Even if Dishwasher Safe)
While many non-stick inserts are labeled as dishwasher safe, hand washing with a soft sponge or cloth and mild dish soap is the best way to preserve the non-stick coating.
- Use warm water and a non-abrasive sponge.
- Gently wipe away any food residue.
- For stubborn stuck-on bits, soak the pan in warm, soapy water for a while before cleaning. You can also use a soft nylon brush.
- Avoid using steel wool, abrasive scrubbers, or harsh detergents, as these can damage the non-stick surface.
Drying Thoroughly
After washing, always dry the insert completely with a soft cloth before storing it. Moisture can lead to water spots or, in rare cases, corrosion, especially if the non-stick coating has been compromised.
Storing Your Insert
Store the grill pan insert in your air fryer basket or separately in a drawer. If storing it with other items, consider placing a soft cloth or paper towel over it to protect the surface.
Troubleshooting Common Issues
Even with the best intentions, you might encounter a few hiccups.
Food Sticking to the Grill Pan
- Cause: Insufficient preheating, not enough oil on the food, or using abrasive cleaning tools in the past.
- Solution: Always preheat your air fryer and grill pan insert thoroughly. Lightly oil your food just before placing it on the pan. If the non-stick surface is damaged, it might be time for a replacement.
Excessive Smoke
- Cause: Overcrowding the pan, using very fatty meats without trimming, or using an oil with a low smoke point that burns easily.
- Solution: Cook in smaller batches. Trim excess fat from meats. Use cooking oils with higher smoke points (like avocado or grapeseed oil). Ensure good kitchen ventilation.
Uneven Cooking or Lack of Grill Marks
- Cause: Pan not preheated, overcrowding, or food not making good contact with the ridges.
- Solution: Ensure thorough preheating. Cook in a single layer without overcrowding. Make sure the food is pressed down slightly onto the ridges when first placed.
Conclusion
The air fryer grill pan insert is a fantastic addition to your kitchen arsenal. It empowers you to enjoy the taste and appearance of grilled food year-round, right from your countertop, with the added benefit of healthier cooking through effective fat drainage. From juicy burgers and tender chicken to perfectly charred vegetables, the possibilities are vast.
By following these simple steps for preparation, cooking, and cleaning, you’ll be well on your way to mastering your air fryer grill pan insert. So, preheat that pan, season your ingredients, and get ready to create delicious, grilled masterpieces with ease! This versatile accessory truly expands the capabilities of your air fryer, making it a true multi-function appliance. You might even consider looking for a best multi-function air fryer that comes with such accessories included.