Multi Function Air Fryers with Built in Grill or Rotisserie
Explore the exciting world of multi-function air fryers with built-in grills and rotisseries. This guide provides a comprehensive walkthrough on how to maximize your appliance, from mastering cooking techniques for various foods to essential cleaning and maintenance. Discover the versatility of these kitchen companions and unlock a new level of convenience and deliciousness.
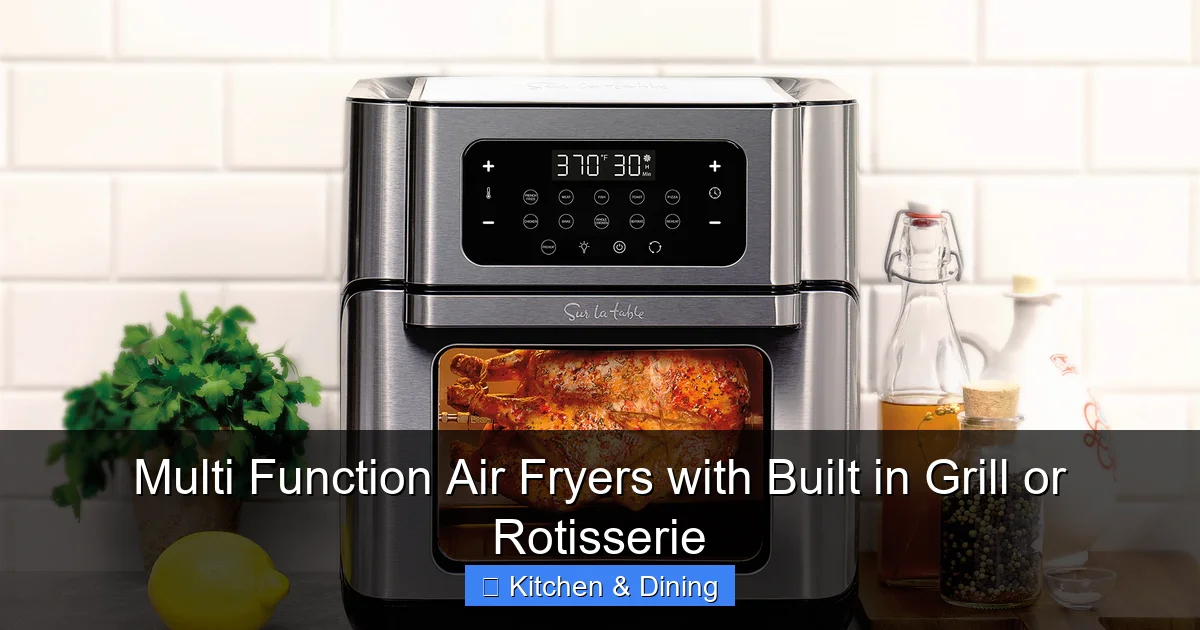
Are you ready to revolutionize your kitchen with a single, powerful appliance? Multi-function air fryers with built-in grills or rotisseries are the answer! These innovative gadgets are more than just air fryers; they are culinary powerhouses designed to simplify your cooking and expand your recipe repertoire. From achieving perfectly crispy fries and juicy chicken wings to grilling steaks and roasting whole chickens, these machines do it all.
In this comprehensive guide, we’ll walk you through everything you need to know to get the most out of your multi-function air fryer with a grill or rotisserie. You’ll learn how to use its various functions, maintain it for years of delicious meals, and even get some tips for expanding your culinary horizons.
- Versatile Cooking Capabilities: These appliances go beyond basic air frying, offering grilling and rotisserie functions for a wider range of dishes, from crispy fries to whole chickens.
- Understanding Attachments: Learn about the different baskets, racks, skewers, and rotisserie spits and how to use them correctly for optimal results.
- Mastering Grill Function: Discover how to achieve perfect sear marks and smoky flavors on meats and vegetables using the integrated grill.
- Perfecting Rotisserie Cooking: Get tips on how to properly load, secure, and cook whole chickens or roasts for even browning and juiciness.
- Easy Cleaning and Maintenance: Understand the best practices for cleaning the various components to ensure longevity and hygiene of your air fryer.
- Troubleshooting Common Issues: Learn how to address minor problems that might arise during operation, ensuring a smooth cooking experience.
Getting Started with Your Multi-Function Air Fryer
Before you start cooking up a storm, it’s essential to understand your new appliance. Each model might have slight variations, but the core principles remain the same.
Unpacking and Initial Setup
When you first receive your multi-function air fryer, carefully unpack it. Remove all packaging materials, protective films, and any temporary stickers. Most manufacturers recommend a quick wash of the removable parts (basket, drip tray, grill grate, rotisserie spit) with warm, soapy water before the first use. Ensure everything is completely dry before reassembling.
Familiarizing Yourself with Controls and Accessories
Take some time to explore the control panel. You’ll typically find buttons or a dial for setting temperature, time, and selecting cooking modes (air fry, grill, roast, bake, dehydrate, etc.). Pay close attention to the accessories that come with your air fryer. These can include:
- Air Fry Basket: For classic air frying, creating crispy textures.
- Grill Grate: Designed to allow heat to circulate and create grill marks.
- Rotisserie Spit and Forks: For roasting whole chickens or large cuts of meat.
- Drip Tray: Catches grease and drippings, making cleanup easier.
- Racks: For stacking food or when using specific functions.
Running a Test Cycle
Many manufacturers advise running an empty cycle for about 10-15 minutes at a high temperature (e.g., 400°F or 200°C) before the first cooking session. This helps to burn off any residual manufacturing oils or odors. Ensure the area is well-ventilated during this process.
Mastering the Air Fry Function
This is likely the function you’re most familiar with, but the multi-function aspect might offer enhanced capabilities.
Choosing the Right Temperature and Time
Consult your appliance’s manual for recommended settings for common foods. As a general rule, air frying typically ranges from 350°F to 400°F (175°C to 200°C). Shorter cooking times compared to conventional ovens are a hallmark of air fryers.

Visual guide about Multi Function Air Fryers with Built in Grill or Rotisserie
Image source: img.lazcdn.com
Arranging Food for Optimal Crisping
For the best results, avoid overcrowding the basket. Food should be in a single layer, allowing hot air to circulate freely around each piece. This is crucial for achieving that signature crispiness. For larger batches, consider cooking in multiple rounds.
Tips for Crispy Perfection
- Use a little oil: While air fryers use less oil, a light spray or toss with oil (about 1-2 tablespoons) helps achieve that coveted crisp and golden-brown color.
- Shake or flip: For foods like fries or nuggets, shaking the basket halfway through cooking ensures even browning and crisping. For larger items, use tongs to flip them.
- Preheating: While not always necessary, preheating your air fryer for 3-5 minutes can help achieve a more even cook and crispier exterior right from the start.
Unleashing the Grill Function
The integrated grill transforms your air fryer into a versatile indoor grill.
Preparing Your Grill Grate
Ensure the grill grate is clean and properly seated in the air fryer. Some grates are designed to sit directly over the heating element, while others might require a specific rack. Lightly oiling the grill grate can prevent food from sticking.
Visual guide about Multi Function Air Fryers with Built in Grill or Rotisserie
Image source: m.media-amazon.com
What to Grill?
The grill function is fantastic for:
- Meats: Steaks, chicken breasts, pork chops, burgers, sausages.
- Seafood: Shrimp, fish fillets.
- Vegetables: Bell peppers, zucchini, asparagus, corn on the cob.
- Fruit: Pineapple slices, peaches.
Achieving the Perfect Sear
Grilling works best at higher temperatures, typically between 400°F (200°C) and 450°F (230°C), depending on your model and the food. For steaks and burgers, you want a good sear. This means letting the food cook undisturbed for a few minutes on each side to develop those appealing grill marks and a flavorful crust.
Adding a Smoky Flavor
While not a true charcoal grill, you can enhance the smoky flavor. Marinating your meats beforehand can add depth. Some users also experiment with adding a few wood chips (like hickory or mesquite) to a small foil pouch and placing it in the bottom of the air fryer (check your manual first, as this can vary by model and could void warranties if not done correctly). Always ensure adequate ventilation.
For those who love grilling but prefer not to dedicate an entire appliance, exploring options like the best multi-function air fryer might offer a good balance of features. If you are looking for dedicated grilling appliances, you may wish to consider alternatives.
Excelling with the Rotisserie Function
Roasting a whole chicken or a tenderloin has never been easier thanks to the rotisserie feature.
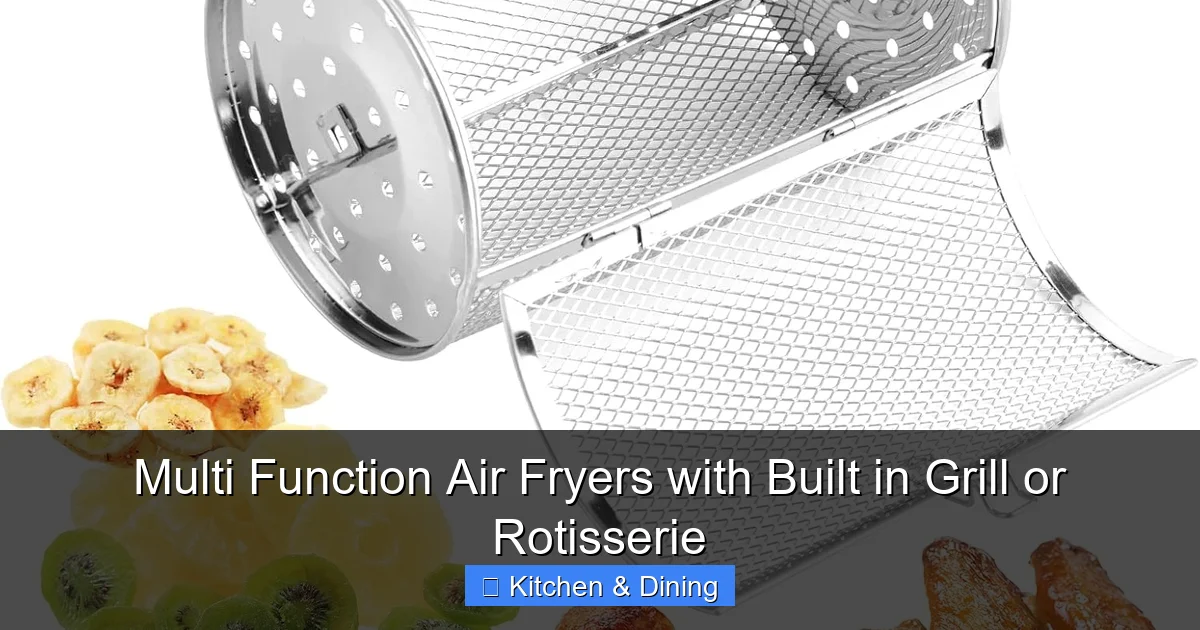
Setting Up the Rotisserie
This involves inserting the rotisserie spit through the center of your food and securing it with the provided forks. Ensure the food is balanced on the spit. Some air fryers come with a specific rotisserie basket or cage for smaller items.

Visual guide about Multi Function Air Fryers with Built in Grill or Rotisserie
Image source: m.media-amazon.com
How to Load and Secure Food
- Prepare your protein: Pat your chicken or roast dry. Season it generously. You can truss a whole chicken to ensure it cooks evenly and stays compact.
- Insert the spit: Slide the spit rod through the thickest part of your food, aiming for the center.
- Attach the forks: Position the forks on either side of the food, ensuring they are firmly dug in to prevent rotation. Tighten the screws on the forks securely.
- Balance is key: Gently rotate the spit by hand. If one side feels significantly heavier, adjust the food or the forks until the weight is balanced. An unbalanced load will cause uneven cooking and put strain on the motor.
- Insert the spit into the air fryer: Most rotisseries have a designated slot at the back of the air fryer. Carefully slide the spit into this slot, and rest the other end on the support bracket. Ensure it clicks or locks into place.
Cooking Times and Temperatures
Roasting times will vary based on the size and type of food. A general guideline for a 3-4 lb chicken is around 1 hour to 1 hour 30 minutes at 375°F (190°C). Always use a meat thermometer to ensure your food is cooked to the safe internal temperature (e.g., 165°F or 74°C for chicken).
Retrieving Your Rotisserie Masterpiece
Once cooked, carefully remove the rotisserie spit. Use oven mitts and the provided tool (if applicable) to lift the spit out of the air fryer. Allow the food to rest for 10-15 minutes before carving. This allows the juices to redistribute, resulting in a more tender and flavorful meal. You can then use the drip tray or a separate pan to catch any juices released during carving.
Cleaning and Maintenance: Keeping Your Appliance in Top Shape
Proper cleaning is vital for the longevity and performance of your multi-function air fryer.
Daily Cleaning After Each Use
- Unplug and cool: Always unplug the appliance and allow it to cool completely before cleaning.
- Removable parts: Wash the air fryer basket, grill grate, drip tray, and any racks in warm, soapy water. Many of these are also dishwasher safe (check your manual).
- Interior: Wipe down the inside of the air fryer cavity with a damp cloth to remove any food debris or grease splatters. Avoid using abrasive cleaners or scouring pads that could damage the non-stick coating.
- Exterior: Wipe the exterior with a damp cloth. If there are stubborn marks, use a mild detergent.
Deep Cleaning (Periodically)
For a more thorough clean, especially if you notice lingering odors or grease buildup:
- Heating element: Carefully wipe down the heating element (usually at the top) with a soft, damp cloth to remove any residue. Ensure it’s completely dry before the next use.
- Rotisserie spit and forks: Ensure all food particles are removed from the spit and forks. Soak them in warm, soapy water if necessary.
- Deodorizing: You can deodorize your air fryer by placing a bowl of water with lemon slices or a tablespoon of white vinegar inside and running it on a low heat setting for 10-15 minutes. Follow this with a thorough wipe-down.
Storage
Store your air fryer in a clean, dry place. Ensure all parts are dry before storing to prevent mold or mildew. If you have a compact model, you might be able to store some accessories inside the basket when not in use.
Troubleshooting Common Issues
Even the best appliances can encounter minor hiccups. Here are a few common issues and their solutions.
Food Not Crispy Enough
Possible Causes: Overcrowding the basket, insufficient preheating, not enough oil, cooking time too short.
Solutions: Cook in smaller batches, ensure proper preheating, use a light spray of oil, and adjust cooking time as needed.
Uneven Cooking
Possible Causes: Overcrowding, unbalanced rotisserie load, food sticking to the grill grate.
Solutions: Ensure single layers in the basket, balance rotisserie loads meticulously, and ensure the grill grate is oiled and food isn’t packed too tightly.
Smoke Coming from the Air Fryer
Possible Causes: Excessive grease or food debris in the drip tray or on the heating element, fatty foods dripping excessively.
Solutions: Clean the appliance thoroughly, especially the drip tray and heating element. Trim excess fat from meats. If cooking very fatty foods, the drip tray might need to be emptied midway through cooking (use caution and wear mitts).
Rotisserie Motor Not Working
Possible Causes: Improperly seated spit, overloaded spit, motor issue.
Solutions: Ensure the spit is correctly inserted and secured. Check that the food isn’t too heavy or unbalanced for the motor. If the issue persists, contact the manufacturer.
Conclusion
Multi-function air fryers with built-in grills and rotisseries are truly game-changers in the modern kitchen. They offer incredible versatility, allowing you to air fry, grill, roast, and more, all within one compact appliance. By understanding how to use each function correctly, performing regular cleaning and maintenance, and knowing how to troubleshoot minor issues, you can unlock a world of culinary possibilities. So go ahead, experiment with new recipes, and enjoy delicious, healthy, and convenient meals every day!