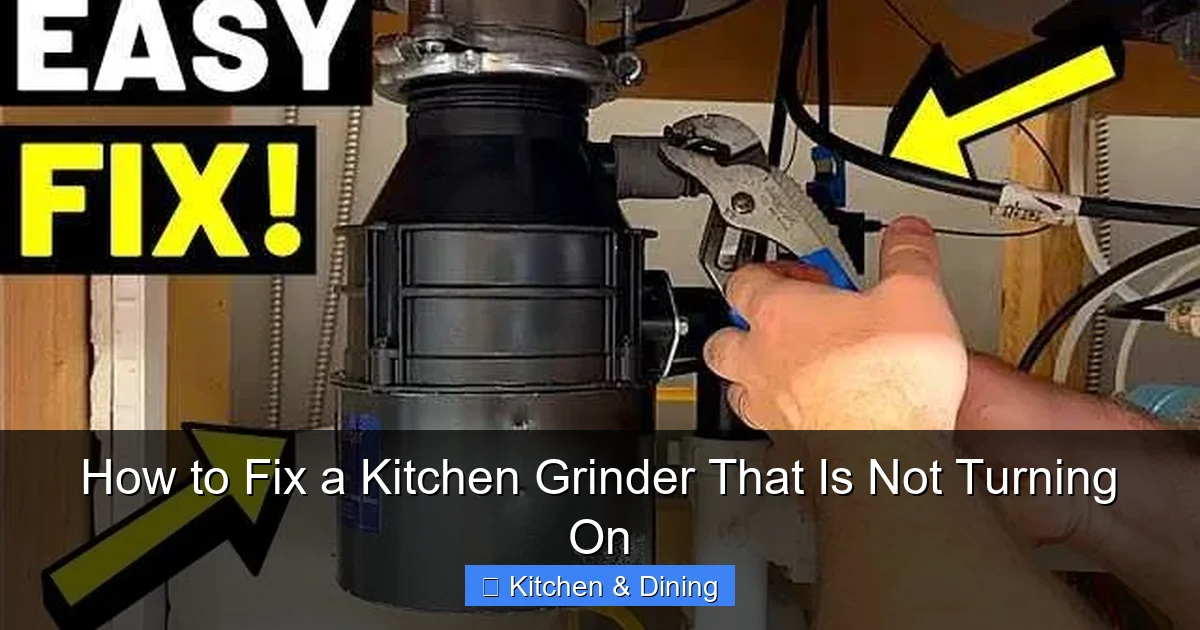
How to Fix a Kitchen Grinder That Is Not Turning On
A kitchen grinder that won’t turn on can be frustrating, but most issues are fixable. This guide covers essential safety precautions, common reasons for failure, and detailed, step-by-step solutions. We’ll help you diagnose and resolve power supply problems, reset mechanisms, check for blockages, and address potential motor issues, getting your kitchen grinder back to work quickly.
It’s a familiar kitchen scenario: you’re ready to whip up a delicious meal, perhaps grinding some spices for a fragrant curry or preparing fresh ingredients for a weeknight dinner, and your trusty kitchen grinder decides to take an unscheduled break. It simply won’t turn on. Don’t despair! A kitchen grinder that refuses to start is a common problem, and often, it’s something you can fix yourself without needing to call a technician or buy a new appliance. In this comprehensive guide, we’ll walk you through the most common reasons why your kitchen grinder might not be turning on and provide clear, step-by-step instructions on how to get it working again.
We’ll cover everything from the simplest solutions, like checking the power source, to more involved troubleshooting of the internal components. By the end of this guide, you’ll be equipped with the knowledge to diagnose the problem and, hopefully, restore your kitchen grinder to its full functionality. Understanding how your appliance works is the first step to fixing it, so let’s get started!
Key Takeaways
- Safety First: Always unplug your kitchen grinder before attempting any inspection or repair to avoid electrical shock.
- Check Power Supply: Ensure the grinder is properly plugged in, the outlet is working, and the circuit breaker hasn’t tripped.
- Reset Button: Many grinders have a thermal reset button that trips when the motor overheats; locate and press it.
- Clear Blockages: Food debris or foreign objects can jam the grinding mechanism, preventing it from starting.
- Inspect the Motor: If other steps fail, the motor might be the issue, but this often requires professional assessment.
- Consult Manual: Refer to your grinder’s user manual for specific troubleshooting steps and safety warnings.
Step 1: Prioritize Safety – Unplug the Grinder!
Before you even think about poking around your kitchen grinder, the most crucial step is to ensure your safety. Electricity and kitchen environments can be a hazardous combination, especially when dealing with appliances. Always, always, always unplug the grinder from the electrical outlet before you begin any inspection or troubleshooting. This simple step prevents the risk of electric shock and ensures that the grinder won’t accidentally turn on while you’re working on it.
Think of it like preparing your ingredients before cooking; safety is the foundational step that makes everything else possible and prevents unwelcome accidents. Once unplugged, you can proceed with confidence.
Step 2: Check the Power Source
This might sound obvious, but a surprising number of appliance issues stem from simple power supply problems. It’s the first and easiest thing to rule out.
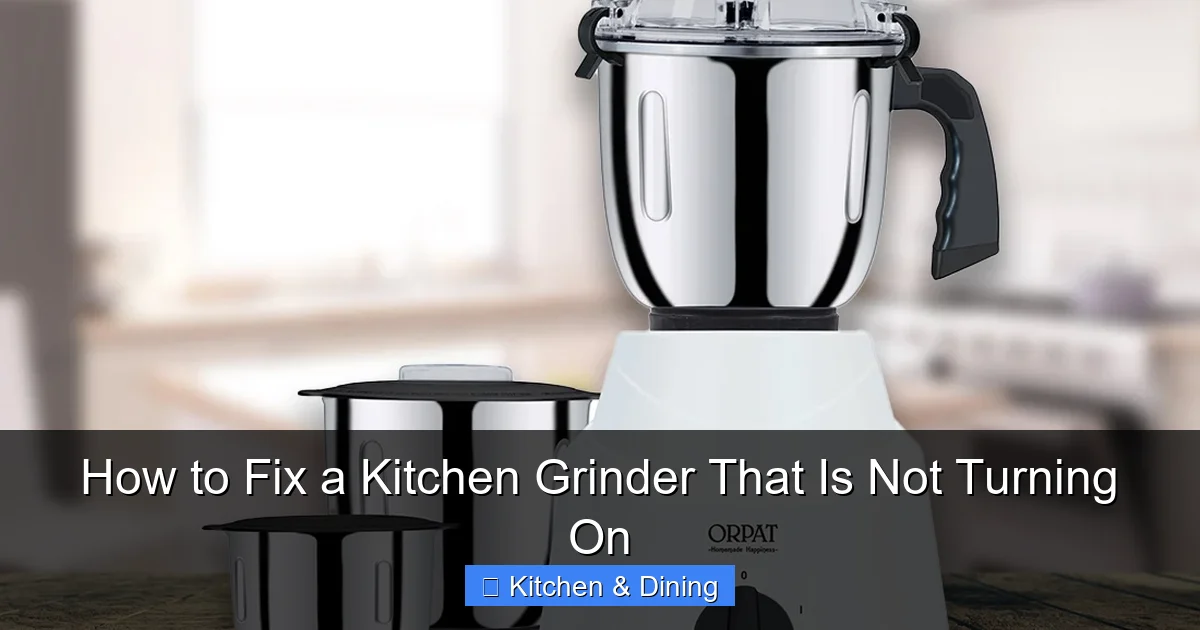
Visual guide about How to Fix a Kitchen Grinder That Is Not Turning On
Image source: orpatgroup.com
Verify the Outlet
Is the grinder plugged in securely? Sometimes, a cord can become slightly dislodged, especially in a busy kitchen. Push the plug firmly into the electrical outlet.
Test the Outlet
Is the outlet itself working? To test this, try plugging another small appliance (like a lamp or a phone charger) into the same outlet. If that appliance doesn’t work either, the problem lies with the outlet or the circuit it’s connected to, not the grinder.
Check the Circuit Breaker
If the outlet isn’t working, head to your home’s electrical panel. Look for a tripped circuit breaker. Breakers are safety devices that shut off power to a circuit if it’s overloaded or experiences a fault. If you find a breaker in the “off” position or in a middle position, it means it has tripped. Gently flip the breaker completely to the “off” position, and then back to the “on” position.
Tip: If the breaker trips again immediately after you reset it, there might be a more serious electrical issue with the outlet or wiring, and you should consult an electrician.
Step 3: Look for a Thermal Reset Button
Many electric motors, including those in kitchen grinders, have a built-in safety feature called a thermal overload protector or a thermal reset button. This mechanism is designed to shut off the motor if it overheats, usually due to prolonged use, a jam, or a strained motor. This prevents damage to the motor.
Locate the Button
The reset button is typically a small, red or black button located on the underside or side of the grinder’s motor housing. It might be recessed and require a pen tip or a similar blunt object to press.
Press the Reset Button
Once you’ve located the reset button, press it firmly. You might feel a slight click if it has reset successfully.
Wait and Test
After pressing the reset button, wait for about 10-15 minutes to allow the motor to cool down completely. Then, plug the grinder back in and try turning it on. If the grinder was overheating, this step should resolve the issue.
Step 4: Check for Blockages and Jams
A common reason a grinder won’t turn on is that the grinding mechanism itself is jammed. This can happen if large pieces of food are inserted, if the grinder has been used for too long without a break, or if foreign objects have accidentally made their way into the grinding chamber.
Disassemble the Grinder (Safely)
With the grinder unplugged, carefully take apart the grinding mechanism. Refer to your user manual if you’re unsure how to do this. Typically, this involves unscrewing the grinding cup or bowl from the motor base.
Inspect the Grinding Chamber
Look inside the grinding chamber. Are there any visible food particles, debris, or foreign objects lodged in the blades or the grinding path? If you’re grinding something hard like coffee beans or spices, a stray, overly large piece can cause a jam.
Clear the Obstruction
Gently remove any obstructions you find. You might need a small brush or a toothpick for this. Be careful not to damage the blades or any internal parts.
Example: If you were trying to grind peppercorns and a particularly large, hard one got stuck, it could prevent the motor from even starting. Removing that one piece might be all that’s needed.
Reassemble and Test
Once you’re sure the grinding chamber is clear, reassemble the grinder carefully. Plug it back in and try turning it on.
Step 5: Inspect the Grinding Blades and Mechanism
Even if there’s no obvious jam, worn or damaged grinding blades can sometimes cause issues. If the blades are dull, they might require more force to turn, leading to the motor struggling or the safety mechanisms tripping.
Examine the Blades
With the grinder disassembled and unplugged, look at the grinding blades. Are they sharp, or do they appear dull and worn? Are there any nicks, bends, or signs of damage?
Check for Smooth Rotation
Try to manually rotate the blade assembly (if possible and safe to do so). Does it spin freely, or does it feel stiff or catch on anything?
Tip: If the blades are dull, they might need sharpening or replacement. While you can sharpen some grinder blades, it’s often more effective and safer to replace them, especially if they are significantly worn or damaged. Refer to your manual for replacement parts. For guidance on maintaining sharpness, you might find our article on the best electric knife sharpener for kitchen knives useful for understanding blade maintenance principles, though specific grinder blades may differ.
Step 6: Check the On/Off Switch or Button
The switch or button that initiates the grinder’s operation can also fail.
Test the Switch Operation
When the grinder is unplugged, operate the on/off switch or button several times. Does it feel loose, sticky, or like it’s not engaging properly?
Inspect for Damage
Look for any visible damage to the switch itself, such as cracks or loose connections.
Note: If you suspect the switch is faulty, it might be repairable, but this often involves more advanced electrical work and might be best left to a professional or considered a reason to replace the unit, especially for less expensive models.
Step 7: Investigate the Motor – Advanced Troubleshooting
If you’ve gone through all the previous steps and your kitchen grinder still refuses to turn on, the problem might lie with the motor itself. This is usually the most complex issue and may require professional help.
Listen for Sounds
When you plug in the grinder and try to turn it on (briefly, to listen), do you hear any humming or faint noises? A humming sound without the motor spinning can indicate that the motor is receiving power but is unable to turn, possibly due to an internal electrical issue or a seized bearing. No sound at all might suggest a complete electrical failure within the motor or its wiring.
Check for Overheating Signs
Has the grinder felt excessively hot recently? While the thermal reset button should handle minor overheating, persistent issues could point to a motor problem that causes it to overheat more easily.
Consider Motor Burnout
In some cases, the motor may have simply burned out from age, overuse, or a previous strain. If the motor is truly dead, repair is often more expensive than purchasing a new grinder, especially for many common kitchen appliances.
When to Call a Professional: If you suspect a motor issue, and especially if you’re not comfortable with electrical components, it’s time to consider professional repair or replacement. Attempting to repair a motor without the right knowledge and tools can be dangerous and may further damage the appliance.
Step 8: Consult Your User Manual and Manufacturer
Every kitchen grinder is slightly different, and your specific model might have unique features or troubleshooting steps outlined in its user manual. Always refer to your appliance’s manual first.
Review Troubleshooting Sections
The manual will often have a dedicated troubleshooting section that addresses common problems, including the unit not turning on. It can provide model-specific advice.
Contact Manufacturer Support
If your grinder is still under warranty, or if you’ve exhausted all DIY troubleshooting steps, contact the manufacturer’s customer support. They may be able to offer further guidance, suggest a repair service, or advise on replacement options.
Troubleshooting Summary Table
Here’s a quick reference to help you track your troubleshooting process:
| Problem | Possible Cause | Solution |
|---|---|---|
| Grinder won’t turn on. | No power to outlet. | Check outlet, circuit breaker. |
| Grinder won’t turn on. | Motor overheated. | Locate and press thermal reset button. Wait for cooling. |
| Grinder won’t turn on. | Grinding chamber is jammed. | Unplug, disassemble, clear debris. |
| Grinder won’t turn on. | Switch or button is faulty. | Inspect for damage, test operation. (May need professional) |
| Grinder won’t turn on, slight hum but no spin. | Motor issue (seized, electrical fault). | Listen for hum, check for heat. (Likely professional repair or replacement) |
| Grinder won’t turn on, no sound at all. | Complete motor failure or internal wiring issue. | (Likely professional repair or replacement) |
When Is It Time to Replace Your Grinder?
While it’s satisfying to fix an appliance yourself, there comes a point where repair might not be the most cost-effective or practical solution. Consider replacing your kitchen grinder if:
- The cost of repair (including parts and labor) approaches or exceeds the cost of a new unit.
- The grinder is old and has had frequent issues.
- The problem is with the motor, which is often the most expensive component to replace.
- The grinder is no longer safe to operate.
Investing in a new, reliable kitchen grinder can save you frustration in the long run. If you’re in the market for a new one, you might find our articles on the best electric kitchen knife or general kitchen appliance reviews helpful in your search for quality.
Conclusion
A kitchen grinder that won’t turn on doesn’t have to spell the end of your culinary endeavors. By following these systematic troubleshooting steps, you can often identify and resolve the issue yourself. Remember to always prioritize safety by unplugging the appliance before you begin. From checking the power supply and reset buttons to clearing jams and inspecting the mechanism, most common problems are within reach of a DIY fix. If you encounter a more complex issue like a motor problem, don’t hesitate to seek professional advice or consider replacement. With a little patience and the right approach, you can get your kitchen grinder back in action and continue enjoying fresh, flavorful ingredients in your home cooking.