Solar Fence Charger Installation Guide
Installing a solar fence charger can be a great addition to your home décor while also offering an eco-friendly solution to your fencing needs. In this guide, we’ll walk you through the complete process. With our step-by-step instructions and practical tips, you’ll have your solar fence charger up and running in no time.
Key Takeaways
- Understanding the Basics: Before starting the installation, it’s essential to understand how a solar fence charger works and its different components.
- Location Matters: Choosing the right location for the solar panel is crucial for optimal solar energy absorption.
- Installation Process: The step-by-step guide will walk you through the entire installation process, from mounting the solar panel to connecting the fence wires.
- Troubleshooting: Addressing common issues and solutions you might encounter during the installation or operation of your solar fence charger.
- Maintenance Tips: Regular maintenance and care tips to ensure that your solar fence charger performs optimally for many years.
Introduction
Installing a solar fence charger is more than just a home décor enhancement. It’s about choosing an eco-friendly solution for your fencing needs. This guide will help you understand the basics of a solar fence charger, choose the right location for installation, and guide you through the step-by-step process of installation.
Understanding the Basics
A solar fence charger, also known as a solar fence energizer, generates electrical pulses whenever the fence wire is touched. This helps in containing livestock or protecting your property. The charger uses solar energy to recharge its battery, making it a sustainable choice for your fencing needs.
Visual guide about Solar Fence Charger Installation Guide
Image source: m.media-amazon.com
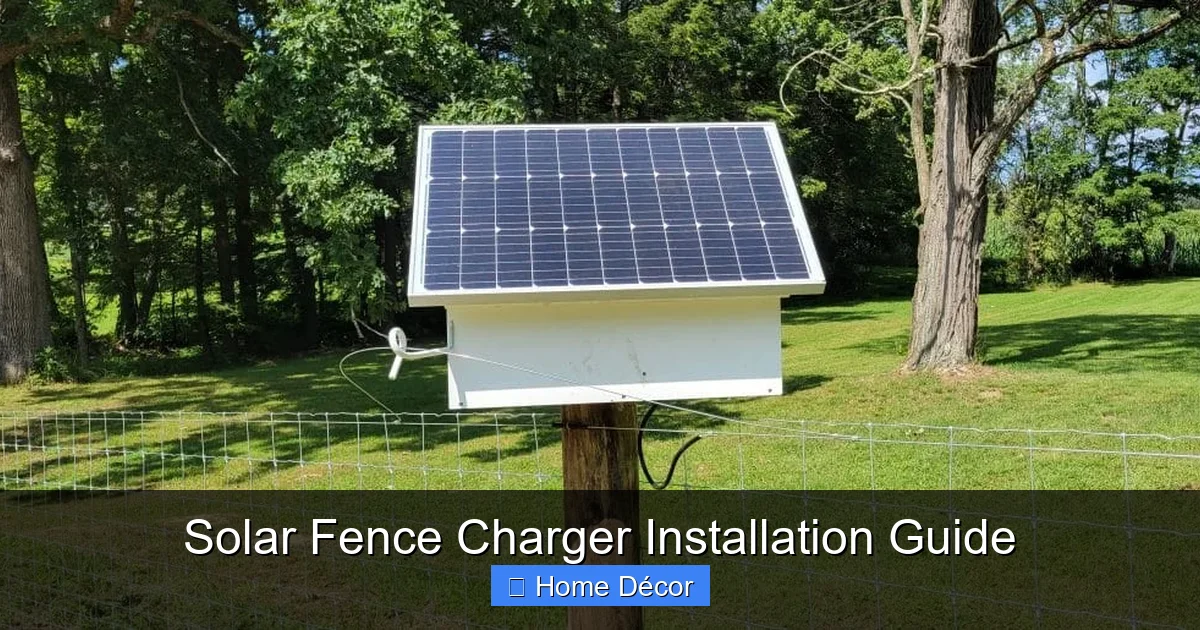
Choosing the Right Location
Choose a location that receives ample sunlight throughout the day. The solar panel should face towards the south in the northern hemisphere and towards the north in the southern hemisphere for optimal energy absorption. Make sure there are no obstructions like trees or buildings that can cast shadows on the panel.
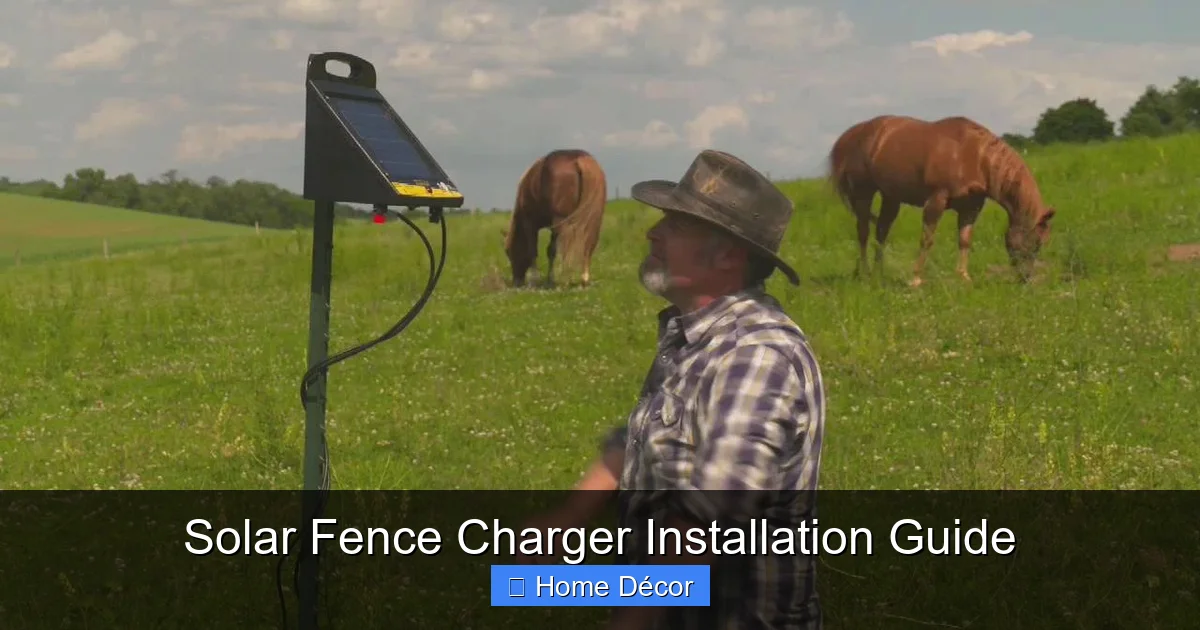
Visual guide about Solar Fence Charger Installation Guide
Image source: i.ytimg.com
Installation Process
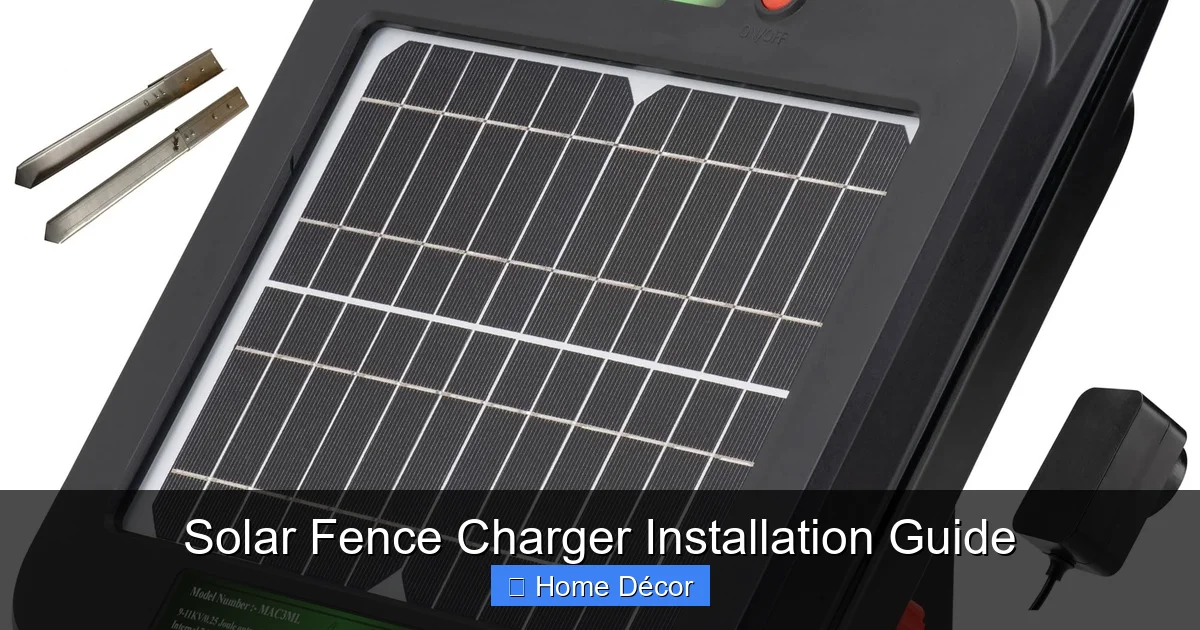
Mounting the Solar Panel
Once you’ve chosen the location, mount the solar panel using the provided mounts. Ensure it’s secure and can withstand wind and other weather conditions.

Visual guide about Solar Fence Charger Installation Guide
Image source: wrightgrid.com
Connecting the Fence Wires
Connect the fence wires to the solar charger. Red terminal is for the fence wire and the green terminal is for the ground wire. Make sure the wires are secure and insulated to avoid loss of power.
Grounding the System
Install ground rods and connect them to the green terminal of the solar charger. The ground system is crucial as it completes the electrical circuit and allows the charger to shock effectively.
Troubleshooting
If your solar fence charger isn’t working optimally, check for any wire breakages or if the solar panel is getting enough sunlight. Also, regularly check the battery and replace it if necessary.
Maintenance Tips
To ensure your solar fence charger lasts for many years, regularly clean the solar panel and check the system for any damages. During winters, tilt the solar panel to avoid snow accumulation.
Conclusion
With this guide, installing a solar fence charger should be a straightforward process. Remember, the key to a successful installation is understanding the process, choosing the right location, and regular maintenance.